
Host a potato flake sourdough class to share the joy of baking with others while also teaching the simple maintenance and use of a potato flake starter. Whether you’re inviting friends into your home kitchen or hosting a class at your local community center, this guide will help you plan a smooth and successful event for beginners and experienced bakers alike.

From the first feeding of their cup of the starter to shaping a dough ball into the perfect loaf, you’ll walk your students through everything they need to know to bake delicious bread using a starter made with instant potato flakes.
This post may contain affiliate links through amazon, which means I may make a small commission at no extra cost to you. When you make a purchase through my link, you help me to keep Little Tennessee Home up and running! Thank you for your support! See my full disclosure here.
Before Getting Started
Class Promotion & Registration Tips
If you’re excited to host a potato flake sourdough class, spreading the word is the first step! Here are some simple ways to promote your event and fill your class with eager learners:
How to Promote Your Class
Use Facebook to Your Advantage:
Create a Facebook Event through your personal profile or a relevant group. Include the date, time, location, what students will learn, and what they’ll take home. Invite friends and encourage them to share it!
Reach Out to Local Groups:
Post your event in community-based Facebook groups—especially homeschool circles, church women’s groups, local parenting forums, or town events pages. Many folks are looking for hands-on, meaningful workshops.
Printed Flyers Still Work:
Design a simple flyer with event info, your contact details, and a QR code or link for registration. Post them on local library bulletin boards, coffee shops, churches, or homeschool co-ops.
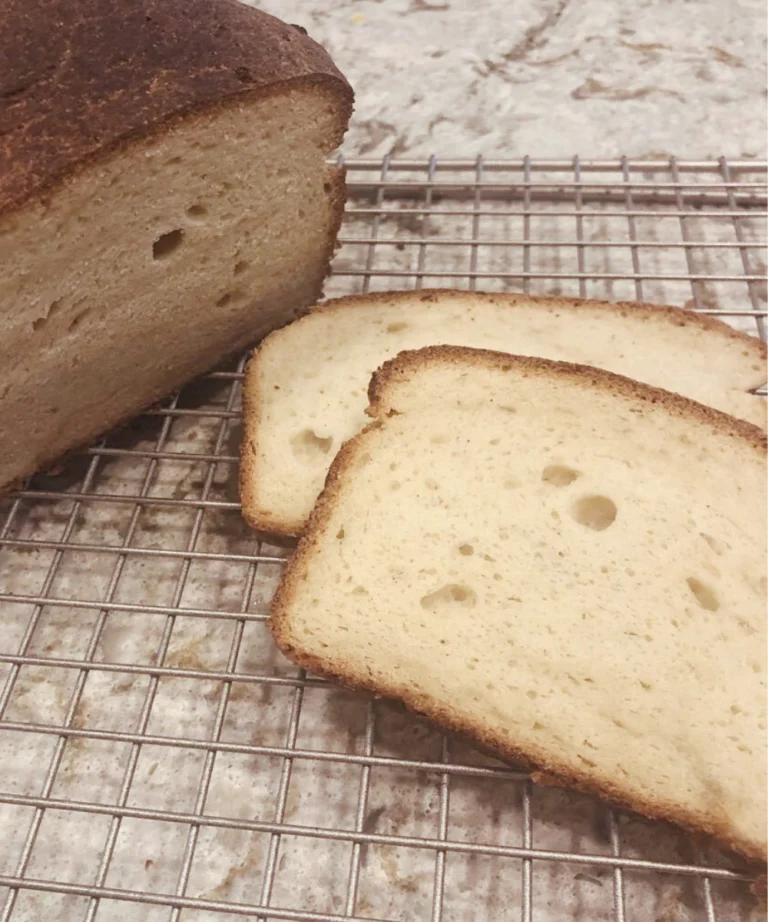
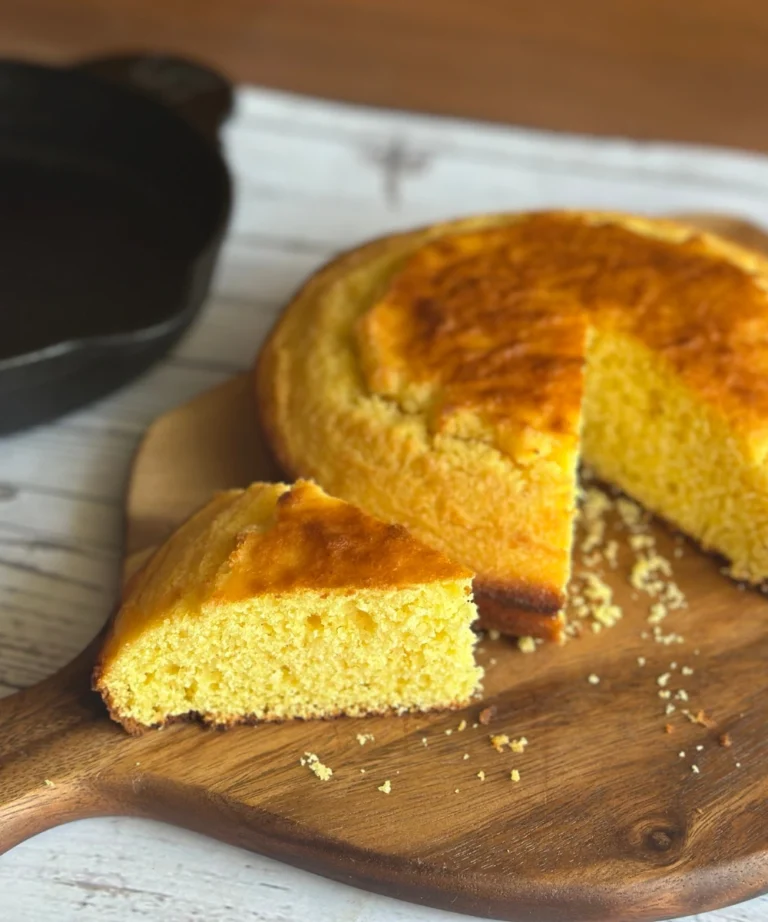
Tip: When possible, include a photo of a golden loaf of sourdough! It draws people in.
Sample Message to Share or Email
Here’s a sample message you can customize and send via group chat, text, or email:
Hi friends! I’m going to host a Potato Flake Sourdough Class and would love to have you join me! 🍞You’ll learn how to care for a starter, mix up a loaf of homemade bread, and go home with your own starter, a full recipe, and some fresh-baked samples. It’s a fun, hands-on experience, perfect for beginners!
📅 Date: [Insert Date]
📍 Location: [Insert Address]
⏰ Time: [Insert Time]
🎟️ Cost: [Insert Fee, if any]
📦 What you’ll take home: starter, recipe card, and bread samples
I’m keeping it small (6–10 people max) so everyone can have a great experience. Let me know if you want to come, and feel free to invite a friend!
Keep Your Class Size Manageable
For the best hands-on experience, limit your class to 6–10 participants.
This allows:
- Enough one-on-one help and conversation
- Everyone to get their hands in the dough
- Easier management of materials and space
If demand is high, consider scheduling a second class or doing a “watch + taste” session for a larger group.
What to Have at the Event

To make sure your sourdough class runs smoothly, gather the following supplies ahead of time:
- Disposable mini loaf pans (one per student)
- Spray oil or olive oil (for greasing pans)
- Plastic wrap or (to cover rising dough)
- Bread flour or all-purpose flour
- Cup sugar, cup oil, and salt (for the dough)
- Measuring cups and spoons
- Dough cutter and kitchen scale
- Mixing bowls – at least one large bowl
- Potato flakes (use instant potato flakes also called dehydrated potato flakes)
- Cup of starter for each student
- Wooden spoons, rubber spatulas, or a stand mixer with dough hook
- Notebook and pen for students to take notes
- Paper towels (for cleaning up)
Preparation Timeline

One month before you plan to Host a Potato Flake Sourdough Class:
Start promoting your event 3–4 weeks in advance.
This gives people enough time to mark their calendars, invite a friend, and plan around other commitments. Here’s a simple timeline to follow:
- 4 Weeks Out:
- Create your Facebook event and post in local groups
- Send out your first round of invites via text, email, or messenger
- Print and post flyers around your community
- 2 Weeks Out:
- Share a reminder in any groups you posted in
- Post behind-the-scenes content (like prepping ingredients or packaging starter jars) to build excitement
- 1 Week Out:
- Send out personal reminders to anyone who showed interest
- Post a countdown or sneak peek of what participants will take home
- 1–2 Days Before:
- Send a final reminder to registered guests with address, parking tips, and what to bring (if anything)
Promoting too early and then going quiet can cause people to forget—so keep it visible and engaging with light reminders and a few fun visuals along the way!
1 Week Before Event:
- Get final headcount of those attending
- Purchase mini loaf pans
- Purchase jars
- Purchase enough ingredients
2 Days Before the Event:

- Print and fold brochures
- Print additional resources
- Double check supply count
- Feed starter and making the taste test loaves
24–30 Hours Before the Event:
- Mix a batch of potato flake sourdough using the potato flake sourdough bread recipe. Make enough to have bread to bake for the students to taste test (small loaves work great)
- Prep baggies of potato flakes if you plan to send them home with students.
12 Hours Before the Event:
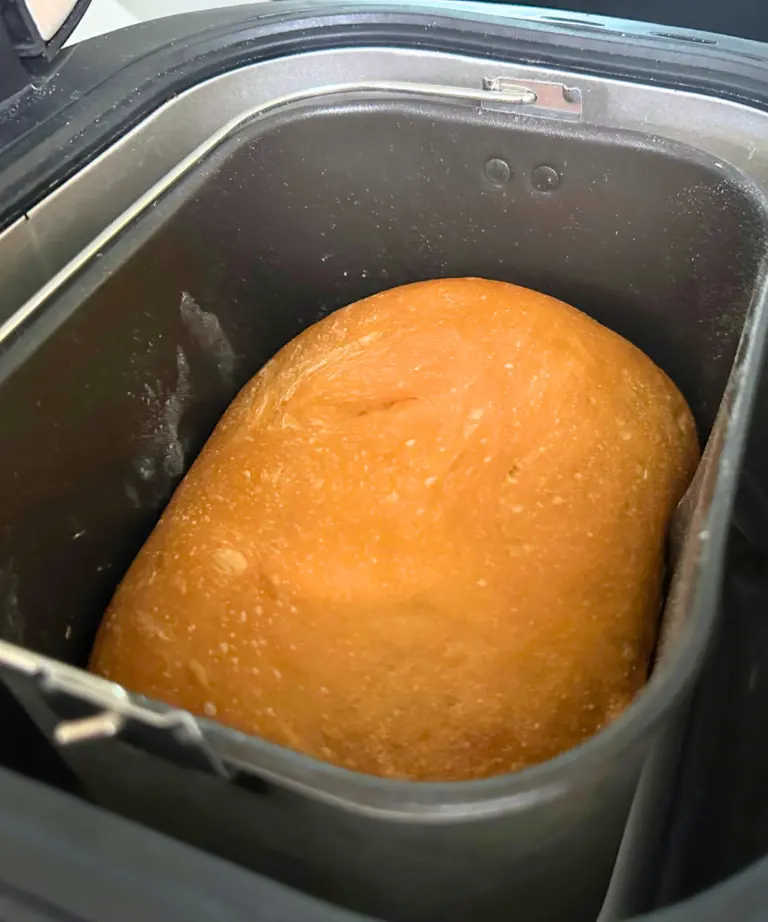
- Shape the risen dough into mini loaves to rise before the event.
- Mix enough dough so each student can shape their own dough ball into a mini loaf. Cover and let it go through the first rise in a warm place (an oven with the oven light on works well, but sure it doesn’t get too warm).
- One batch of dough typically makes 6–8 mini loaves.
Day of the Event

1. Welcome & Introduction
Start by welcoming everyone and sharing a bit of your sourdough journey.
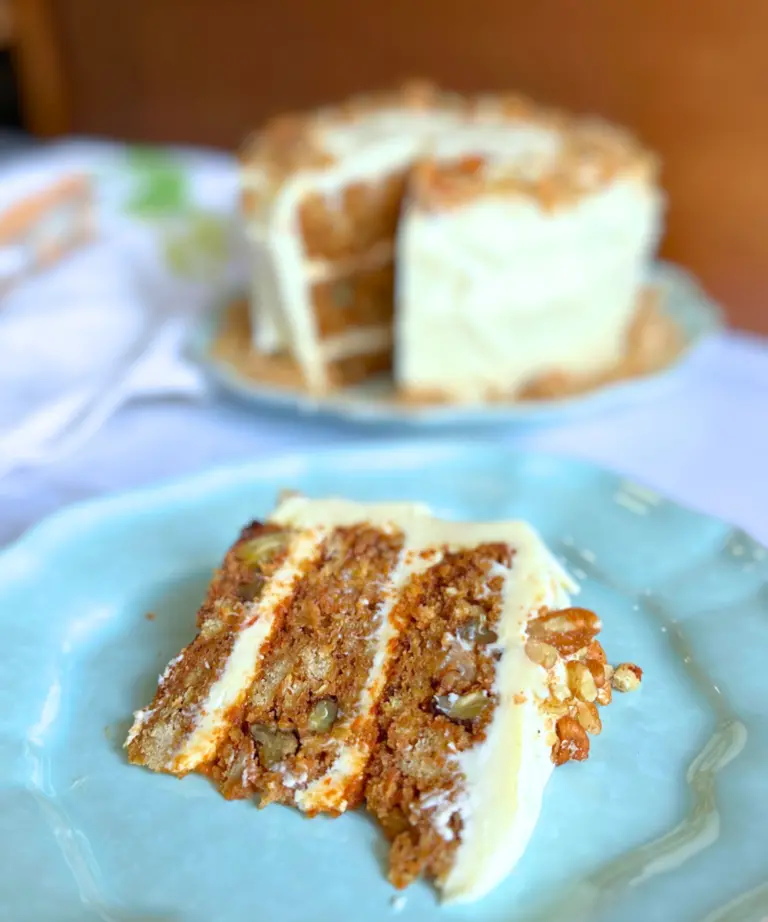
Talk about the sweet taste and soft texture of potato flake sourdough.
Talk briefly about:
- The role of the starter culture
- The difference between wild yeast and commercial yeast like active dry yeast or instant yeast
- How to keep your starter happy on a regular basis, simply by feeding it (will go in depth about the feeding later on)
2. Starter Basics
Explain how potato flake sourdough is different from a traditional sourdough starter or flour and water starter.
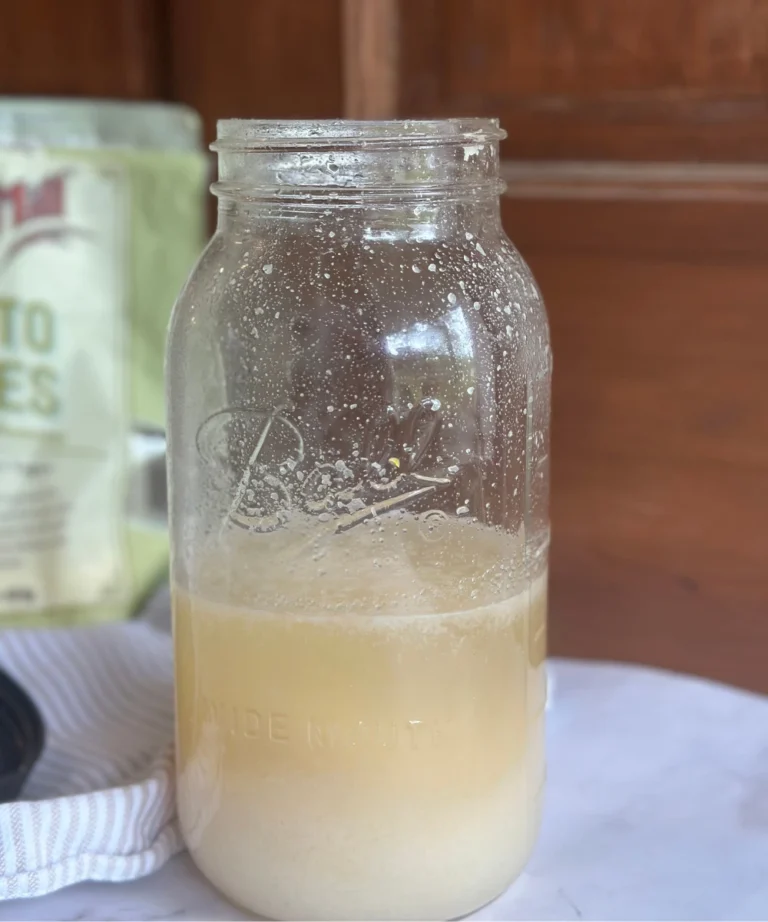
Discuss the ingredients of the potato flake sourdough starter and how it originally starts out with commercial yeast, but over time gathers wild yeast from the environment.
Talk about how to take care of the starter. Elaborate on a feeding schedule, storage tips, signs of a healthy starter, and possibly about a super feeding if the starter is ever neglected for too long.
Mention how feeding a caring for a new starter compared to a mature ripe starter might look different.
Go over what an active starter versus an inactive starter might look like. Expand on the topic by talking about when the starter would be active and when it would become inactive.
3. Mix + Rise Demo

Show students your pre shaped mini loaves and bake them while you continue on with your demonstration. Baking it now will allow for the students to taste freshly baked bread after you have gone through the process of explaining how to make it. It is also a nice touch to have the aroma of the baking bread while your students listen.
After placing the pre-risen loaves in the oven begin to show students how to mix the dough for a loaf of bread
- Mix a batch of dough using 1 cup active potato flake sourdough starter, 1 1/2 cup of warm water, 3/4 cup of sugar, 1/2 cup of oil, 1 T salt, and 6 cups of bread flour
Go over kneading options (by hand, or in a stand mixer with a dough hook)
Discuss the importance of using a greased bowl for the rising time.
Talk about the length of the first rise.
This is a great time to mention possible reasons why bread might not rise or how tap water versus filtered water can, but may not always, affect the starter ingredients.
4. Hands-On Shaping & Second Rise
Provide each student with their portion of pre-risen dough.
Demonstrate:
- How to divide and shape it into a mini loaf shape
- How to prepare a loaf pan
- When to cover the loaf and begin the second rise
- Discuss length of second rise and when to bake once they are home (point on their handouts where they will find the baking instructions) Could also be helpful to mention that they can put it in the fridge if they are unable to bake right away, to pause the fermentation for just a little while.
Encourage students to press gently with their fingers to test for readiness. The dough should spring back slowly—one sign that it’s time to bake.
5. Q&A and Taste Testing

After the hands on learning allow the students taste your freshly baked bread while have a Q&A session. Don’t forget to mention the sweet taste and soft texture—a signature trait of potato flake sourdough.
Be sure that at some point during the Q&A you demonstrate how to feed a potato flake starter.
Let students ask questions. This is often when things “click” for beginners.
You might discuss:
- Recipe variations like cinnamon rolls, dinner rolls, muffins, etc.
- How to adapt the dough for whole wheat flour to make a delicious wheat bread
- How to use discard recipes to use up the remaining starter
- Tips like using pieces of parchment paper for easier cleanup
6. Wrap up + Take-Home Resources
Be sure to give each student:
- Printed sourdough recipe and a care guide for their own starter
- A small jar of active starter (be sure to include this extra cost into your class price)
- Links to helpful tools
- A list of starter ingredients and baking supplies


To make it easier, I’ve created printable PDF resources you can use and share with your students (scroll to the bottom to find this) :
- Potato Flake Sourdough Bread Recipe – A simple, clear recipe perfect for beginners
- Potato Flake Sourdough Brochure – A handy guide covering all the questions a first-timer might have!
- Class Host Checklist
- Teacher Guide
- Bread Tags
- Religious Cards for a Bible based sourdough class
Print copies for each participant or send the digital files via email or QR code. These materials will give your students something to reference at home and help them feel confident baking on their own.
Optional Add-ons
If you want to take your class up a notch, consider:
- Offering a second time follow-up class for baking the dough together
- Selling a “starter kit” with a bag of Bob’s Red Mill flour, a cambro container, dough cutter or other tools for a small commission
Turn it into a Bible Study Get-Together
If you’d like to bring a deeper layer of purpose to your potato flake sourdough class, consider shaping it into a Bible study gathering centered on the words of Jesus in John 6:35:
Scripture Focus: John 6:35
“Then Jesus declared, ‘I am the bread of life. Whoever comes to me will never go hungry, and whoever believes in me will never be thirsty.’”
This verse invites us to reflect on the way Jesus satisfies our deepest needs—not just physical hunger, but the hunger of our hearts. Just as bread nourishes the body, Jesus is the bread that nourishes the soul.
Ideas for Weaving in Faith:
- Open the gathering in prayer, thanking God for physical bread and the spiritual bread of life we have in Christ.
- Read John 6:35 aloud and offer a short devotional tying the process of baking sourdough with Jesus’s role as the Bread of Life.
- Use the starter as a living illustration of faith—it needs to be fed, kept active, and shared. It has the power to multiply and nourish many, just like the Gospel.
- As students shape their loaves, invite them to reflect on how Jesus is shaping their lives—and how they might “feed” others with truth, love, and encouragement.
Faith-Based Take-Home Ideas:
- Print small cards with John 6:35 to include in your starter jars or class packets. (Included in the free download)
- Encourage participants to gift a future loaf of bread to someone along with a personal note and the verse. (Free printable gift tags are included in the download also)
When we connect the process of making bread with the words of Jesus, it turns a simple skill into a spiritual metaphor—and your class becomes more than just educational, it becomes and opportunity to transform someone’s life.
Clean-Up Tips & Time Savers
Here are a few tips to help make your class a little easier:
- Consider using disposable tablecloths and parchment paper to help make clean up easier.
- Have a trash can nearby and wet rags available for quick clean up.
Don’t forget the Photos!
When you host a potato flake sourdough class it’s important to take a few photos during class (with permission) for future promotion or memory-keeping. Students LOVE to have photos to look back on. Since you will have your hands dirty most of the time. Find a reliable helper to take some photos for you during the class.
- Here are a few photo ideas: students shaping dough, a finished loaf, or a printed recipe in someone’s hands.
- Decorate using a cute chalkboard sign or printable banner for a fun photo backdrop.
Pin For Later and Share With a Friend:

By the end of the class, your students will leave with a shaped loaf, a potato flake sourdough starter, and a solid understanding of how to feed and bake with their new “living thing” at home. You’re not just teaching a skill—you’re passing along a tradition.
Encourage your students to stay connected. Whether it’s through a my Potato Flake Sourdough Facebook group, or future workshops you might plan based of specific recipes. continuing the conversation will help them build confidence and bake better bread. After all, the best part of sourdough is sharing it—with your dear friend, neighbor, or next generation of bakers.
If you decide to host a potato flake sourdough class, I would greatly appreciate if you came back and gave it a 5-star review! It helps me out so much!
I also love seeing all of the delicious creations you make! Share your photo of your class over on instagram or facebook and give me a tag @littletennesseehome

Love this!
Hi, I love this idea! I definitely want to engage fellow teachers to join in a baking class. They always want me to bake them a loaf a bread, what better way to teach them.
My problem, I can’t get the “information” to send to my email address…I’ve looked in junk, I’ve tried 2 of my emails, nothing :(. Any suggestions?
Also, do you still have a link to buy your starter? Some may be interested in doing that.
Thank you!
Sorry you are having trouble with the email. Go ahead and send me an email to littletennesseehome@gmail.com and we can figure it out 🙂 I did sell starter at one point, but unfortunately it was too difficult to ship, so I stopped for now.