Potato flake sourdough blueberry bagels are one of the easiest, most delicious breakfast breads you can make. Making your own bagels at home is not only simple but also incredibly satisfying! These chewy, flavorful bagels are bursting with blueberries and are perfect with a spread of cream cheese or a drizzle of honey.

Why Potato Flake Sourdough Blueberry Bagels?
Before we jump into the recipe, let’s talk about why potato flake sourdough blueberry bagels are so special. Unlike commercially produced bagels, homemade potato flake sourdough bagels are bursting with fresh flavors and are easily customizable. T
he natural fermentation process adds depth and complexity to the dough, enhancing the overall taste and offering healthier alternative to a store bought bagel. The fermentation from the potato flake sourdough starter makes it easier to digest and makes nutrients more bioavailable!
This post may contain affiliate links through amazon, which means I may make a small commission at no extra cost to you. When you make a purchase through my link, you help me to keep Little Tennessee Home up and running! Thank you for your support! See my full disclosure here.
Tools You Will Need:
- Stand mixer with a dough hook
- Measuring cups and spoons
- Large pot
- Large baking sheet
- Chopstick or something similar
- Bench scraper
- Parchment paper
- Kitchen scale (optional, but easier to get precise measurements)

Ingredients:
For the dough:
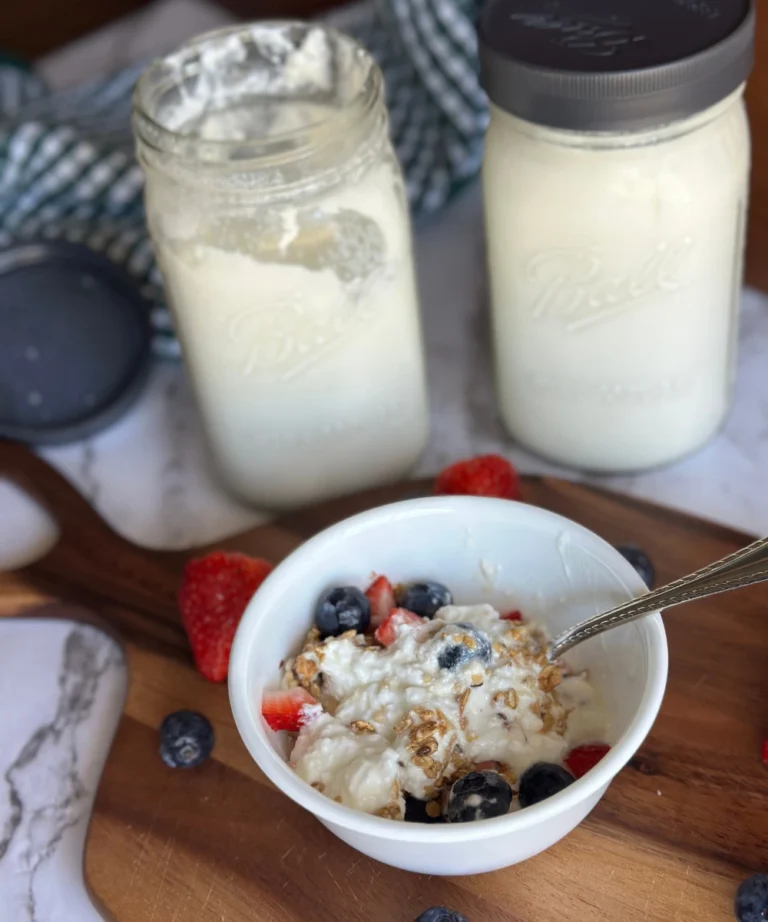
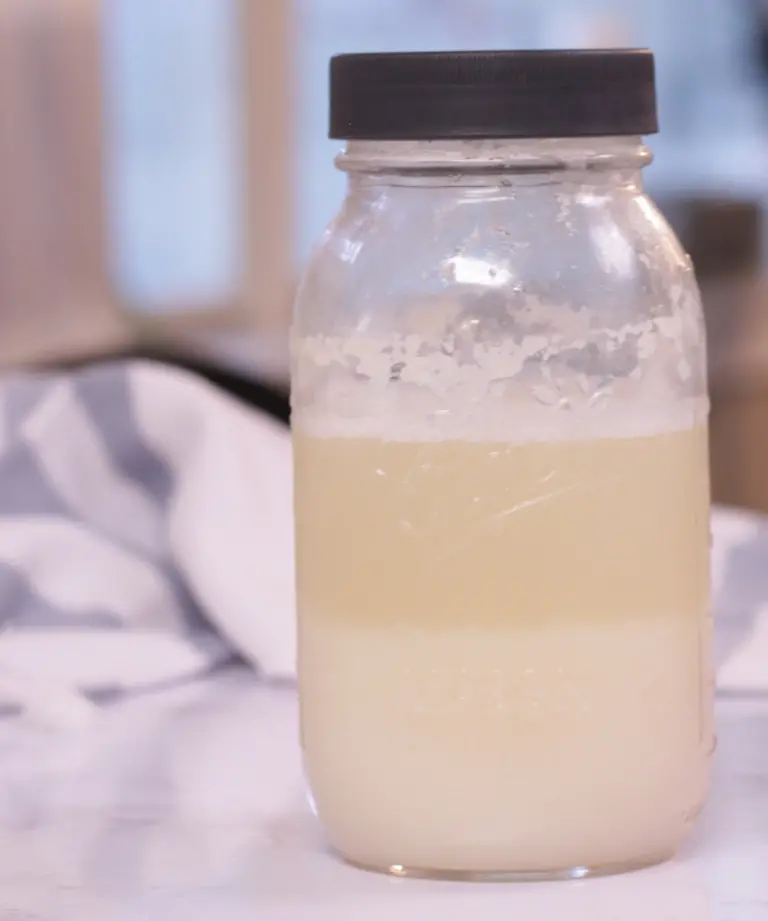
- 3/4 cup potato flake starter (190 grams)
- 4 cups all-purpose flour (560 grams)
- 2 teaspoons salt (15 grams)
- 1/2 cup water
- 1/2 cup reduced blueberries (1 1/2 cup before reducing)
- 1/2 cup dried blueberries (optional, but adds a burst of blueberry flavor)
For boiling:
- 12 cups water
- 1 tablespoon baking soda
- 2 tablespoon dark brown sugar
How to make the best Blueberry Sourdough Bagels
Reduce the Blueberries
Fresh blueberries or frozen blueberries will work. If using frozen blueberries, like I did, you do not need to thaw them before reducing.

Place the blueberries in a small simmer pot on low until juices begin to pool at the bottom. Increase the heat to low-medium keeping a close eye so it does not burn.

Reduce the blueberries until you have about 1/2 cup of blueberries and juices remaining. Set the blueberry reduction to the side to cool while you gather the other ingredients for the bagel dough.
Prepare the Dough:

In the bowl of a stand mixer, combine the active starter, flour, salt, warm water, dried blueberries, and reduced blueberries (be sure it has cooled down and is not hot.) Mix on low speed (number 2 for a KitchenAid mixer) for about 5-10 minutes or until the dough pulls away from the sides and is no longer sticky.
If kneading by hand, knead for about 15 minutes until the dough is a smooth ball.
First Rise:

Place the dough in a greased bowl, cover with plastic wrap, and let it rise at room temperature for 8-12 hours or until doubled in size. (Rise time can be quicker or slower in different homes and at different temperatures)
Alternatively, place the bowl in a warm place like an oven with the light on to speed up the rising process. However, check the temperature after about 30 minutes to make sure the light isn’t causing the oven to get too hot, as this could kill your wild yeast.
Shape the Bagels:

Once the dough has doubled, remove the dough from the bowl onto a clean surface. Remove air bubbles by pressing the dough flat into a circle. Divide it into 8 equal portions using your bench scraper.

TIP for perfectly sized bagels: To get equal pieces, first weigh your dough before dividing. Take the weight of the dough and divide by 8 to get the exact weight that each of your smaller dough balls should be.


Gather the edges of the dough, bringing them inwards to form a ball and pinch tightly. Flip the dough over with the pinched side on the work surface. Use your hand and work surface to create tension on the top of the dough by pulling the dough towards you while turning the ball slightly. Do this several times until the top is tight and smooth.

Cover the dough balls with plastic wrap or a damp tea towel and allow them to rest for 5 minutes before moving onto the next part of the shaping process.


Then use your fingers or thumbs to poke a hole in the center of the dough ball and gently stretch to form a bagel shape. Spinning gently around your two pointer fingers in a circle helps stretch the dough evenly.
Place the shaped bagels on a parchment-lined baking sheet.
TIP: Use parchment squares to make the boiling process easier.
Second Rise:

Cover the shaped bagels loosely with plastic wrap and let them rise for another 1-3 hours, or until slightly puffy.
Do not overproof. They will puff up more when boiled and baked.
Boil the Bagels:

After the bagels have become puffy, preheat the oven to 350°F and bring a large pot of water to a gentle boil.
Add the baking soda and brown sugar to the boiling water.

Carefully transfer the bagels, using the parchment paper, into the boiling water. As soon as the parchment paper hits the water it will release the bagel easily and will prevent the dough from collapsing. Boil a few at a time for 1 minute per side.

When you first place the bagel in the water, use a chopstick to swirl inside the bagel hole to prevent it from closing up completely.

Use a slotted spoon to remove the boiled bagels and place them back on a parchment-lined baking sheet.

The bagels will drastically change in color once they are boiled. the outside looks very dark, but don’t worry the inside still has a beautiful purple, blue color.
Bake:
Once all the bagels have been boiled, transfer the baking sheet to the preheated oven.

Bake for 20-25 minutes, or until the bagels are golden brown and sound hollow when tapped on the bottom.
Cool and Enjoy:
Allow the bagels to cool on a wire rack before slicing.

Pop in the toaster and serve with cream cheese, butter, or honey for a delicious breakfast or snack.

Tips and Variations:
- Customize Your Toppings: Sprinkle cinnamon sugar or a light dusting of oats on top before baking for added texture and sweetness.
- Make-Ahead & Freeze: Pre-slice before freezing for quick and easy toasting.
- Blueberry Lemon Bagels: Add lemon zest to the dough for a bright, citrusy twist.
- Mini Blueberry Bagels: Divide the dough into smaller portions for kid-friendly, snack-sized bagels.
- Other dried fruit: Try this recipe with other dried fruit.
Like most potato flake sourdough recipes, all it takes is a little time and patience, and you can enjoy delicious homemade sourdough blueberry bagels that are sure to impress! Save this recipe for later and share it with a friend who loves homemade bagels.
Pin it for later & share with a friend!

If you give this recipe a try, I would greatly appreciate if you came back and gave it a 5-star review! It helps me out so much!
I also love seeing all of the delicious creations you make! Share your photo over on instagram and give me a tag @littletennesseehome

Potato Flake Sourdough Blueberry Bagels
Equipment
- Stand mixer with a dough hook
- measuring cups and spoons
- Large pot
- Large baking sheet
- Chopstick or something similar
- Bench scraper
- Parchment Paper
- Kitchen scale (optional, but easier to get precise measurements)
Ingredients
For the dough:
- 3/4 cup potato flake starter 190 grams
- 4 cups all-purpose flour 560 grams
- 2 teaspoons salt 15 grams
- 1/2 cup water
- 1/2 cup reduced blueberries 1 1/2 cup frozen blueberries before reducing
- 1/2 cup dried blueberries optional, but adds a burst of blueberry flavor
For boiling:
- 12 cups water
- 1 tablespoon baking soda
- 2 tablespoon dark brown sugar
Instructions
- Place the blueberries in a small simmer pot on low until juices begin to pool at the bottom. Increase the heat to low-medium keeping a close eye so it does not burn.
- Reduce the blueberries until you have about 1/2 cup of blueberries and juices remaining. Set the blueberry reduction to the side to cool while you gather the other ingredients for the bagel dough.
- In the bowl of a stand mixer, combine the active starter, flour, salt, warm water, dried blueberries, and reduced blueberries (be sure it has cooled down and is not hot.) Mix on low speed (number 2 for a KitchenAid mixer) for about 5-10 minutes or until the dough pulls away from the sides and is no longer sticky.
- Place the dough in a greased bowl, cover with plastic wrap, and let it rise at room temperature for 8-12 hours or until doubled in size.
- Once the dough has doubled, remove the dough from the bowl onto a clean surface. Remove air bubbles by pressing the dough flat into a circle. Divide it into 8 equal portions using your bench scraper.
- Gather the edges of the dough, bringing them inwards to form a ball and pinch tightly. Flip the dough over with the pinched side on the work surface. Use your hand and work surface to create tension on the top of the dough by pulling the dough towards you while turning the ball slightly. Do this several times until the top is tight and smooth.
- Cover the dough balls with plastic wrap or a damp tea towel and allow them to rest for 5 minutes before moving onto the next part of the shaping process.
- Then use your fingers or thumbs to poke a hole in the center of the dough ball and gently stretch to form a bagel shape. Spinning gently around your two pointer fingers in a circle helps stretch the dough evenly.
- Place the shaped bagels on a parchment-lined baking sheet.
- Cover the shaped bagels loosely with plastic wrap and let them rise for another 1-3 hours, or until slightly puffy. Do not overproof. They will puff up more when boiled and baked.
- After the bagels have become puffy, preheat the oven to 350°F and bring a large pot of water to a gentle boil.
- Add the baking soda and brown sugar to the boiling water.
- Carefully transfer the bagels, using the parchment paper, into the boiling water. As soon as the parchment paper hits the water it will release the bagel easily and will prevent the dough from collapsing. Boil a few at a time for 1 minute per side.
- When you first place the bagel in the water, use a chopstick to swirl inside the bagel hole to prevent it from closing up completely.
- Use a slotted spoon to remove the boiled bagels and place them back on a parchment-lined baking sheet.
- The bagels will drastically change in color once they are boiled. the outside looks very dark, but don’t worry the inside still has a beautiful purple, blue color.
- Once all the bagels have been boiled, transfer the baking sheet to the preheated oven.Bake for 20-25 minutes, or until the bagels are golden brown and sound hollow when tapped on the bottom. Allow the bagels to cool on a wire rack before slicing.
Notes
- If kneading by hand, knead for about 15 minutes until the dough is a smooth ball.
- Rise time can be quicker or slower in different homes and at different temperatures
- TIP for perfectly sized bagels: To get equal pieces, first weigh your dough before dividing. Take the weight of the dough and divide by 8 to get the exact weight that each of your smaller dough balls should be.
- TIP: Use parchment squares to make the boiling process easier.