Whip up some potato flake sourdough crumpets for breakfast or your afternoon tea! It’s so fun to recreate this classic British treat using your potato flake sourdough starter to rise the batter!

Crumpets are one of my favorite breakfast treats! I was introduced to them while I was in New Zealand. They were a staple and easy to find in any supermarket or dairy you might shop at.
Unfortunately, they aren’t as easy to find here in America, which is why I had to create a recipe so I could enjoy a nice butter slathered crumpet every once in a while.
You can totally make them using instant yeast, but when you use a potato flake starter to rise your homemade sourdough bread, you figure out a way to make delicious crumpets using your starter as well!

Why potato flake sourdough?
If this is your first time here, you might wonder what in the world is potato flake sourdough? Is that really even sourdough? Yes, yes it is. While it is different from traditional water and flour sourdough, it does naturally rise your bread through fermenting the grains. It creates a delicious flavor that is less sour than when using a traditional sourdough starter.
Using sourdough of any kind helps make the grains more digestible and easier for your body to absorb the nutrients in the grains. I noticed the biggest difference from eating sourdough vs. yeasted breads is that I am not bloated and “feeling full” after each meal.
Already have a traditional sourdough starter and what to give this potato flake starter a go? Check out how you can convert some of your traditional starter to a potato flake starter!
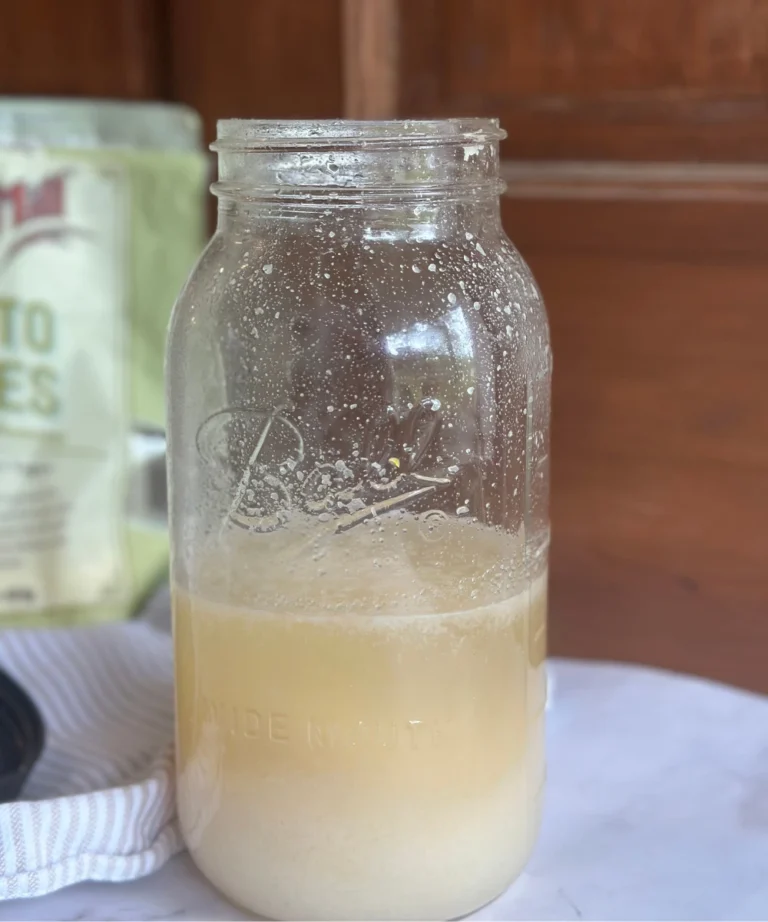
Don’t have a starter at all? This is the easiest starter to get going. I will walk you through step by step on how to make your own potato flake starter from scratch. It’s so easy and to get it started all you need is active dry yeast (only for the getting it going), sugar, dehydrated potato flakes, and water! The yeast will help the starter initially but eventually the good bacteria will take over and your wild yeast will begin to thrive.
These are affiliate links through amazon, which means I may make a small commission at no extra cost to you. When you make a purchase through my link, you help me to keep Little Tennessee Home up and running! Thank you for your support! See my full disclosure here.
Tools You Will Need
- Large Mixing Bowl: For mixing the crumpet batter.
- Whisk or Electric Beater: To ensure the batter is smooth and well-mixed.
- Plastic Wrap: To cover the bowl during fermentation.
- Non-Stick Skillet: Essential for cooking the crumpets without sticking.
- Crumpet Rings: These help shape the crumpets. Alternatives include biscuit cutters, egg rings, or cleaned tuna cans.
- Tongs: For safely removing the crumpet rings from the hot skillet.
- Wire Rack: For cooling the crumpets completely before toasting and serving.
Ingredients

For the Crumpet Batter:
- 1 cup all-purpose flour
- ¾ cup active potato flake sourdough starter
- ½ cup of warm water
- 1/4 tsp table salt
- 1/2 tsp raw sugar (or regular white sugar)
- 1 tsp baking powder
- ½ tsp baking soda
For Cooking:
- 2 tbsp unsalted butter, melted (or vegetable oil, could also use cooking spray)
How to make the best crumpets with a potato flake starter:
Preparing the Crumpet Batter
Mix the Ingredients: In a large bowl, combine the all-purpose flour, 3/4 cup of the starter, warm water, and salt. Whisk vigorously for 2 minutes. If using an electric beater, mix on speed 5 for 1 minute. If the batter seems too thick, you might have too much flour, just add in a bit more water to thin it out. The batter is a bit thinner than pancake batter.

Add the Sugar: Add the white sugar to the mixture and whisk for an additional 30 seconds (or 15 seconds on speed 5).
Ferment the Batter: Cover the bowl with plastic wrap and place it in a draft free area and let is ferment for 8 hours at room temperature. (A great warm place is in the oven that is turned off) Once the batter is done fermenting the surface should become foamy. This could happen before the 8 hours. The batter will not rise much but will increase in volume by about 10-15%.

Preparing the Batter for Cooking
Add additional leavening agent: After fermentation, add the baking powder and baking soda to the bowl. Whisk for 30 seconds to combine thoroughly.

Cooking the Crumpets
- Grease the Rings: Grease four rings (3 inches wide) with melted butter or vegetable oil. These rings will help shape the crumpets. The best way to grease them is with melted butter and a basting brush.

Heat the Skillet: Brush a non-stick skillet lightly with melted butter and place the rings in the skillet. Turn the stove to medium-high heat (or medium for stronger stoves) and bring it to temperature.
Add the Batter: Pour a little less than 1/4 cup of batter into each ring, filling them about halfway. Adjust the amount if your rings are larger than 3 inches wide.
Initial Cooking: Cook for 45 seconds to 1 minute on medium-high heat until bubbles start to appear on the surface (but do not pop yet).

Reduce Heat: Lower the heat to medium and cook for another 1 1/2 minutes. Bubbles should start popping around the edges.
Final Cooking: Reduce the heat further to medium-low/low and cook for an additional 2 1/2 to 4 minutes, until the surface is set and no more bubbles are popping. Use a toothpick to help pop any remaining bubbles.
Remove the Rings: Use tongs to carefully remove the rings. You might need to run a knife around the edges if they stick.

Flip and Add Color: Flip the crumpets and cook the other side for 20 to 30 seconds to add a bit of color.
Cool: Transfer the crumpets to a wire rack, golden side down, and let them cool completely.
Enjoying Your Crumpets
Crumpets can be enjoyed once cool, but they taste even better the next day. Here’s how to make the most of them:
- Toast: Toast the crumpets in a toaster until the base is crispy.
- Butter: Slather generously with butter.
- Spread: Add your favorite spread, such as honey (a traditional choice) or our favorite, homemade strawberry jam.

Notes and Tips
- Water Temperature: The water should be warm but be careful that it is not so hot that it would scorch your skin. It it is too hot it can kill the beneficial bacteria and wild yeast. To be sure, use a digital thermometer to check. Around 85 degrees is ideal but never hotter than 100 degrees.
- Rings: You can use anything round to shape the crumpets, such as biscuit cutters, egg rings, or even a cleaned empty tuna can. Grease them well to prevent sticking. Don’t limit yourself to round shapes – any cookie cutter will work!
- Using different sized rings: If you do use different sized rings, remember to not over fill with batter. If the crumpets are too thick, they will not have the signature holes on top. They will still be delicious, but the bottoms will also burn easier when trying cook the crumpet all the way through.
- Pan Heat: The batter needs to sizzle gently when it hits the pan. If it’s not hot enough, you won’t get the bubbles. If it’s too hot, the crumpets will burn. Test the heat by putting a dab of batter on the end of a butter knife and pressing it on the skillet. If it sizzles, it’s hot enough. There should not be wisps of smoke at this stage (if there are, the pan is too hot).
- Cooking Tip: Heat control is crucial for crumpet success. Start with stronger heat to get the bubbles, then lower the heat so the crumpet cooks through without burning the base. The temperatures provided in the recipe are for a standard stove. If yours is particularly strong, dial it down a bit. Bubbles will start to pop around the edges first, then in the center. Some smoke from the butter around the rings is normal, but if it gets quite smoky, remove the skillet from the heat to cool it down a bit, then return it to the stove.
- Plastic wrap: It’s key to not only cover the batter with just a tea towel. This can cause it to dry out and form a crusty layer on the top. Use something like plastic wrap or beeswax wrap to prevent the batter from drying out.

Alternative Ingredients and Variations
- Flour: You can substitute half of the all-purpose flour with whole wheat flour for a nuttier flavor and added nutrition. I do not recommend using gluten free flour in this recipe. I have never tried making it with bread flour, it would probably work but would create a bit of a different texture.
- Sweeteners: If you prefer, you can use other sweeteners like brown sugar, coconut sugar, or honey.
- Dairy-Free: Use vegetable oil or a dairy-free butter alternative for greasing and in the batter to make the recipe dairy-free.
- Discard starter: While this recipe could work with discard starter, the active starter works much better to get the batter foamy quickly. If using discard it could take much long, but it will work. Just don’t skip the fermentation step! Even thought it has baking soda and baking powder, it still need the rise from the starter to get the best rise!
What else can I used a potato flake starter for?
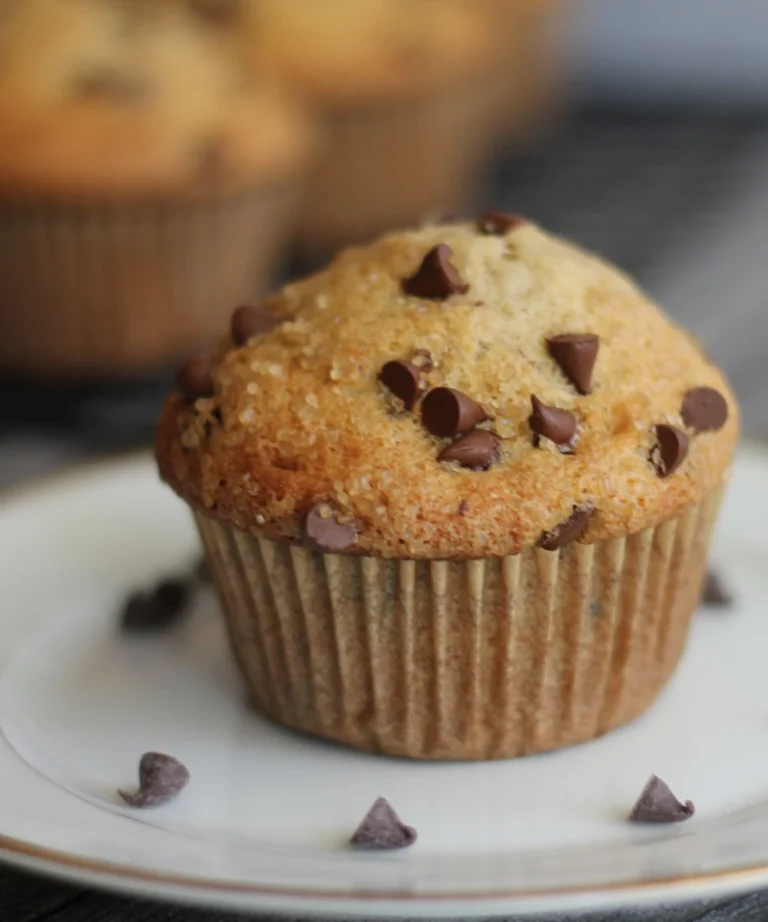
This type of starter does a sweet taste, especially compared to the sour taste of a flour and water starter. This makes it the perfect starter for all things sweet. We love to use it for cinnamon rolls, pancakes, and muffins. Banana nut muffins has to be our most used potato flake sourdough starter recipe in our house!
Even though potato flake starer has a sweeter taste, that doesn’t mean you can use it to make savory things too. It’s most well known for making the most delicious loaves of bread. We really love using it for dinner rolls, sub bread, and pizza dough!
Making potato flake sourdough crumpets at home is a rewarding and delicious experience. With their unique flavor and distinctive texture, these crumpets are sure to become a favorite in your household. The process may take some time, but the results are well worth it. Enjoy your homemade crumpets with butter and your favorite spreads for a delightful treat any time of the day. Happy baking!
Pin for later and share with a friend

If you give this recipe a try, I would greatly appreciate if you came back and gave it a 5-star review! It helps me out so much!
I also love seeing all of the delicious creations you make! Share your photo over on instagram and give me a tag @littletennesseehome

ADD ALL OF MY RECIPES TO YOUR MEAL PLANNING APP!
Use my link to get 20% off your first year of using plan to eat! Not only do you get an amazing meal planning tool, but you also will get access to ALL of my recipes from the blog on your meal planning app. PLUS you will gain additional access to exclusive personal recipes not found on the blog! Learn all about the app in my video!

Potato Flake Sourdough Crumpets
Equipment
- Large mixing bowl
- Whisk or Electric Beater
- Plastic wrap
- Non-Stick Skillet
- 3″ Crumpet Rings
- Tongs
- Wire Rack
Ingredients
For the Crumpet Batter:
- 1 cup all-purpose flour
- ¾ cup active potato flake sourdough starter
- ½ cup of warm water
- 1/4 tsp table salt
- 1/2 tsp raw sugar or regular white sugar
- 1 tsp baking powder
- ½ tsp baking soda
For Cooking:
- 2 tbsp unsalted butter melted (or vegetable oil, could also use cooking spray)
Instructions
- In a large bowl, combine the all-purpose flour, 3/4 cup of the starter, warm water, and salt. Whisk vigorously for 2 minutes. If using an electric beater, mix on medium speed for 1 minute. The batter should be a bit thinner than pancake batter.
- Add the white sugar to the mixture and whisk for an additional 30 seconds (or 15 seconds on medium speed).
- Cover the bowl with plastic wrap and place it in a draft free area and let is ferment for 8 hours at room temperature. Once the batter is done fermenting the surface should become foamy. This could happen before the 8 hours. The batter will not rise much but will increase in volume by about 10-15%.
- After fermentation, add the baking powder and baking soda to the bowl. Whisk for 30 seconds to combine thoroughly.
- Grease four rings (3 inches wide) with melted butter or vegetable oil.
- Brush a non-stick skillet lightly with melted butter and place the rings in the skillet. Turn the stove to medium-high heat (or medium for stronger stoves) and bring it to temperature.
- Pour a little less than 1/4 cup of batter into each ring, filling them about halfway. Adjust the amount if your rings are larger than 3 inches wide.
- Cook for 45 seconds to 1 minute on medium-high heat until bubbles start to appear on the surface (but not popping much yet).
- Lower the heat to medium and cook for another 1 1/2 minutes. Bubbles should start popping around the edges.
- Reduce the heat further to medium-low/low and cook for an additional 2 1/2 to 4 minutes, until the surface is set and no more bubbles are popping. Use a toothpick to help pop any remaining bubbles.
- Use tongs to carefully remove the rings. You might need to run a knife around the edges if they stick.
- Flip the crumpets and cook the other side for 20 to 30 seconds to add a bit of color.
- Transfer the crumpets to a wire rack, golden side down, and let them cool completely.