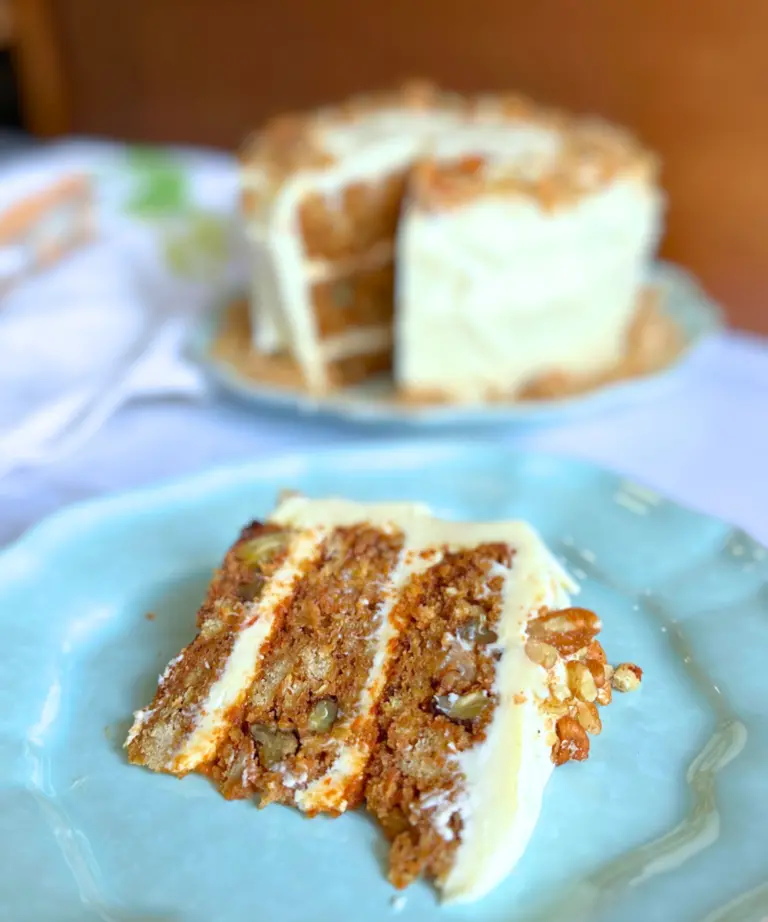
If you are looking for the best cinnamon rolls made with a potato flake starter AND freshly milled flour, you’re in the right place. They’re hearty yet soft, deeply flavorful, and have that old-fashioned bakery feel that store-bought flour just can’t replicate. When you pair freshly milled wheat with an active potato flake sourdough starter, you end up with cinnamon rolls that are fluffy, incredibly satisfying, and a a treat you can feel a better about.

This recipe walks you through the process step by step, with plenty of detail so you feel confident working with freshly milled flour—even if it’s your first time. Take your time, trust the process, and let the long fermentation do the heavy lifting.
Why Freshly Milled Flour?
Freshly milled flour (FMF) is a popular choice because of its health benefits. It is much more rich in nutrients than store bought flout. However, it is important to know that it behaves differently than store-bought flour. It absorbs more water, benefits from longer rest times, and produces a richer wheat flavor. That’s why this recipe includes an autolyse and a long fermentation—both are essential for getting soft, fluffy cinnamon rolls from 100% whole grain flour.

This post may contain affiliate links, which means I may make a small commission at no extra cost to you. When you make a purchase through my link, you help me to keep Little Tennessee Home up and running! Thank you for your support! See my full disclosure here.
Tools You’ll Need
- Grain mill
- Stand mixer with dough hook attachment or a large bowl and wooden spoon
- Measuring cups and spoons
- Kitchen scale
- Dough scraper
- Rolling pin
- Plastic wrap or beeswax wrap
- 9×13 baking dish
Ingredients
Dough
- 3 cups freshly milled flour
- 1 ¼ cups hard white wheat (176 g)
- 1 ¼ cups hard red wheat (176 g)
- ½ cup soft white wheat (70 g)
- Total: 422 g
- ½ cup active potato flake sourdough starter (126 g)
- ¼ cup coconut oil (48 g)
- 2 tablespoons vital wheat gluten (18 g)
- ¼ cup sugar (49 g)
- 1 cup warm water (218 g)
- ½ tablespoon salt
Filling
- ½–¾ cup sugar
- ½ cup butter
- 2 tablespoons cinnamon (add more if desired)
Icing
- 2 cups powdered sugar
- ½ teaspoon maple extract
- 2 tablespoons milk
- 2 tablespoons espresso or strong brewed coffee
For Baking
- ½ cup heavy cream (poured over rolls before baking)
Instructions
Mix the Dough (Autolyse)

Start by giving your potato flake sourdough starter a quick stir, then measure out 1/2 cup. Add it to the bowl of a stand mixer along with the 1 cup of warm water, coconut oil, sugar, vital wheat gluten, and all of the freshly milled flour. Do not add the salt yet.

Mix just until everything is combined and no dry flour remains. There’s no need to knead at this stage—this is simply about hydration.
Cover the bowl with plastic wrap or beeswax wrap and let the dough rest for 30 minutes. This rest period is called the autolyse. It allows freshly milled flour time to fully absorb the liquid and begin developing gluten naturally.
Add Salt and Knead
After the autolyse, sprinkle the salt over the dough. Using the dough hook, knead on low to medium speed for about 5 minutes.

The dough should form a soft, stretchy dough ball. It will feel slightly tacky but should not heavily stick to your hands. Freshly milled dough often feels different than white flour dough—trust the texture.
Bulk Fermentation (First Rise)
With lightly oiled hands, remove the dough from the bowl and shape it into a ball. Lightly oil the bowl, return the dough, and cover again.
Allow the dough to rise in a warm place until doubled in size, about 5–10 hours depending on the temperature of your home and how active your starter is. This long rise is where flavor and structure develop.
Shape the Cinnamon Rolls

Once doubled, use a dough scraper to gently loosen the dough from the bowl and turn it out onto a clean work surface.
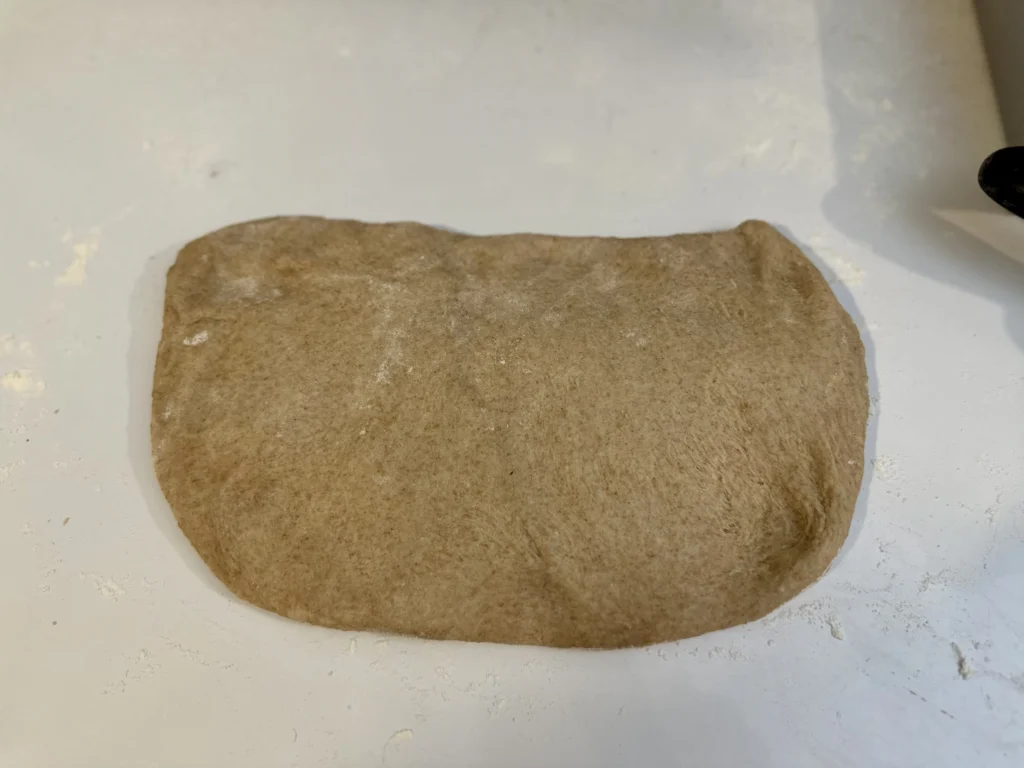
Try not to add extra flour unless absolutely necessary. Any flour added at this stage won’t be fermented and can affect the final texture.

Before rolling, gently press the dough into a rectangle to get it close to the shape you want, then roll it out into a large rectangle about ¼ inch thick.
Add the Filling
Melt the butter.

Reserve about 1 teaspoon of butter in the melting container. Use it to brush the inside of your 9×13 baking dish. (you can also line your dish with parchment paper)
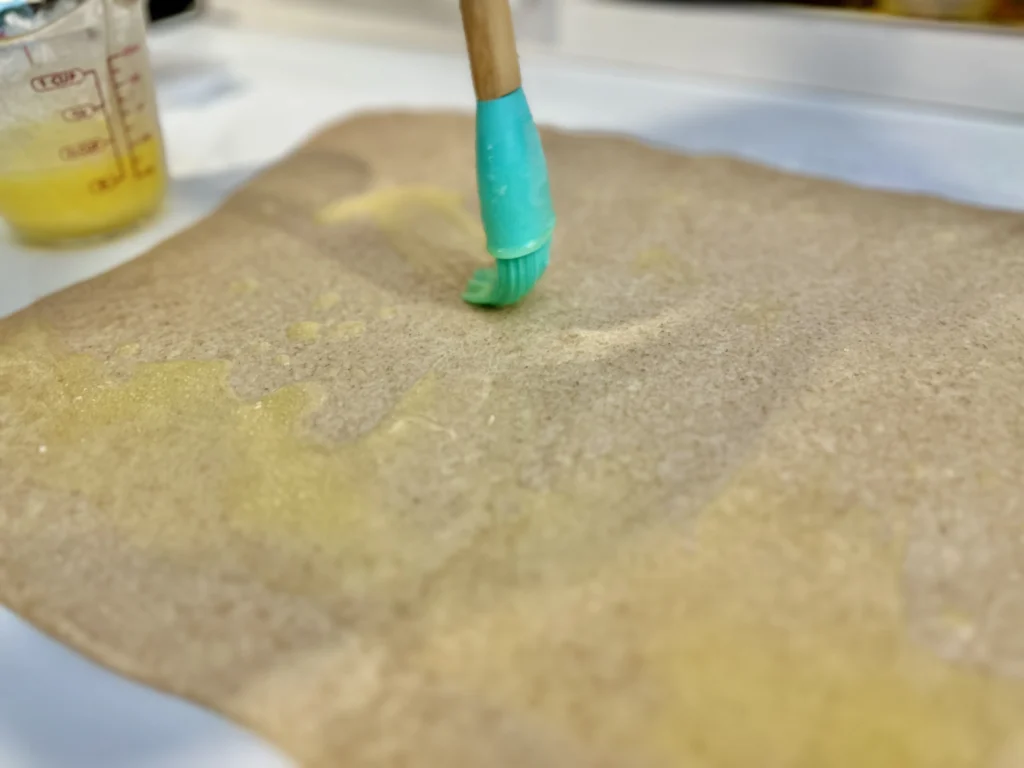
Brush the remaining melted butter evenly over the surface of the dough, going all the way to the edges except one long edge. Leaving this edge bare helps the roll seal properly.

Sprinkle the sugar evenly over the butter, followed by the cinnamon. The butter should soak up the sugar—you don’t want lots of loose sugar or overly runny butter that will squeeze out when rolling.
You can alternatively mix sugar and cinnamon in a small bowl before sprinkling on the top of the dough. Brown sugar could also be used if preferred.
Roll and Cut

Starting from the buttered long edge, roll the dough up as tightly as possible toward the unbuttered edge. If the dough is sticking to the work surface, use a bench scraper to help loosen the dough as you roll it. When you reach the end, pull it snug and pinch to seal.
For perfectly shaped rolls, cut using thread or unflavored dental floss. A very sharp knife will also work—just be careful not to squish the dough.
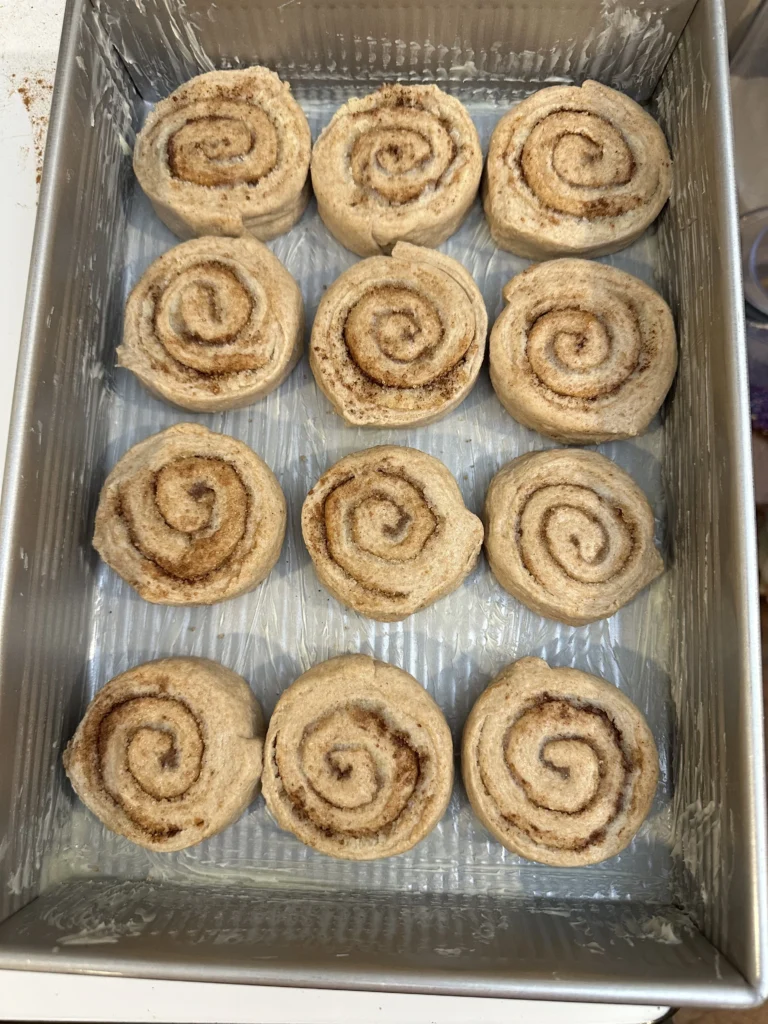
Place the rolls into the prepared baking dish.
Second Rise
Cover the pan with plastic wrap and allow the cinnamon rolls to rise again for 5–10 hours, or until doubled in size. Final rise time will depend on the temperature of your home.
Bake

Once risen, pour about ½ cup of heavy cream over the cinnamon rolls, letting it pool around and between them. This step is optional—but it creates an incredibly gooey, moist cinnamon roll and is highly recommended.
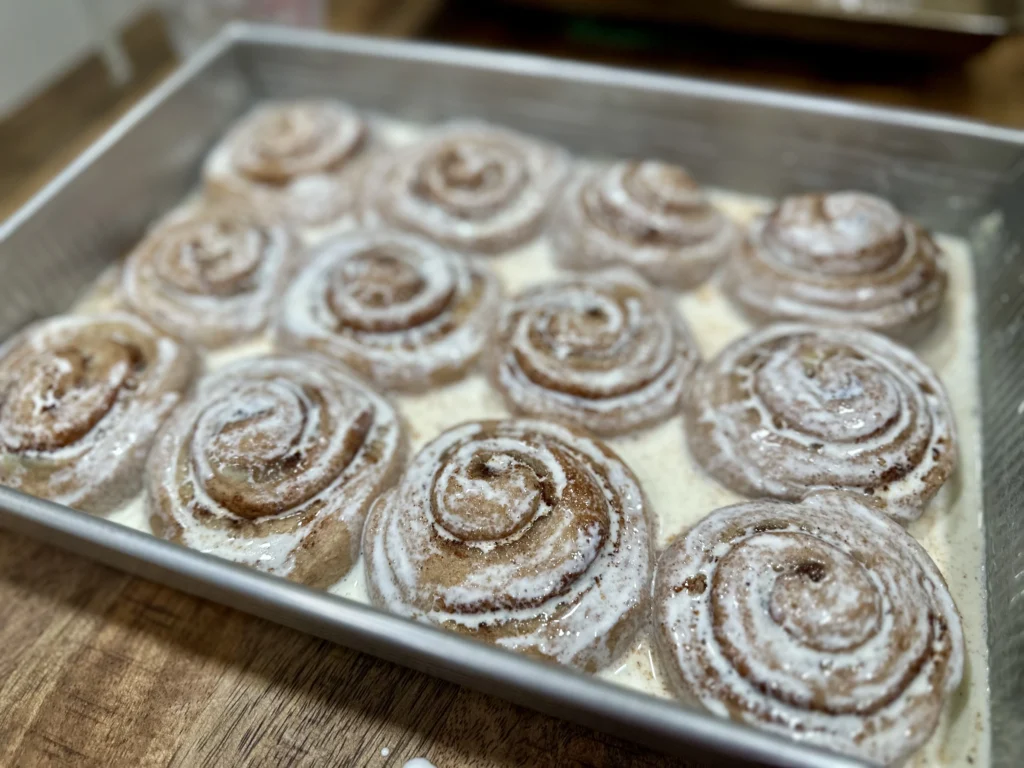
Bake in a 350°F oven for 25–30 minutes, or until the inside of a center roll reaches 190°F.
Make the Icing
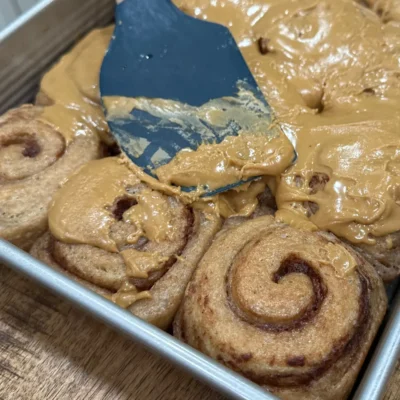
While the cinnamon rolls bake, whisk together the powdered sugar, milk, espresso, and maple extract until smooth and thick. Add additional milk if needed to reach your desired consistency.

Once the rolls are baked, allow them to cool slightly, then generously spread or pour the icing over the top.

Serve warm and enjoy.
Notes & Tips
- Vital wheat gluten is essential in this recipe. It provides structure and helps achieve soft rolls when working with 100% whole grain, freshly milled flour.
- Use oiled hands when shaping the dough to prevent sticking.
- Avoid over-proofing the first rise. If the dough ferments too long initially, the second rise may suffer.
- Do not skip the autolyse. Freshly milled flour takes longer to hydrate and this step is crucial for soft, well-developed dough.

FAQ
Where can I get quality wheat berries?
I have always bought my wheat grains from azure standard. The thing I love the most is the price, but I also love that they offer quality organic grains in bulk. This makes it so much easier for me to keep them in stock and not worry about running out. Especially since wheat berries last basically indefinitely when stored properly.
Why does freshly milled flour need a longer rest and rise time?
Freshly milled flour (FMF) still contains all of the bran, germ, and natural oils from the grain. This makes it more absorbent and slower to hydrate than store-bought flour. The autolyse and long fermentation give the flour time to fully absorb liquid, soften the bran, and develop gluten naturally, resulting in softer, better-risen cinnamon rolls.
How long should the first rise really take?
The bulk fermentation (first rise) can take anywhere from 5–10 hours depending on your kitchen temperature and how active your potato flake sourdough starter is. Instead of watching the clock, watch the dough—it should be visibly doubled in size and feel airy when gently pressed.
Can I make these cinnamon rolls ahead of time?
Yes! After shaping and placing the rolls in the baking dish, you can let them complete the second rise overnight. In the morning, simply pour the heavy cream over the rolls and bake. This makes them perfect for holidays or special breakfasts when you want fresh cinnamon rolls without early-morning prep.
What if my dough feels sticky?
Freshly milled dough is naturally more tacky than white flour dough. Lightly oil your hands and work surface instead of adding extra flour. Adding too much flour at this stage can lead to dense rolls.
Is the heavy cream step really necessary?
It’s technically optional—but highly recommended. Pouring heavy cream over the rolls before baking creates an ultra-soft, gooey texture and keeps the cinnamon rolls moist all the way through.
Substitutions & Variations
These cinnamon rolls are written for freshly milled flour and a potato flake sourdough starter, but here are a few thoughtful substitutions if you need them. Keep in mind that changes may slightly affect texture or rise time.
Flour Substitutions
- No soft white wheat? You can replace the soft white wheat with additional hard white wheat. The rolls may be slightly chewier but will still be soft.
- All hard wheat: Using only hard red and/or hard white wheat works well—just be sure NOT to skip the autolyse and long fermentation.
- Store-bought whole wheat flour: This recipe is written specifically for freshly milled flour. Store-bought flour absorbs liquid differently, so results may vary.
Fat Substitutions
- Butter instead of coconut oil: You can substitute melted butter in equal amounts for the coconut oil in the dough. Vegetable oil and olive oil can also be used, although the flavor may change slightly.
- Milk instead of water: Replacing some or all of the water with milk will result in a slightly richer dough.
Sweetener Substitutions
- Honey or maple syrup: These can replace the sugar in the dough, but the dough may ferment a bit faster and feel slightly softer. Additional flour might be needed due to the increase of liquid.
Filling Variations
- Brown sugar instead of white sugar: Brown sugar adds a deeper, more caramel-like flavor.
- Extra cinnamon: Feel free to increase the cinnamon to taste—freshly milled flour pairs well with bold spice.
Icing Substitutions
- No espresso or coffee? You can replace it with additional whole milk or a splash of vanilla extract for a classic icing flavor.
- Cream cheese icing: Swap out the classic powdered sugar icing for a cream cheese frosting for a thicker, tangier topping.
These freshly milled flour cinnamon rolls are slow-fermented, deeply flavorful, and absolutely worth the wait—perfect for special mornings, holidays, or anytime you want to bake something truly nourishing from scratch.
If you give this recipe a try, I would greatly appreciate if you came back and gave it a 5-star review! It helps me out so much!
I also love seeing all of the delicious creations you make! Share your photo over on instagram or facebook and give me a tag @littletennesseehome
Potato Flake Sourdough Cinnamon Rolls (Freshly Milled Flour)
Equipment
- Grain Mill
- Stand mixer with dough hook attachment or a large bowl and wooden spoon
- measuring cups and spoons
- Kitchen scale
- Dough scraper
- Rolling Pin
- Plastic Wrap or Beeswax Wrap
- 9×13 baking dish
Ingredients
Dough
- 3 cups freshly milled flour Total: 422 grams
- 1 ¼ cups hard white wheat 176 g
- 1 ¼ cups hard red wheat 176 g
- ½ cup soft white wheat 70 g
- ½ cup active potato flake sourdough starter 126 grams
- ¼ cup coconut oil 48 grams
- 2 tablespoons vital wheat gluten 18 grams
- ¼ cup sugar 49 grams
- 1 cup warm water 218 grams
- ½ tablespoon salt
Filling
- ½ –¾ cup sugar
- ½ cup butter
- 2 tablespoons cinnamon add more if desired
Icing
- 2 cups powdered sugar
- ½ teaspoon maple extract
- 2 tablespoons milk
- 2 tablespoons espresso or strong brewed coffee
For Baking
- ½ cup heavy cream poured over rolls before baking
Instructions
- Start by giving your potato flake sourdough starter a quick stir, then measure out 1/2 cup. Add it to the bowl of a stand mixer along with the 1 cup of warm water, coconut oil, sugar, vital wheat gluten, and all of the freshly milled flour. Do not add the salt yet.
- Mix just until everything is combined and no dry flour remains. There’s no need to knead at this stage—this is simply about hydration.
- Cover the bowl with plastic wrap or beeswax wrap and let the dough rest for 30 minutes. This rest period is called the autolyse. It allows freshly milled flour time to fully absorb the liquid and begin developing gluten naturally.
- After the autolyse, sprinkle the salt over the dough. Using the dough hook, knead on low to medium speed for about 5 minutes.
- The dough should form a soft, stretchy dough ball. It will feel slightly tacky but should not heavily stick to your hands. Freshly milled dough often feels different than white flour dough—trust the texture.
- With lightly oiled hands, remove the dough from the bowl and shape it into a ball. Lightly oil the bowl, return the dough, and cover again.
- Allow the dough to rise in a warm place until doubled in size, about 5–10 hours depending on the temperature of your home and how active your starter is. This long rise is where flavor and structure develop.
- Once doubled, use a dough scraper to gently loosen the dough from the bowl and turn it out onto a clean work surface.
- Try not to add extra flour unless absolutely necessary. Any flour added at this stage won’t be fermented and can affect the final texture.
- Before rolling, gently press the dough into a rectangle to get it close to the shape you want, then roll it out into a large rectangle about ¼ inch thick.
- Melt the butter. Reserve about 1 teaspoon of butter in the melting container. Use it to brush the inside of your 9×13 baking dish. (you can also line your dish with parchment paper)
- Brush the remaining melted butter evenly over the surface of the dough, going all the way to the edges except one long edge. Leaving this edge bare helps the roll seal properly.
- Sprinkle the sugar evenly over the butter, followed by the cinnamon. The butter should soak up the sugar—you don’t want lots of loose sugar or overly runny butter that will squeeze out when rolling.
- Starting from the buttered long edge, roll the dough up as tightly as possible toward the unbuttered edge. If the dough is sticking to the work surface, use a bench scraper to help loosen the dough as you roll it. When you reach the end, pull it snug and pinch to seal.
- For perfectly shaped rolls, cut using thread or unflavored dental floss. A very sharp knife will also work—just be careful not to squish the dough.
- Place the rolls into the prepared baking dish.
- Cover the pan with plastic wrap and allow the cinnamon rolls to rise again for 5–10 hours, or until doubled in size. Final rise time will depend on the temperature of your home.
- Once risen, pour about ½ cup of heavy cream over the cinnamon rolls, letting it pool around and between them. This step is optional—but it creates an incredibly gooey, moist cinnamon roll and is highly recommended.
- Bake in a 350°F oven for 25–30 minutes, or until the inside of a center roll reaches 190°F.
- While the cinnamon rolls bake, whisk together the powdered sugar, milk, espresso, and maple extract until smooth and thick. Add additional milk if needed to reach your desired consistency.
- Once the rolls are baked, allow them to cool slightly, then generously spread or pour the icing over the top. Serve warm and enjoy.