If you’ve ever had a mulberry tree nearby, you know those little berries can come in fast. One day you’re noticing a few ripe berries, and the next thing you know, there are mulberries everywhere. They can make a huge mess if they fall on your drive way or on top of your cars (or camper in our case.) Instead of letting those berries go to waste, turn them into a delicious mulberry jelly.
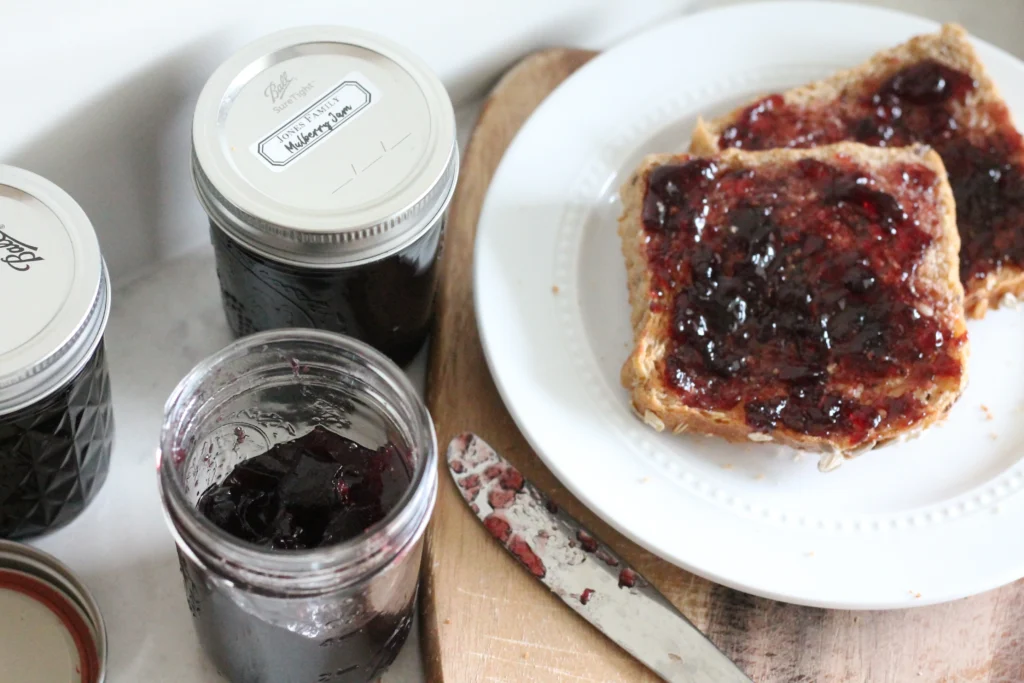
Mulberry jelly is one of my favorite ways to use them because it turns that fresh, sweet berry flavor into something you can enjoy long after mulberry season is over. It’s smooth, sweet, and perfect for spreading on biscuits, toast, or homemade bread.
This recipe walks you through how to make mulberry juice from fresh mulberries and then turn that juice into homemade jelly. It uses mulberry juice, sugar, and powdered pectin, so it sets up into a classic jelly without needing a long cook time.
If you have a mulberry tree, access to fresh mulberries, or even a freezer bag full of berries you saved for later, this is such a good way to preserve them.
Why You’ll Love This Mulberry Jelly Recipe
This amazing mulberry jelly is simple, sweet, and a great way to preserve fresh mulberries.
Since it uses powdered pectin, the cooking time is fairly quick, and you don’t have to stand over the stove forever waiting for it to thicken. Once the juice is prepared, the jelly itself comes together pretty quickly.
It’s also a wonderful pantry recipe. Once the jars are properly processed and sealed, you can tuck them away and enjoy that fresh mulberry flavor later in the year.
What Does Mulberry Jelly Taste Like?
Mulberries have a sweet, mild berry flavor. I usually describe it as a mixed berry flavor. They also remind me a little bit of blackberries, but with less tartness. Since this jelly is made from the juice instead of the whole berry, it has a smooth texture without seeds or pulp.
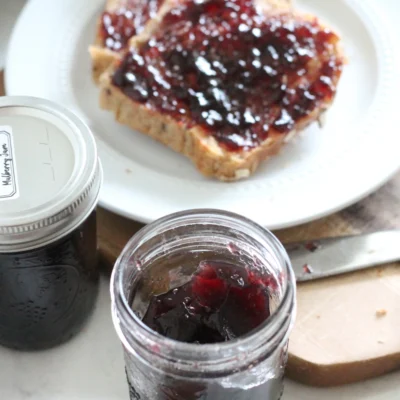
It’s especially good on warm biscuits, toast, English muffins, pancakes, or a slice of homemade bread.
About How Many Jars Does This Recipe Make?
This recipe makes about 6 half-pint jars of jelly.
A half-pint jar holds 8 ounces, so this recipe should give you around 48 ounces total, give or take a little depending on how much the jelly cooks down and how full your jars are.
You may get:
- About 6 half-pint jars
- About 12 four-ounce jelly jars
- About 3 pint jars, though half-pints are usually the most practical size for jelly
I like using half-pint jars for jelly because they are easy to gift, easy to store, and a good size to keep in the refrigerator once opened.
How Many Mulberries Do I Need?
The exact amount of fresh mulberries needed will vary depending on how juicy your berries are and whether you let them drip naturally or squeeze the cheesecloth.
As a general estimate, I would plan on having at least 8 to 10 cups of fresh mulberries to make sure you have enough juice for this recipe.
You need 3 1/2 cups of prepared mulberry juice to make the jelly.
If you come up a little short, you can either juice more mulberries or save that juice in the refrigerator or freezer until you have enough to make a full batch.
Tools You’ll Need
This post may contain an affiliate link, which means I may make a small commission at no extra cost to you. When you make a purchase through my link, you help me to keep Little Tennessee Home up and running! Thank you for your support! See my full disclosure here.
- Large pot or deep saucepan
- Waterbath canner
- Half-pint canning jars
- New canning lids
- Canning bands
- Jar lifter
- Canning funnel
- Ladle
- Potato masher (can be helpful for mashing the berries)
- Measuring cups
- Medium bowl for pre-measuring sugar
- Colander
- Several layers of cheesecloth
- Large bowl for collecting juice
- Clean towel or paper towel for wiping rims
- Spoon or silicone spatula for stirring
- Timer
- Food-safe gloves, optional but helpful when squeezing juice from the berries
Ingredients
- Fresh mulberries, enough to make 3 1/2 cups mulberry juice
- Water, about 1/4 cup for every 4 cups of mulberries
- 3 1/2 cups prepared mulberry juice
- 4 cups sugar
- 1 packet powdered pectin, about 3.5 tablespoons
How to Make Mulberry Juice for Jelly
Before making mulberry jelly, you’ll need to turn your fresh mulberries into juice. This is easy to do on the stovetop and only takes a little bit of water to keep the berries from scorching.
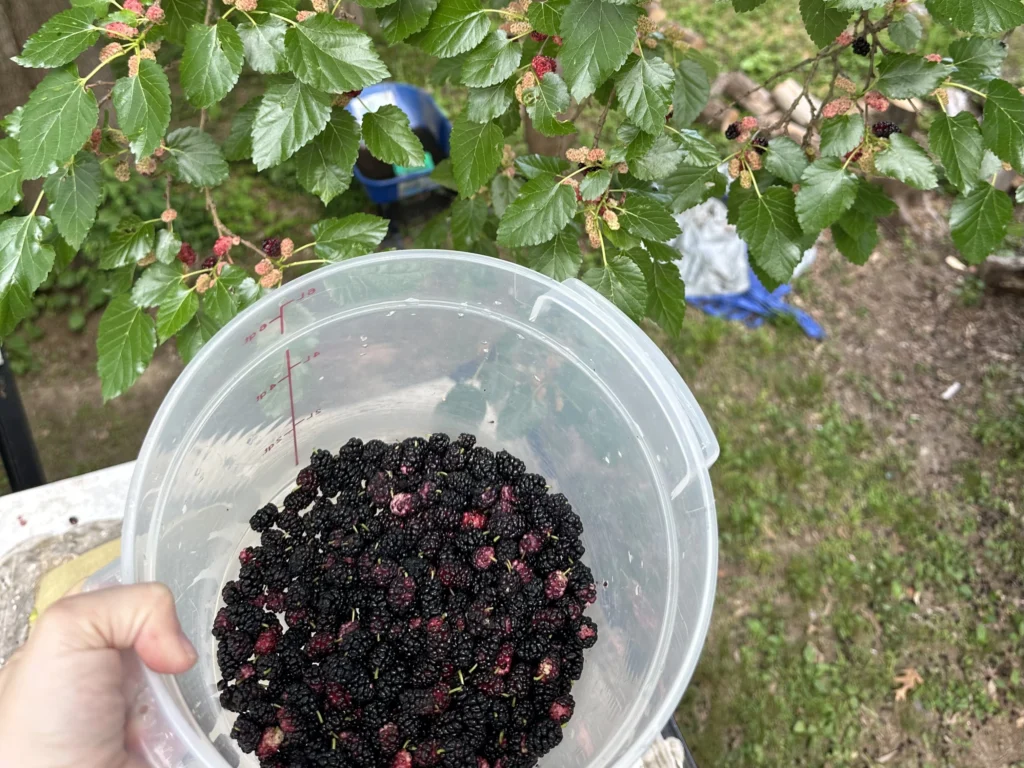
Start by sorting through the mulberries. Remove any bugs, sticks, leaves, stems, or berries that are spoiled. Rinse the berries well.
Place the prepared mulberries in a large stock pot. Add just enough water to keep the fruit from scorching. A good rule of thumb is about 1/4 cup of water for every 4 cups of mulberries.
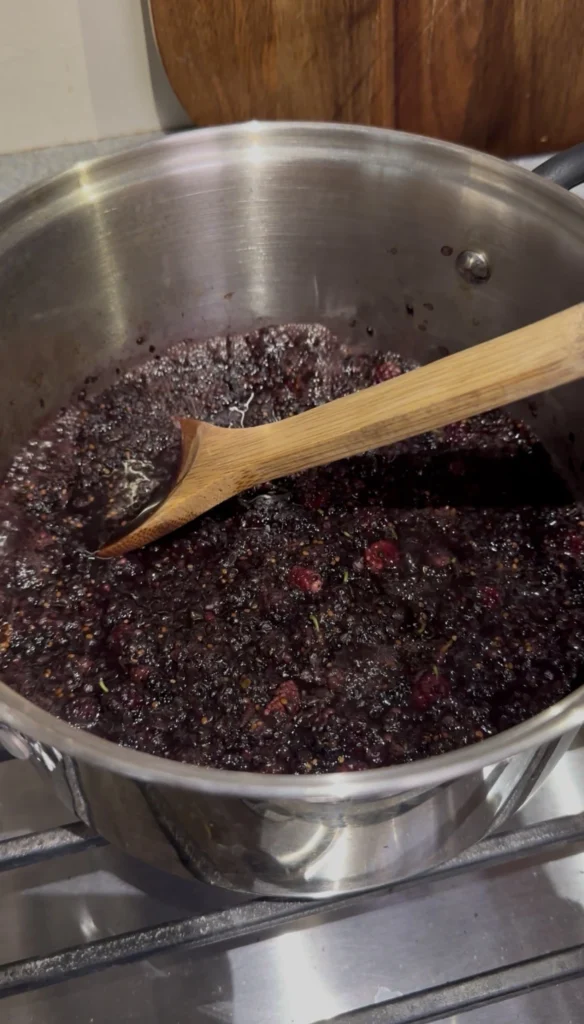
Bring the berries to a gentle boil over medium heat, stirring frequently. As they cook, stir and gently crush the berries to help release the juice. Continue cooking until the berries are soft and juicy, about 5 to 10 minutes.
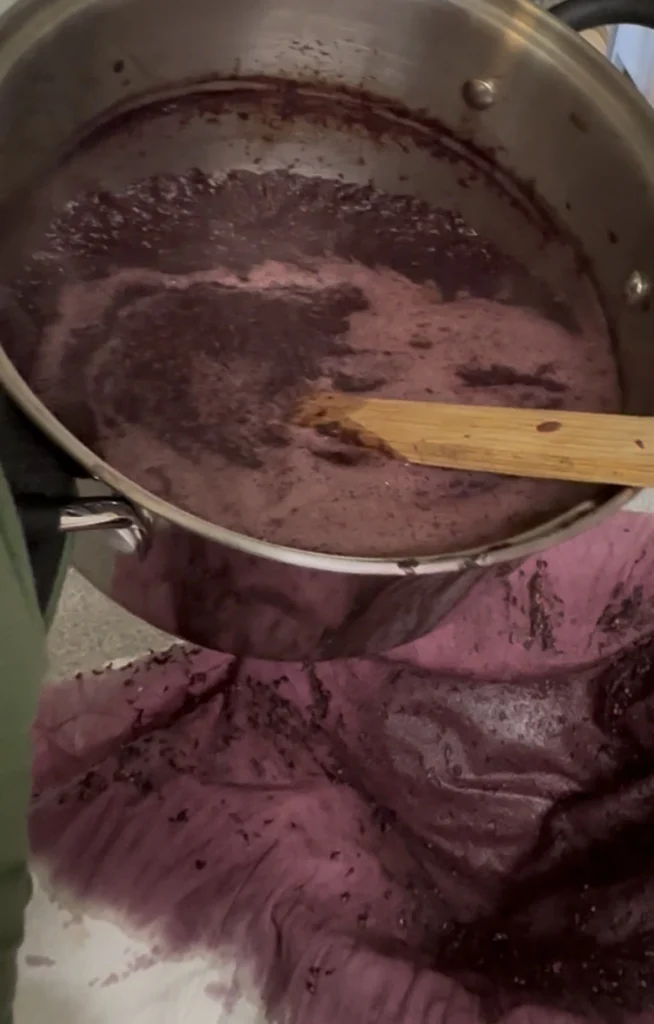
Line a colander with several layers of cheesecloth (I used a yogurt straining cloth, but beware it will stain whatever it touches!) and place it over a large bowl. Carefully pour the cooked berries into the lined colander and let the juice drip through.
Once most of the juice has dripped into the bowl, you can gently squeeze the cheesecloth with your hands to get the remaining juice out. I recommend wearing food-safe gloves for this part, unless you want purple hands for the rest of the day.
For a clearer jelly, let the berries drip naturally for at least 2 hours, or even overnight in the refrigerator, instead of squeezing them. Squeezing gives you more juice, but it can make the jelly a little cloudier.
Once you have 3 1/2 cups of mulberry juice, you’re ready to make the jelly.
How to Prepare the Jars
Before you begin cooking the jelly, wash your jars in hot, soapy water and keep them warm until you’re ready to fill them.
You do not want to ladle hot jelly into cold jars because the sudden temperature change can cause jars to crack. Keeping the jars warm also helps the whole canning process go much more smoothly.
Prepare your lids and bands according to the lid manufacturer’s directions. You’ll want to use new lids each time you can, but bands can be reused as long as they are not rusty or bent.
How to Make Mulberry Jelly
Once your juice is prepared, pre-measure the sugar into a medium bowl. This is important because once the pectin and juice come to a full rolling boil, everything moves quickly. You don’t want to be measuring sugar while the pot is boiling.

Pour the prepared cups of juice into a large stock pot.

Add the powdered pectin and stir it into the mulberry juice.
Place the pot over medium-high heat and stir frequently until the juice mixture reaches a full rolling boil. A full rolling boil is a boil that keeps bubbling even while you stir it.
Once the juice and pectin mixture reaches a full rolling boil, add the pre-measured sugar all at once.
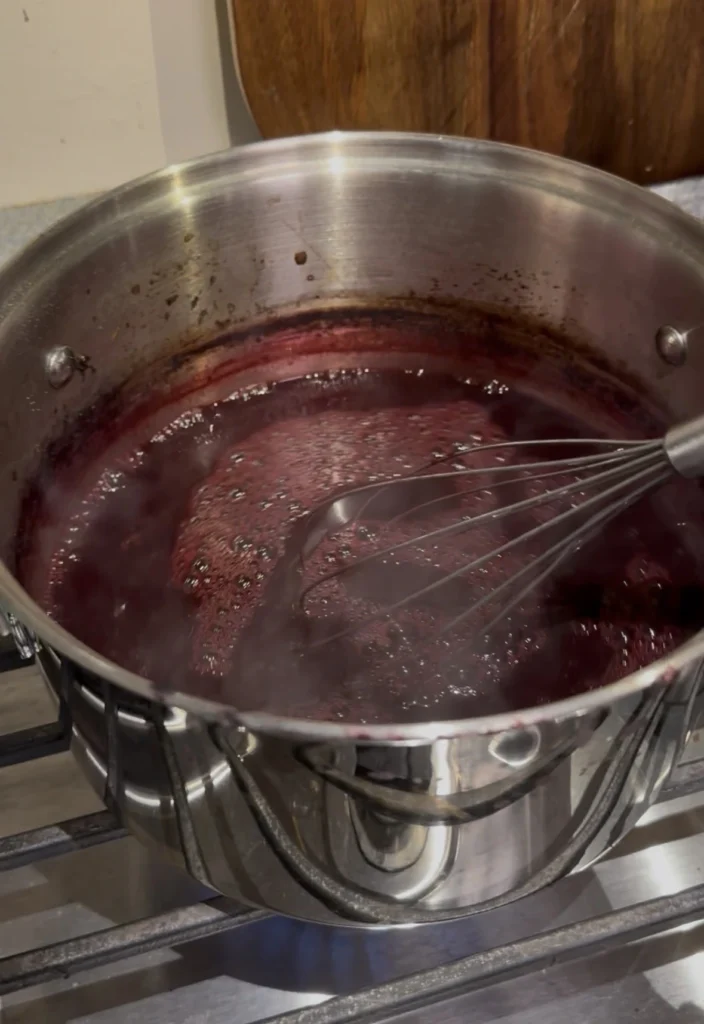
Stir continuously until the mixture reaches a full rolling boil again.
Once the sugar dissolves and it reaches a full rolling boil, boil for 1 full minute while stirring constantly.
Remove the pot from the heat.
Carefully ladle the hot jelly into prepared jars, leaving 1/4 inch headspace at the top.
Wipe the rim of the jars with a clean, damp towel. Add the lids and bands, tightening the bands to fingertip tight. You don’t want them cranked down too tightly.
Place the jars in a boiling water-bath canner and process for 10 minutes.
Once the processing time is finished, carefully remove the jars without tilting them and place them on a towel where they can sit undisturbed.
Let the jars cool for 12 to 24 hours. After they are completely cool, check the seals. If a jar did not seal, place it in the refrigerator and use it first.
Tips for Making Homemade Mulberry Jelly
Pre-measure the sugar before you start
This really does make the process easier. Jelly moves quickly once it starts boiling, and having the sugar ready keeps you from scrambling.
Use a large enough pot
Jelly bubbles up quite a bit while it is boiling. Use a larger pot than you think you need so you don’t have sticky jelly boiling over onto your stove.
Stir frequently when making the juice
When cooking the mulberries down for juice, stir often so the berries do not scorch on the bottom of the pot. You only need a little water to help prevent scorching.
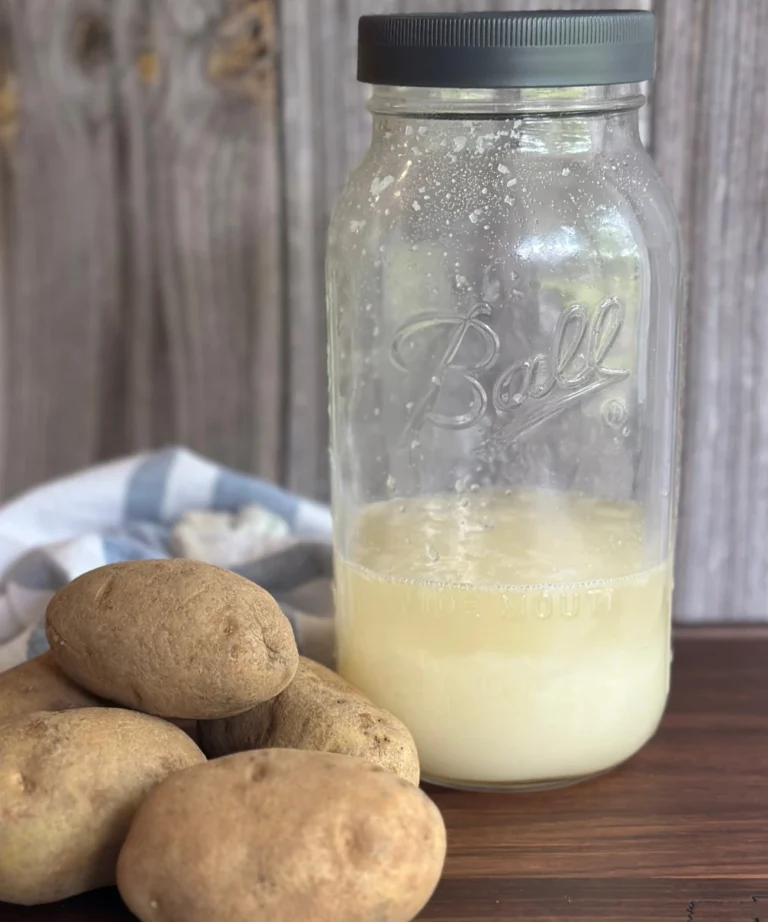
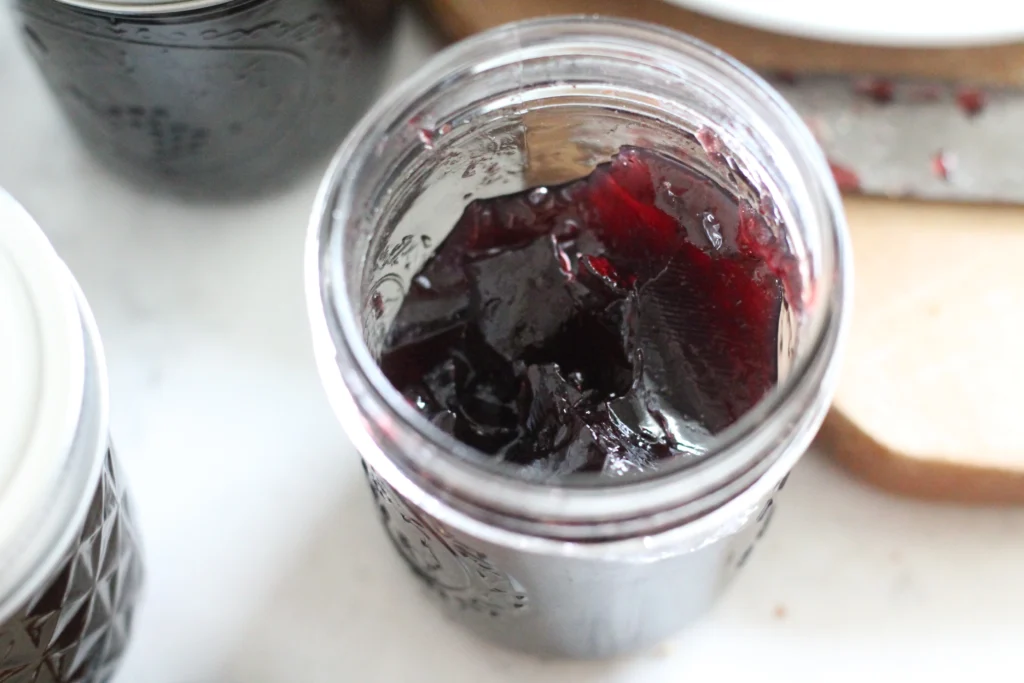
Don’t worry if the juice looks dark
Mulberries make a deep purple juice, and it can look very dark once it is cooked down. That rich color turns into a beautiful jelly.
Wear gloves if squeezing the berries
Mulberry juice stains easily. If you squeeze the cheesecloth by hand, food-safe gloves will save you from having purple hands afterward.
Let the juice drip naturally for clearer jelly
If you want the clearest jelly possible, let the cooked berries drip through the cheesecloth without squeezing. This can take a couple of hours or even overnight.
If you squeeze the berries, you will usually get more juice, but your jelly may be a little cloudier.
Stir constantly after adding the sugar
Once the sugar is added, stir continuously until the jelly returns to a full rolling boil. This helps prevent scorching and helps the sugar dissolve evenly.
Know what a full rolling boil looks like
A full rolling boil is not just a gentle simmer. It should be bubbling hard and continue boiling even while you stir.
Don’t overcook it
After the jelly reaches a full rolling boil the second time, boil it for 1 minute. Longer is not always better with pectin recipes. Overcooking can affect the texture and final set.
Use proper headspace
Leave 1/4 inch of headspace in each jar. Too much or too little headspace can interfere with a good seal.
Let the jars sit undisturbed
After processing, place each jar of jelly on a towel and let them sit for 12 to 24 hours. Try not to move them around while they are cooling and sealing.
How to Use Mulberry Jelly
Amazing home-made mulberry jelly is delicious on:
- Homemade biscuits
- Toast
- English muffins
- Crumpets
- Pancakes
- Waffles
- Sourdough bread
- Peanut butter and jelly sandwiches
- Thumbprint cookies
- A simple charcuterie board with crackers and cheese
It also makes a sweet homemade gift, especially if you use smaller 4-ounce jelly jars.
Gifting Mulberry Jelly
If you want to gift mulberry jelly to friends and family, you can buy these blank labels and print the cute labels below at home. Just write in the date you made the jelly and stick it on the lid. If you don’t want to buy the sticker labels you can print them out on card stock, cut them out and tie the labels on with some cute twine!
How to Store Mulberry Jelly
Once your jars have cooled and sealed, remove the bands, wipe down the jars if needed, label them, and store them in a cool, dark place.
For best quality, use home-canned jelly within about a year.
Once opened, keep the jelly in the refrigerator.
If any jars do not seal after processing, store those in the refrigerator and use them first.
Frequently Asked Questions
Can I use frozen mulberries to make this jelly?
Yes. Frozen mulberries can be used to make the juice for this jelly. Thaw them first, then cook and strain them just like you would fresh berries.
Do I need to remove the stems from mulberries?
Mulberry stems can be a little tedious to remove. Since this recipe uses mulberry juice that is strained before making the jelly, a few small stems usually aren’t a big deal when making the juice.
Just make sure the berries are clean and remove any leaves, debris, bugs, or bad berries.
How do I get mulberry juice?
Mulberry juice is made by gently cooking fresh mulberries with a small amount of water until they soften and release their juice. Then the cooked berries are strained through cheesecloth or a jelly bag.
For the clearest jelly, avoid pressing too hard on the fruit while straining. Pressing can make the jelly cloudier, though it will still taste good.
Can I reduce the sugar?
For this recipe, I would not reduce the sugar unless you are using a pectin specifically made for low-sugar recipes.
Regular powdered pectin usually needs the right balance of fruit juice, sugar, and pectin to set properly. Reducing the sugar can keep the jelly from setting.
Can I use liquid pectin instead of powdered pectin?
This recipe is written for powdered pectin. Liquid pectin and powdered pectin are not always interchangeable, and the order of ingredients is usually different.
For best results, stick with powdered pectin for this recipe.
Why didn’t my jelly set?
Jelly can fail to set for several reasons. The mixture may not have reached a full rolling boil, it may not have boiled for the full minute after adding the sugar, the sugar may have been reduced, or the pectin may have been old.
Sometimes jelly also takes a little longer to fully set. Let the jars sit for 24 hours before deciding it didn’t work.
Can I remake jelly if it doesn’t set?
Yes, soft jelly can often be remade, but you’ll want to follow a trusted method for remaking soft jelly so the added pectin, sugar, and acid amounts are correct.
Why is my jelly cloudy?
Cloudy jelly can happen if the fruit was squeezed too much while straining, if the juice had pulp in it, or if foam was stirred back into the jelly.
It’s usually still perfectly fine to eat as long as it was canned properly and the jars sealed.
Do I have to water bath can this jelly?
If you want the jelly to be shelf-stable, yes, it should be processed in a boiling water bath canner.
If you skip the canning step, store the jelly in the refrigerator and use it as refrigerator jelly.
Can I make this as freezer jelly?
This recipe is written for canning, not freezer jelly. Freezer jelly usually uses a different method and sometimes a different type of pectin.
How long does homemade mulberry jelly last?
Properly sealed jars can be stored in a cool, dark place for about a year for best quality.
Once opened, refrigerate and use within a few weeks.
What is the difference in mulberry jelly and mulberry jam?
Mulberry jelly is made from mulberry juice, so the finished texture is smooth and does not have pieces of fruit or seeds in it.
Mulberry jam is made with the whole fruit or crushed fruit, so it usually has more texture, fruit pieces, and sometimes seeds.
Both are delicious, but jelly is the better option if you want a smooth spread for biscuits, toast, or sandwiches.
Mulberry Jelly
Ingredients
- 8-10 cups Fresh mulberries enough to make 3 1/2 cups mulberry juice
- Water about 1/4 cup for every 4 cups of fresh mulberries
- 3 1/2 cups prepared mulberry juice
- 4 cups sugar
- 1 packet powdered pectin about 3.5 tablespoons
Instructions
- Before making mulberry jelly, you’ll need to turn your fresh mulberries into juice. This is easy to do on the stovetop and only takes a little bit of water to keep the berries from scorching.
- Start by sorting through the mulberries. Remove any bugs, sticks, leaves, stems, or berries that are spoiled. Rinse the berries well.
- Place the prepared mulberries in a large stock pot. Add just enough water to keep the fruit from scorching. A good rule of thumb is about 1/4 cup of water for every 4 cups of mulberries.
- Bring the berries to a gentle boil over medium heat, stirring frequently. As they cook, stir and gently crush the berries to help release the juice. Continue cooking until the berries are soft and juicy, about 5 to 10 minutes.
- Line a colander with several layers of cheesecloth (I used a yogurt straining cloth, but beware it will stain whatever it touches!) and place it over a large bowl. Carefully pour the cooked berries into the lined colander and let the juice drip through.
- Once most of the juice has dripped into the bowl, you can gently squeeze the cheesecloth with your hands to get the remaining juice out. I recommend wearing food-safe gloves for this part, unless you want purple hands for the rest of the day.
- For a clearer jelly, let the berries drip naturally for at least 2 hours, or even overnight in the refrigerator, instead of squeezing them. Squeezing gives you more juice, but it can make the jelly a little cloudier.
- Once you have 3 1/2 cups of mulberry juice, you’re ready to make the jelly.
- Before you begin cooking the jelly, wash your jars in hot, soapy water and keep them warm until you’re ready to fill them.
- You do not want to ladle hot jelly into cold jars because the sudden temperature change can cause jars to crack. Keeping the jars warm also helps the whole canning process go much more smoothly.
- Prepare your lids and bands according to the lid manufacturer’s directions. You’ll want to use new lids each time you can, but bands can be reused as long as they are not rusty or bent.
- Once your juice is prepared, pre-measure the sugar into a medium bowl. This is important because once the pectin and juice come to a full rolling boil, everything moves quickly. You don’t want to be measuring sugar while the pot is boiling.
- Pour the prepared cups of juice into a large stock pot.
- Add the powdered pectin and stir it into the mulberry juice.
- Place the pot over medium-high heat and stir frequently until the juice mixture reaches a full rolling boil. A full rolling boil is a boil that keeps bubbling even while you stir it.
- Once the juice and pectin mixture reaches a full rolling boil, add the pre-measured sugar all at once.
- Stir continuously until the mixture reaches a full rolling boil again.
- Once the sugar dissolves and it reaches a full rolling boil, boil for 1 full minute while stirring constantly.
- Remove the pot from the heat.
- Carefully ladle the hot jelly into prepared jars, leaving 1/4 inch headspace at the top.
- Wipe the rim of the jars with a clean, damp towel. Add the lids and bands, tightening the bands to fingertip tight. You don’t want them cranked down too tightly.
- Place the jars in a boiling water-bath canner and process for 10 minutes.
- Once the processing time is finished, carefully remove the jars without tilting them and place them on a towel where they can sit undisturbed.
- Let the jars cool for 12 to 24 hours. After they are completely cool, check the seals. If a jar did not seal, place it in the refrigerator and use it first.