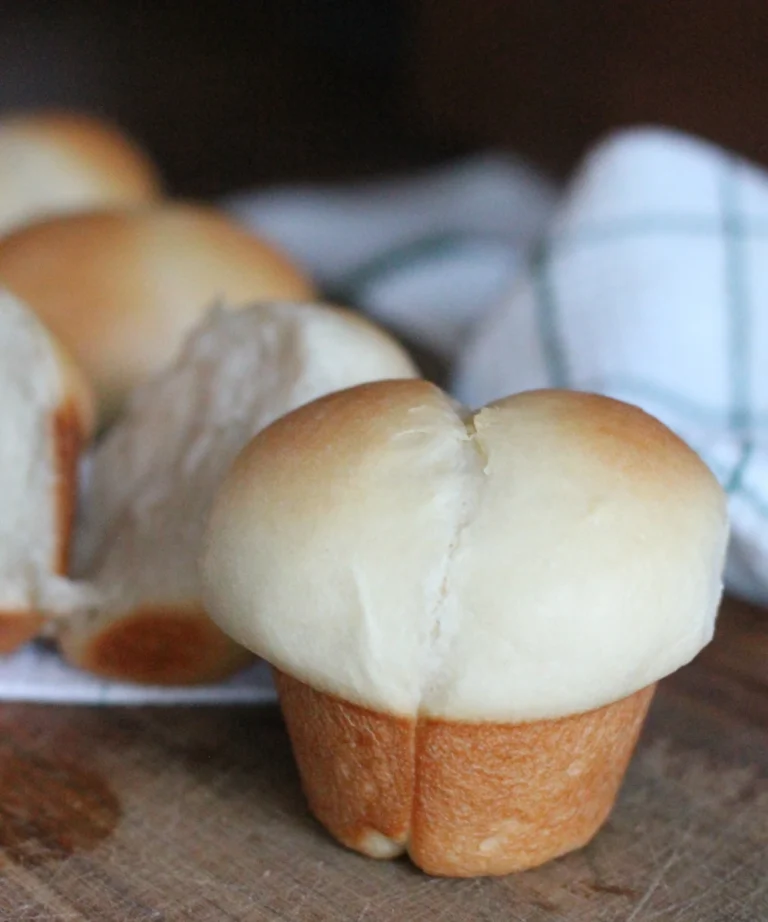
If you’ve been baking with potato flake sourdough for any length of time, you’ve probably seen the phrase “stretch and fold” pop up in sourdough bread recipes and wondered if it’s really necessary.
Short answer: no — but also… kind of yes.
Stretch and folds aren’t required to make good bread dough. You can absolutely develop gluten through traditional kneading, and for a long time that’s exactly what I did. I still often use my stand mixer because it’s quick and easy, especially on busy baking days.
But while stretch and folds aren’t necessary… they really do transform your dough strength and overall gluten development.
The stretch and fold technique develops a strong gluten network in a much gentler way than traditional kneading. Instead of working the dough continuously, you’re letting time and fermentation do most of the work while simply guiding the development of the dough along. This keeps the dough softer, more elastic, and less tight — which is especially helpful for enriched potato flake sourdough doughs.
I actually learned about sourdough stretch methods years ago when I first started reading about traditional sourdough starter baking. Back then, I didn’t think they applied to potato flake sourdough, so I stuck with kneading.
But once I finally tried using this stretching and folding technique in my potato flake sourdough recipes, I noticed a huge difference almost immediately.
The dough felt smoother. It held its shape better. The dough rises more evenly. And the finished loaf had better structure with a softer texture — just a better result overall.
Now I use both methods depending on the recipe and the day — kneading when I need speed, stretch and folds when I want the dough to really shine and produce great bread.
If you’ve never tried them before, this is one of those small changes that can make a surprisingly big impact without needing any special equipment.
This post may contain affiliate links, which means I may make a small commission at no extra cost to you. When you make a purchase through my link, you help me to keep Little Tennessee Home up and running! Thank you for your support! See my full disclosure here.
What Are Stretch and Folds?
Stretch and folds are one of the best ways to build dough strength and gluten structure without kneading.
Instead of working the dough continuously, you let time do most of the work. During the fermentation process, you periodically stretch the dough and fold it over itself. Each set of stretches strengthens the structure of the dough while still keeping it light and airy.
This method:
- Strengthens gluten development
- Builds a strong gluten network
- Helps dough hold its shape
- Improves oven spring
- Creates a more even crumb
- Prevents dense or flat loaves
For potato flake sourdough — which often contains sugar, fat, and sometimes milk — stretch and folds help compensate for ingredients that naturally soften gluten.
Why Stretch and Folds Work So Well with Potato Flake Sourdough
Potato flake sourdough behaves a little differently than traditional flour-and-water sourdough bread dough.
The dough can feel looser and more delicate, sometimes closer to a wet dough than a firm kneadable one.
Stretch and folds help give that dough enough strength without overworking it. Kneading dough too aggressively can actually tighten the gluten structure, while stretch and folds keep it relaxed but strong. I still use a stand mixer to knead my dough but stretch and fold are such a great option?
Stretch and folds are especially helpful for high-hydration doughs or recipes with a higher amount of water.
When to Do Stretch and Folds
Stretch and folds happen during the start of bulk fermentation — after mixing but before shaping.
A general rule of thumb is to begin once the dough has had a short rest period after mixing.
A common schedule looks like:
- Mix dough
- Rest 20–30 minutes (first rest period)
- First stretch (first set)
- Rest 20–30 minutes
- Next set of stretches
- Rest 20–30 minutes
- Another set of stretches
- Continue the remainder of the first rise
You don’t have to be exact. Potato flake sourdough is very forgiving, and giving the dough enough time between each next set is more important than strict timing.
How to Do Stretch and Folds (Step-by-Step)
1: Let the Dough Rest First
After mixing your dough at room temperature, let it sit for about 20–30 minutes.
This rest period allows the flour to hydrate, begins gluten development naturally, and makes the first stretch easier.
2: Use Wet Hands
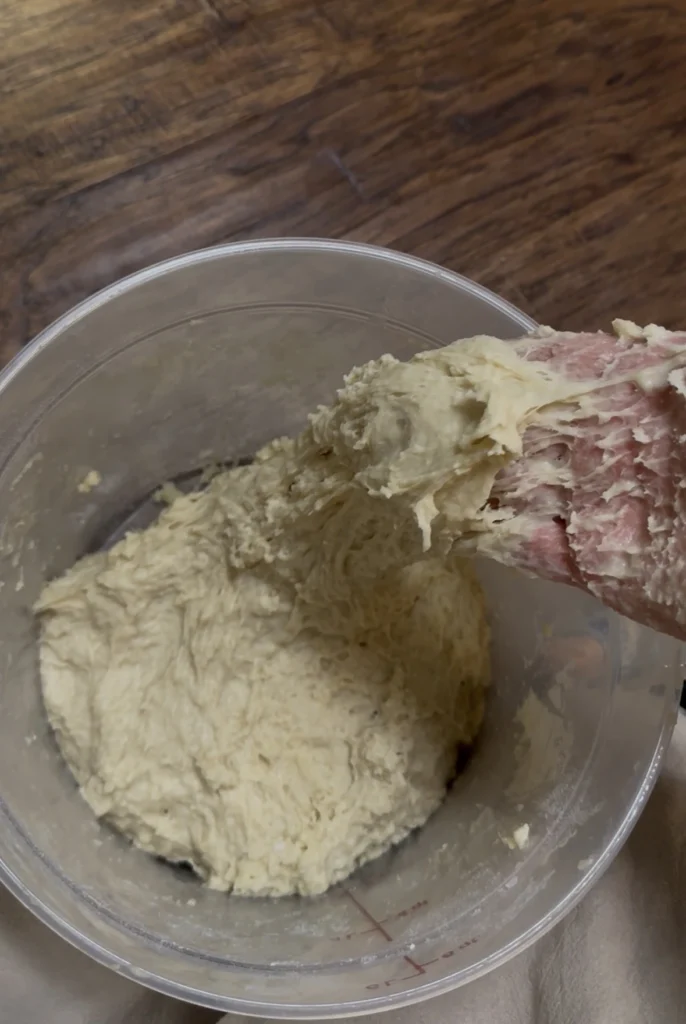
Potato flake sourdough dough can be sticky, especially if it’s a wet dough or high-hydration dough.
Using wet hands prevents sticking without changing the amount of flour in the recipe.
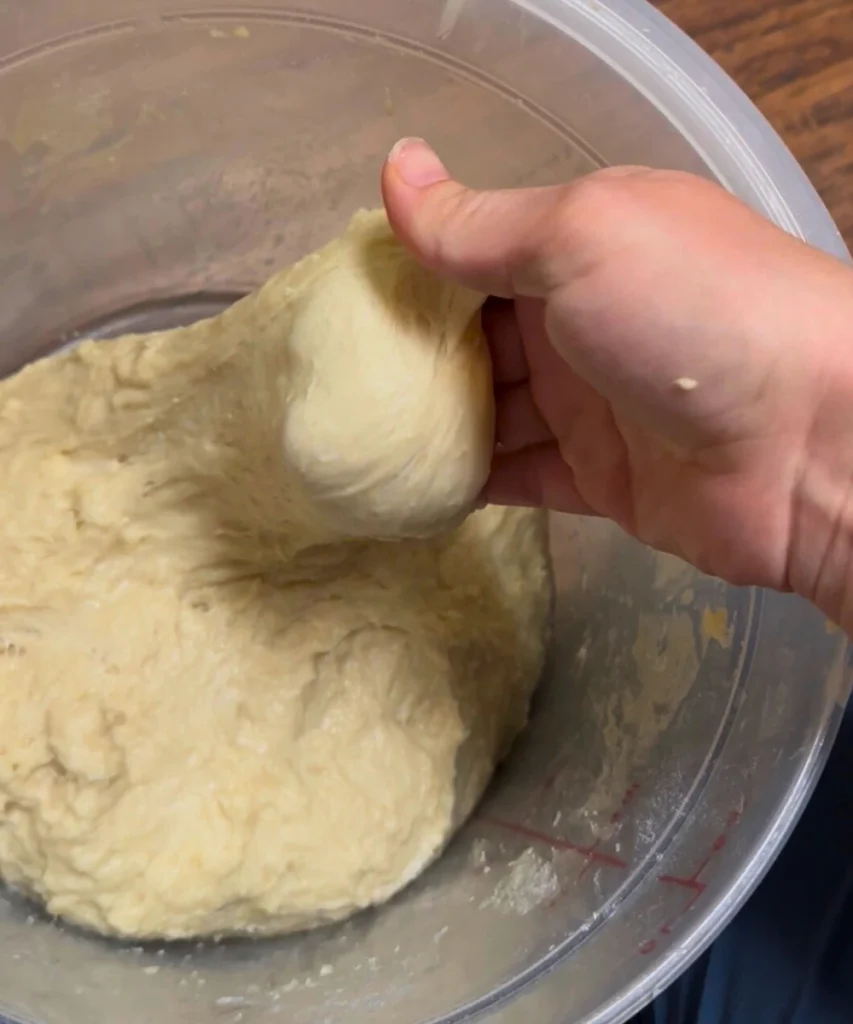
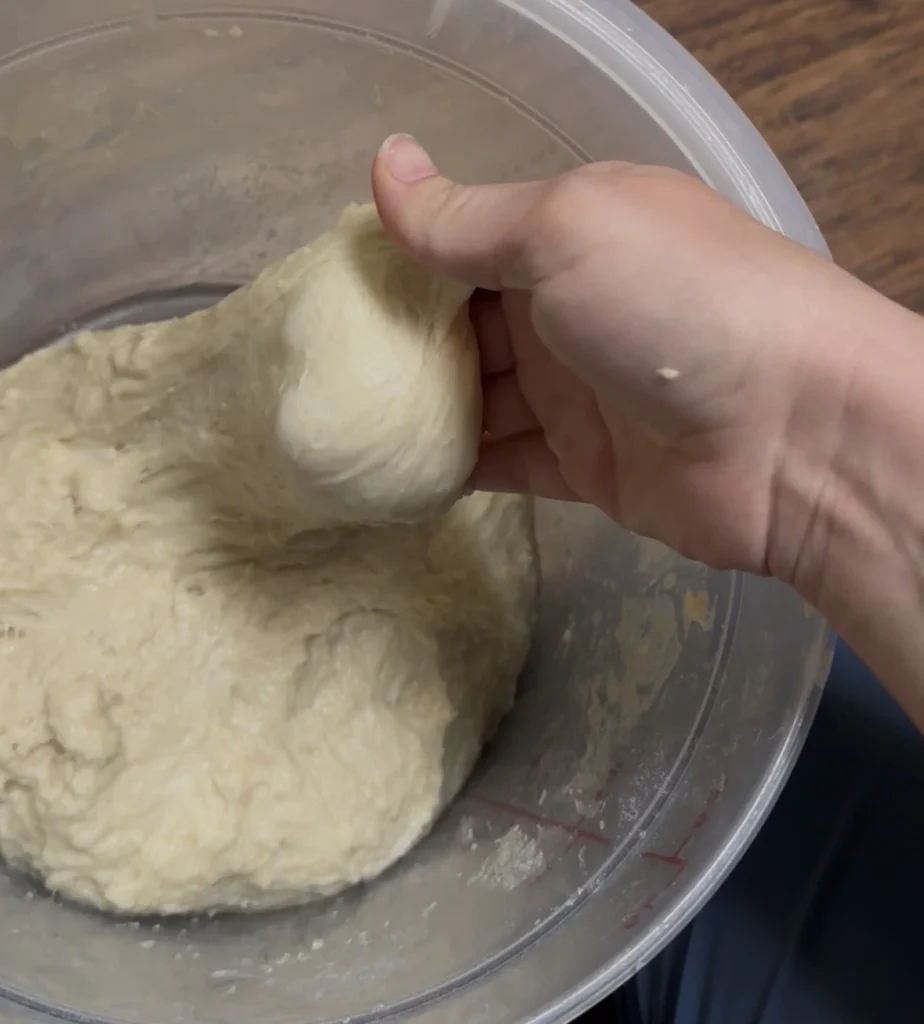
3: Grab One Side of the Dough (First Stretch)
Reach under one edge of the dough, gently pull it upward, and stretch it until you feel resistance.
Don’t tear it — just stretch as far as it comfortably goes.
4: Fold It Over the Center
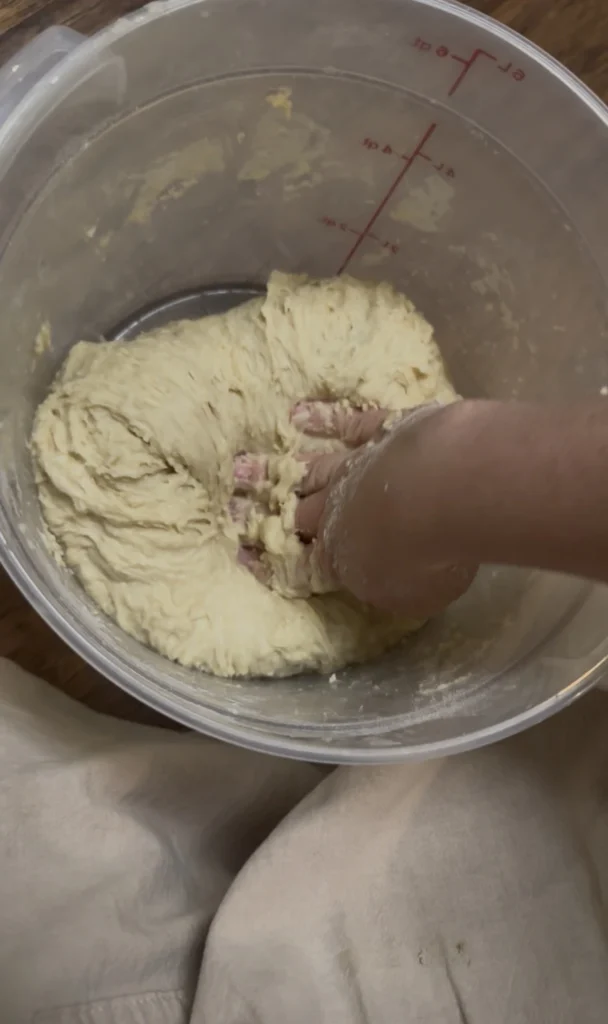
Lay that stretched portion over the top of the dough.
Rotate the bowl or container a quarter turn.
5: Repeat on All Four Sides

Stretch and fold each side toward the center.
Once all sides are folded, that completes one set of stretches.
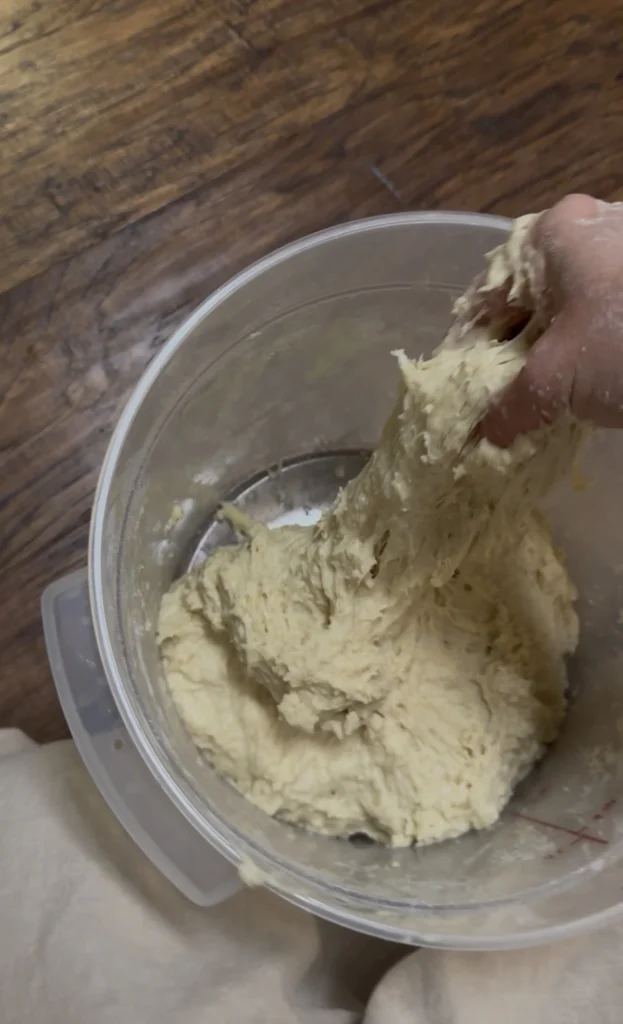
This folding technique gradually builds dough strength while protecting the gluten network.
6: Let It Rest Again
Cover the dough and allow another rest period before the next set.
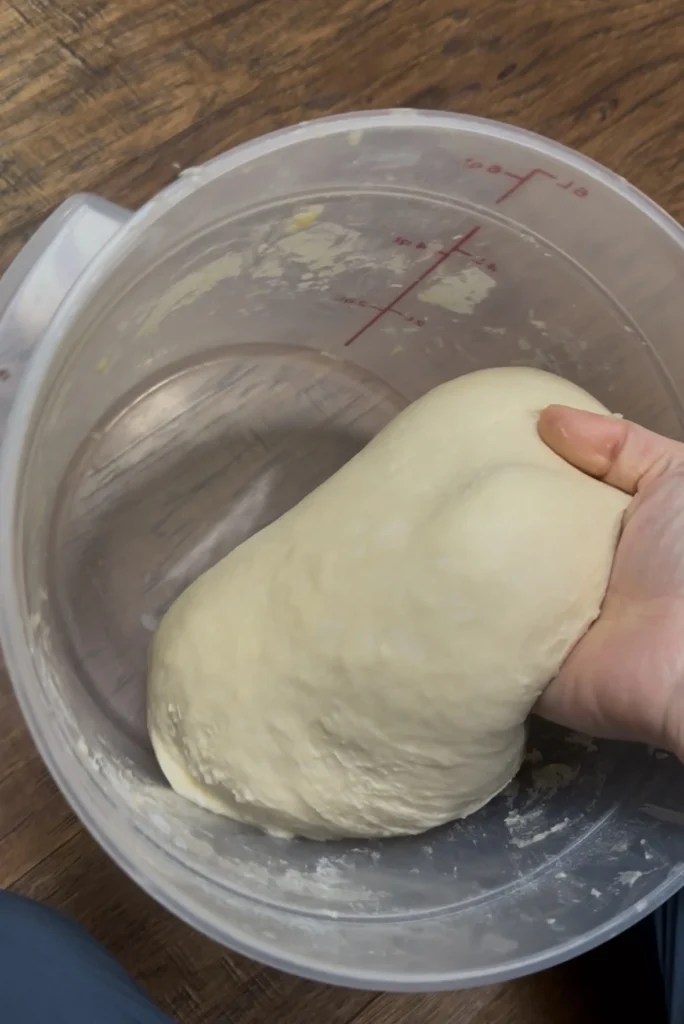
You’ll notice each next set becomes easier, smoother, and the dough begins to hold shape better — a good indication the gluten structure is developing.
Coil Folds vs Stretch and Folds
You may also hear about coil folds or the coil fold method. This is simply another fold technique that works especially well for wet dough or very high-hydration doughs.
Instead of pulling one side at a time, you gently lift the center of the dough and let the ends fold under themselves — almost like folding a blanket.
Both methods work well for sourdough bread recipes. Stretch and folds are usually easier for beginners, while coil folds are one of the best ways to handle very soft dough without deflating it.
How Many Stretch and Folds Do You Actually Need?
For most potato flake sourdough recipes:
- 2 sets of stretches = minimal structure
- 3 sets = ideal for sandwich loaves
- 4 sets = great for high-hydration doughs
A good indication your dough has enough strength is when:
- It holds shape in the bowl
- The surface looks smoother
- It stretches without tearing
- The texture of the dough changes from shaggy and bumpy to smooth and soft
You can also use the windowpane test to check gluten development. If the dough stretches thin without tearing, the gluten network is strong.
Once it feels ready, you can allow the dough to finish the remainder of the first rise before shaping.
What Types of Recipes Should I Do Stretch and Folds On?
Stretch and folds are most helpful in doughs where you want to build dough strength and improve gluten development without a lot of kneading.
In general, stretch and folds work best for:
- sandwich loaves
- artisan-style breads
- dinner rolls
- hamburger buns
- pizza dough
- focaccia
- higher hydration doughs
- doughs made with freshly milled flour
These types of recipes benefit from extra dough strength because structure matters so much in the final result. If you want a dough to rise well, hold its shape, and bake up with a soft but sturdy texture, stretch and folds can make a big difference.
They’re especially useful in recipes where the dough feels sticky, loose, or too soft to knead easily. Instead of adding too much flour, stretch and folds help strengthen the dough gradually while keeping it light and tender.
Recipes That Usually Benefit the Most
If you’re wondering where to start, these are the types of potato flake sourdough recipes that usually respond really well to stretch and folds:
Sandwich bread and loaf-style breads
These benefit from stronger dough that can rise tall and bake with a soft, even crumb.
Rolls and buns
Dinner rolls, hamburger buns, and similar doughs often turn out smoother and more structured with a few sets of stretch and folds.
Pizza dough
Stretch and folds can help create a dough that is easier to shape and has better chew and texture.
Freshly milled flour recipes
Because freshly milled flour can lack gluten, stretch and folds are often one of the best ways to help the dough gain strength. Read more about that below!
High-hydration doughs
When dough is too wet or sticky to knead well, stretch and folds are often much easier and more effective than traditional kneading.
Recipes That Usually Don’t Need Stretch and Folds
Not every recipe needs this technique.
You usually do not need stretch and folds for:
These recipes are not relying on strong gluten development in the same way bread dough does. In fact, in many of them, too much gluten development would actually make the texture worse instead of better.
You also may not need stretch and folds in a potato flake sourdough recipe that is already being kneaded thoroughly in a stand mixer and has a lower hydration dough. In that case, the dough may already have enough strength without adding extra folds.
A Simple Rule of Thumb
If the recipe is a true bread dough and you want better structure, stretch and folds are usually worth doing.
If the recipe is supposed to be tender, crumbly, flaky, or cakey, skip them.
That’s really the easiest way to decide.
Stretch and Folds with Freshly Milled Flour
Freshly milled flour changes things — in good ways, but also in ways that require a small adjustment in technique.
If you’re baking with fresh flour, here’s what to expect.
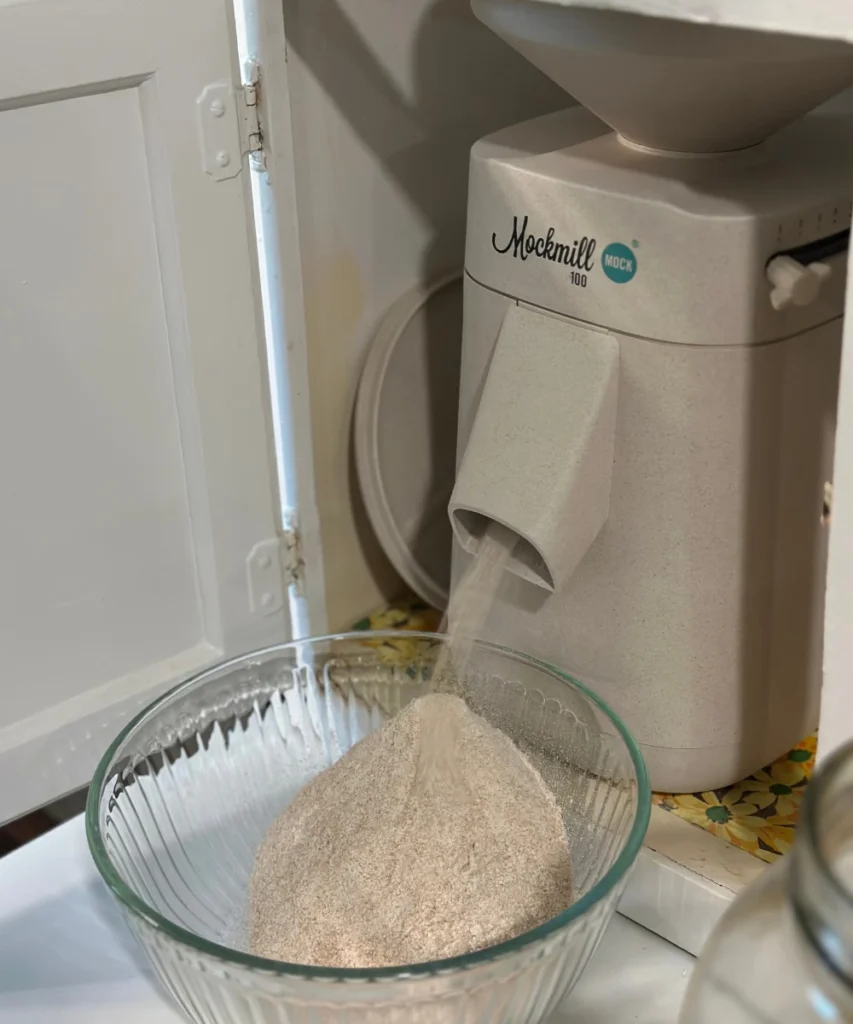
Why Freshly Milled Flour Needs More Stretch and Folds
Fresh flour contains:
- The full bran
- The germ
- Natural oils
- More enzymes
- Higher nutrient content
All of this improves flavor and nutrition, but it also affects gluten development.
Bran particles interrupt the gluten structure, meaning the dough may need:
- A little bit more time
- Slightly more hydration
- One extra set of stretches
Stretch and folds help compensate for this by gradually strengthening the structure of the dough while allowing the fermentation process to continue naturally.
What to Change When Using Freshly Milled Flour
Don’t Add the Salt to the Dough Until After the First Rest
Instead of adding the salt into the dough during the mixing stage as normal, wait until after the first initial rest time.
Waiting to mix in the salt gives the flour a chance to soak up the liquid first, which helps the gluten start forming and lets the wild yeast get going. Salt tends to draw in moisture and tighten the dough, so adding it a little later keeps it from interfering with that early stage. In the end, you get dough that’s stretchier, stronger, and rises more beautifully.

Increase the Initial Rest Time
Instead of 20–30 minutes, try 30–45 minutes before the first set.
Fresh flour absorbs water more slowly, and giving it enough time helps the dough come together.
Expect One Extra Round
With freshly milled flour, I usually plan for 3–4 sets of stretches to build enough strength.
Don’t Panic if It Feels Rough at First
Fresh flour dough often starts:
- Grainy
- Sticky
- Less elastic
After a few sets of stretches, it typically becomes smoother and more cohesive as the gluten network forms.
Hydration Matters More
Freshly milled flour often needs a slightly higher amount of water depending on the type of grain and amount of flour used.
If the dough feels stiff during folds, it may need:
- A splash of water
- A longer rest period
- Slight adjustments next time
Signs Your Dough Is Ready After Stretch and Folds
Look for:
- Dough holds shape
- Surface looks smoother
- Dough jiggles slightly
- It stretches easily
- It passes a windowpane test
At that point, your dough is ready for shaping and baking.

Pin for later and share with a friend:
Stretch and folds are one of the simplest techniques you can learn, but they make a huge difference in potato flake sourdough baking.
They help enriched dough gain strength, allow freshly milled flour to hydrate properly, and give you a better rise and texture — all without heavy kneading or special equipment.
Once you get used to the rhythm, they just become part of the baking flow… and you’ll probably start doing them automatically without even thinking about it.