
Making instant pot yogurt in jars instead of straight in the stainless steel pot, is a game changer! This is a homemade swap that you can easily make that is healthier and cheaper than the store-bought yogurt. Now with this jar hack, it’s even easier and you’ll soon be wondering why you haven’t made your own yogurt before today!

I have been making homemade instant pot yogurt for a long time now, using my first instant pot yogurt recipe. I recently had the idea of making my own homemade yogurt in mason jars in the instant pot. When I gave it a try, and realized it could in fact be done, I was so excited for how much easier this was going to make my yogurt making process! The main reason I love making it in the jars is because it saves me time, space in my fridge, and eliminates more dishes from having to be washed! That, my friends, is a huge win!
If you love creamy, tangy yogurt but want to skip store-bought versions filled with additives, and the high price tag, this method is perfect for you. With just two ingredients and minimal hands-on time, you’ll have delicious homemade yogurt ready to enjoy!
Why Make Yogurt in Mason Jars?

Making yogurt in the instant pot in jars has several benefits:
- Less Cleanup – The yogurt ferments directly in the jars, reducing the need to clean the Instant Pot liner.
- Easy Storage – Once the yogurt is ready, you can place the jars straight into the fridge.
- Perfect Portions – Makes the perfect amount of yogurt that your family will eat.
- Customizable Flavors – You can flavor each jar differently, allowing you to make flavors everyone will enjoy!
This post may contain affiliate links through amazon, which means I may make a small commission at no extra cost to you. When you make a purchase through my link, you help me to keep Little Tennessee Home up and running! Thank you for your support! See my full disclosure here.
Ingredients and Tools You’ll Need
The amount of milk and yogurt you will need will depend on how much yogurt you want to make. That is what makes this recipe so great! You can easily adapt to make as little or as much yogurt as you need for your family.
Here is a breakdown for some different ratios:
1 1/2 teaspoons of yogurt culture per 1 cup of milk.
1 Tablespoons for 2 cups of milk
2 Tablespoons for 4 cups of milk (1 quart)
For these instructions we will make 3 quart jars of yogurt. You will need:
- 8 quart instant pot
- 3 quart size mason jars
- Instant pot trivet
- Glass lid for the instant pot (optional) 6 qt. lid, 8 qt. lid
- Thermometer
- 12 cups whole milk
- 6 tablespoons plain yogurt with live active cultures (this will be your yogurt culture)
What type of yogurt should I use?
You can use any plain brand of yogurt from the grocery store that has zero additives and contains live active cultures. You can find this info on the container in the ingredients section. The more active cultures, the better!
I have always used the plain Chobani yogurt as my yogurt starter. One single cup is enough to get you started.
Chobani Plain Yogurt contains 6 Live and Active Cultures: S. Thermophilus, L. Bulgaricus (lactobacillus bulgaricus), L. Acidophilus, Bifidus, L. Casei, and L. Rhamnosus.
Greek Gods Plain Yogurt would be another good option. This brand contains 7 Live and Active Cultures: S. Thermophilus, B, Lactis, L. Acidophilus, L. Casei, L, Rhamnosus, Lactobacillus Lactis, L. Bulgaricus.
Which instant pot do I need?
To make yogurt in the instant pot you will need to make sure that you have an instant pot with the yogurt function. Some of the instant pot models do not have this button and it will not allow you to keep the temperature of the milk at the correct temperature for safe incubation.
While I have made yogurt before I had an instant pot, this is by far the safest and most reliable method. It’s also my favorite way because it makes things so much easier!
Any instant pot with the yogurt function will work. For smaller batches, the 3 quart instant pot is perfect! The 6 quart or 8 quart instant pot with the yogurt button are better for making larger batches. However, you wil not be able to use the quart size mason jars in the 3 quart instant pot or 6 quart instant pot. You will want to use small jars (pint-sized mason jars) if you have one of those sizes.
You could even make single portions of yogurt in 4 ounce mason jars by using this multi tier rack for the instant pot!
Having a glass lid to go with your instant pot is super helpful for keeping an eye on the milk when it is heating up. You can purchase a lid that fits your size instant pot perfectly, or you can do what I did and try out your glass lids you already have from your pot and pans set to see if any of them will fit first!
How to make yogurt in your instant pot in jars
Prepare the Mason Jars
Start by sterilizing your mason jars and lids. Wash them with hot, soapy water and rinse thoroughly. For extra sanitation, you can place them in the Instant Pot on the steam setting for a couple of minutes. (this is optional but an extra step that some people feel better about, I have never personally done this.)
Heat the Milk


Pour the milk into the mason jars, dividing it evenly. Place the jars in the Instant Pot insert and add about 1 cup of water to the bottom of the pot (not in the jars).

Select the ‘Saute’ function, press until the ‘more’ is selected. Heat the milk to 180°F, stirring occasionally with a clean spoon. Use a kitchen thermometer to monitor the temperature.
Cool the Milk

Once the milk reaches 180°F, turn off the Instant Pot and carefully remove the jars. (A canning jar removal tool helps if you have one.) Let them cool to about 110°F. You want to be sure you allow it to cool to this temperature before adding the culture. This prevents the heat from killing the live cultures in the starter yogurt. Occasionally stir and monitor the temperature. you will notice a bit of film developing on top of the milk. This is fine, just stir it back in each time you check the temperature of the milk.
Add the Yogurt Starter Culture

In each of the jars add the correct amount of starter culture for the amount of milk in the jar. For a quart size jar, you will mix 2 tablespoons of plain yogurt into the milk. Do this for each jar. Stir until incorporated.
Incubate the Yogurt

Place the jars back into the inner pot, making sure you have a least 1 cup of water at the bottom under the trivet.

Close the instant pot lid (it doesn’t need to be sealed), and select the ‘Yogurt’ setting. Set the incubation time for 8-10 hours, depending on how tangy you like your yogurt. I have gone as long as 20 hours, but it does get more tangy the longer you leave it incubating.
Chill and Enjoy

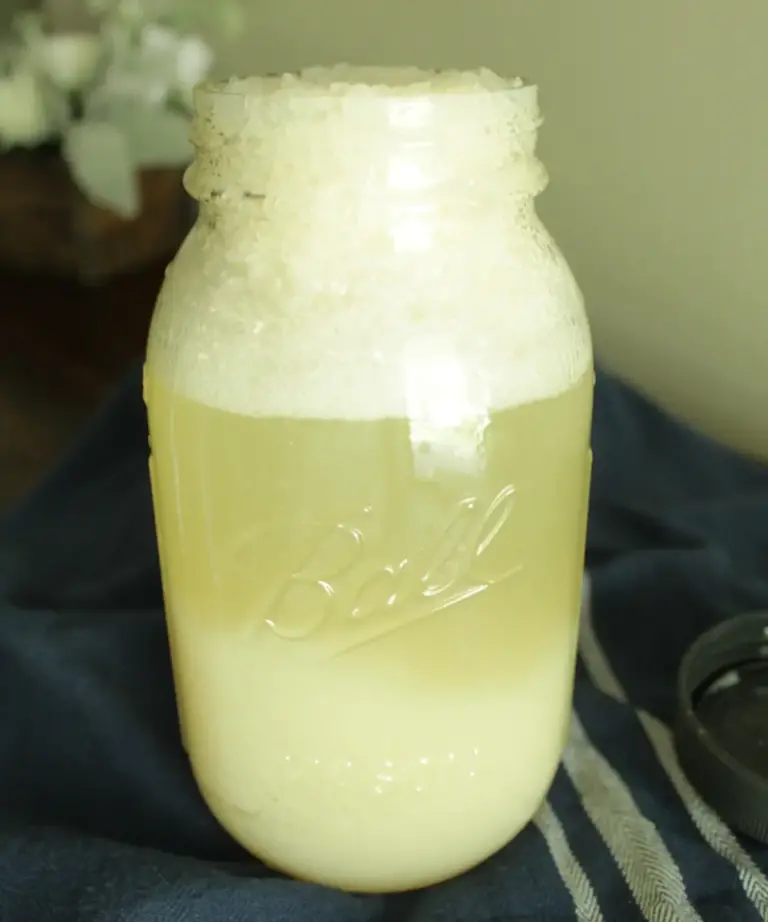
Once the incubation is complete, carefully remove the jars from the instant pot. You will notice a bit of liquid on the top, this is the whey, you do not have to strain this. It is extremely good for you. You can strain it for greek yogurt, but save the whey for other uses.

Cover the jars with lids and refrigerate for at least 4 hours to allow the yogurt to set fully.

Enjoy plain or with your favorite mix-ins like honey, fresh berries, or granola!
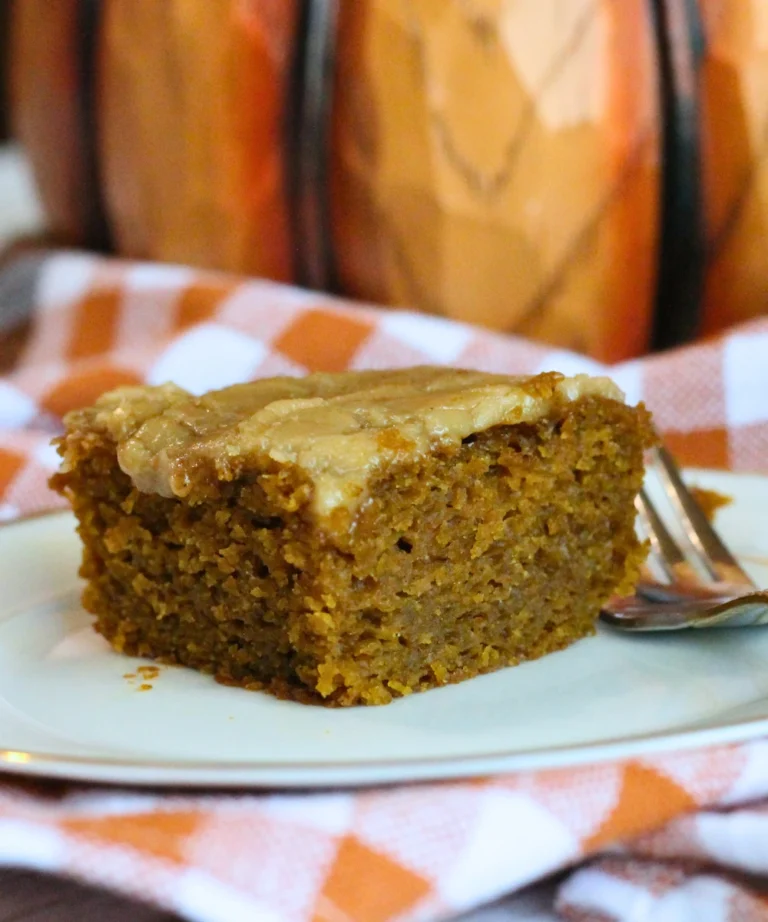
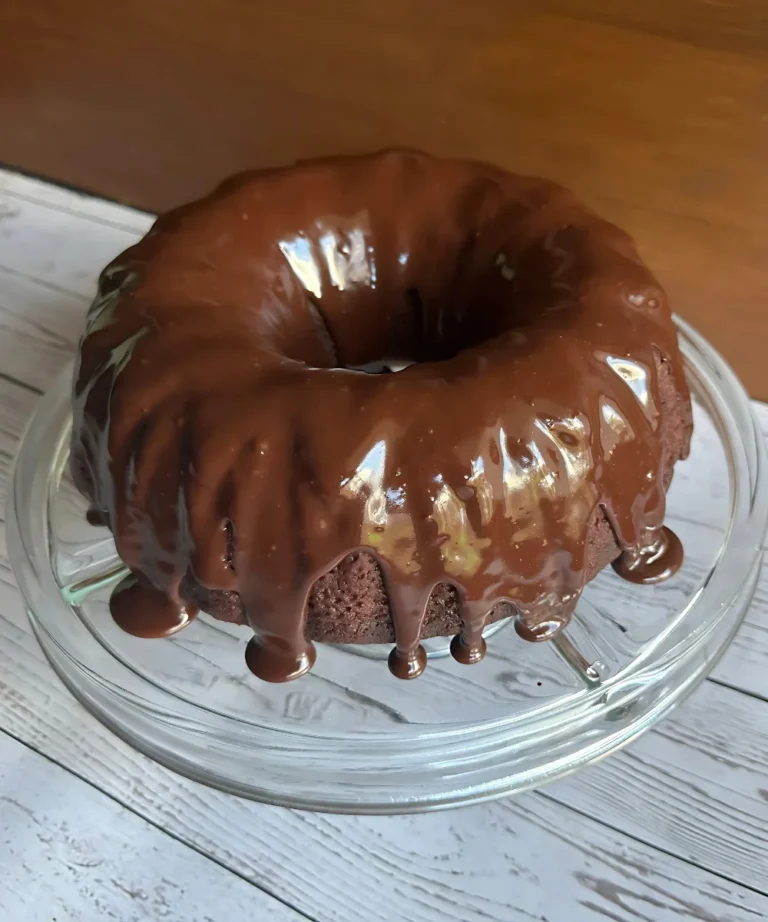
You can also use this yogurt in several of my potato flake sourdough muffin recipes:
Blueberry muffins
Double Chocolate Muffins
Pumpkin Muffins
Plan ahead for the next batch
If this was your first time making yogurt, you had to buy a yogurt culture. From now on, you won’t have to buy it again, unless you forget to save some from your previous batch. Be sure to save enough yogurt from this batch for next time. I have saved some in the freezer if I don’t plan to make more yogurt right away after finishing the current batch. It can last in the freeze for a few months. I allow it to thaw in the fridge before using.

Tips for the Best Homemade Yogurt
- Use high-quality milk – Whole milk makes the creamiest yogurt, but 2% also works well.
- Choose a good starter yogurt – Look for plain yogurt with multiple live active cultures for the best results.
- Longer incubation = tangier yogurt – If you prefer a milder taste, incubate for 8 hours; for a stronger tang, go for 10 hours or longer.
- Strain for Greek-style yogurt – Use a cheesecloth or fine-mesh strainer to remove excess whey and make thicker yogurt.
- Sweeten after incubation – Add honey, maple syrup, or vanilla extract after chilling to avoid interfering with fermentation.
Pin for later and share with a friend:

Making Instant Pot yogurt in mason jars is a simple and effective way to enjoy homemade yogurt with minimal effort. It’s a cost-effective, healthy alternative to store-bought options and can be customized to your taste. Give it a try and enjoy fresh, creamy yogurt anytime!
If you give this recipe a try, I would greatly appreciate if you came back and gave it a 5-star review! It helps me out so much!
I also love seeing all of the delicious creations you make! Share your photo over on instagram and give me a tag @littletennesseehome

How to Make Instant pot Yogurt in Jars
Equipment
- 8 quart instant pot
- 3 quart size mason jars
- Instant pot trivet
- Glass lid for the instant pot (optional) 6 qt. lid, 8 qt. lid
- Thermometer
Ingredients
- 12 cups whole milk
- 6 tablespoons plain yogurt with live active cultures this will be your yogurt culture
Instructions
- Pour the milk into the mason jars, dividing it evenly. Place the jars in the Instant Pot insert and add about 1 cup of water to the bottom of the pot (not in the jars).
- Select the ‘Saute’ function, press until the ‘more’ is selected. Heat the milk to 180°F, stirring occasionally with a clean spoon. Use a kitchen thermometer to monitor the temperature.
- Once the milk reaches 180°F, turn off the Instant Pot and carefully remove the jars. Let them cool to about 110°F. You want to be sure you allow it to cool to this temperature before adding the culture. Occasionally stir and monitor the temperature. you will notice a bit of film developing on top of the milk. This is fine, just stir it back in each time you check the temperature of the milk.
- In each of the jars add the correct amount of starter culture for the amount of milk in the jar. For a quart size jar, you will mix 2 tablespoons of plain yogurt into the milk. Do this for each jar. Stir until incorporated. (if using different size jars see notes)
- Place the jars back into the inner pot, making sure you have a least 1 cup of water at the bottom under the trivet.
- Close the instant pot lid (it doesn’t need to be sealed), and select the ‘Yogurt’ setting. Set the incubation time for 8-10 hours, depending on how tangy you like your yogurt. I have gone as long as 20 hours, but it does get more tangy the longer you leave it incubating.
- Once the incubation is complete, carefully remove the jars from the instant pot. You will notice a bit of liquid on the top, this is the whey, you do not have to strain this. It is extremely good for you. You can strain it for greek yogurt, but save the whey for other uses.
- Cover the jars with lids and refrigerate for at least 4 hours to allow the yogurt to set fully.
- After the yogurt has set, enjoy plain or with your favorite mix-ins like honey, fresh berries, or granola!


Made this over the weekend. Super easy and almost no clean up! Will definitely be making more!
yay! Glad to hear! I am loving this method too!
Yay! So happy to hear!