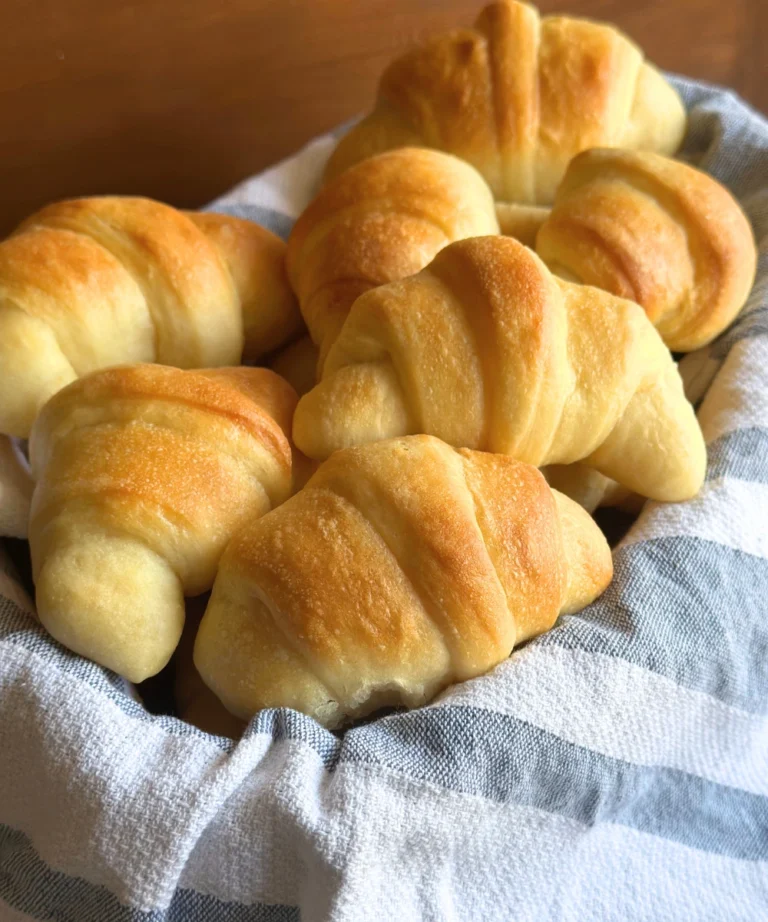
This freshly milled flour potato flake sourdough pizza dough is soft, chewy, flavorful, and made with a blend of hard white and soft white wheat. It gives you all the things we love about homemade pizza dough while incorporating freshly milled whole grains.
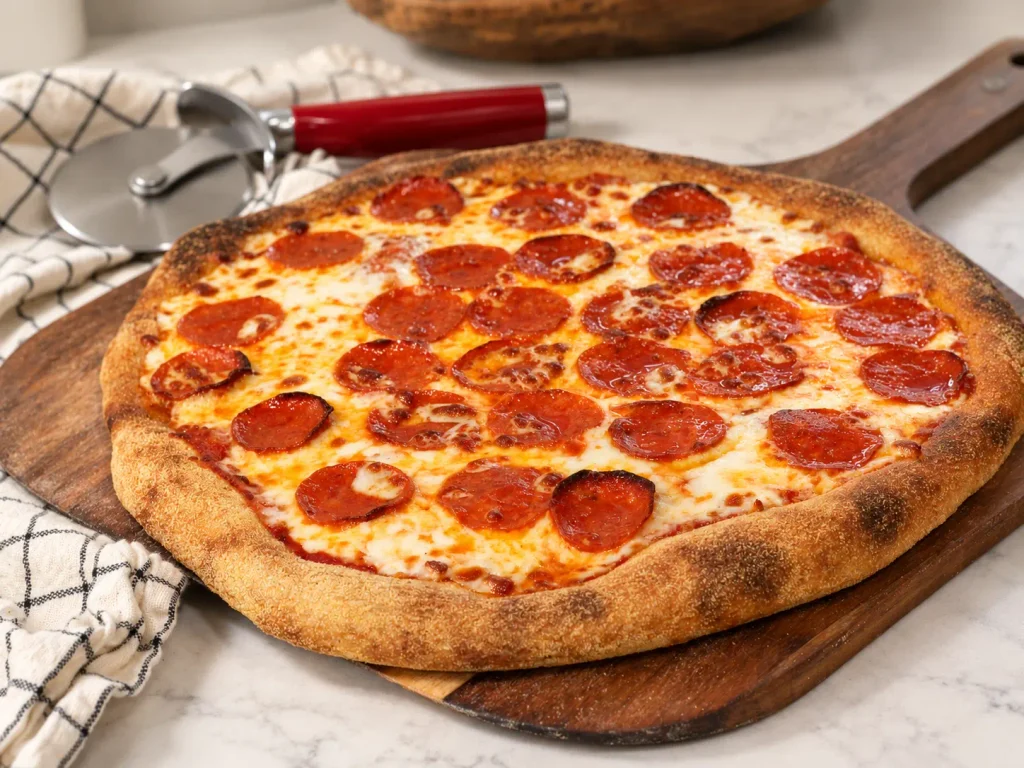
If you’ve made my original Potato Flake Sourdough Pizza Dough, this recipe is going to look pretty familiar. I started with that recipe because it has been one of our family’s favorite ways to make homemade pizza for years.
But as I’ve started using more fresh milled flour in our everyday baking, I wanted a fresh milled wheat version instead of store-bought flour for our family pizza night.
And, as you may already know, you can’t always just swap freshly milled flour cup-for-cup into a recipe and expect exactly the same results, it’s pretty close but you do have to make a few tiny tweaks.
For this version, I’m using a combination of soft white wheat and hard white wheat, along with a little vital wheat gluten. I also changed the mixing process to include an autolyse and a few rounds of stretch and folds.
The result is a dough that is easy to work with, stretches beautifully, and makes a delicious homemade pizza crust.
Why Use Freshly Milled Flour?
If this is your first time hearing about freshly milled flour, you might wonder why I choose to mill it myself instead of buying all purpose flour or whole wheat flour from the store. One of the biggest reasons I love milling my own flour is that I’m able to use the entire wheat berry right after it’s milled.

Freshly milled flour includes the bran, germ, and endosperm instead of removing portions of the grain during processing.
It also gives breads and baked goods a wonderful depth of flavor.
But freshly milled flour does behave a little differently than conventional bread flour, so there are a few things we can do to help create a great pizza crust.
That’s where the combination of wheat varieties, vital wheat gluten, autolyse, and stretch and folds comes in.
Why Use Both Soft White and Hard White Wheat?
For this pizza dough, I use:
- 225 grams soft white wheat
- 215 grams hard white wheat
Hard white wheat gives us more of the strength we need for a yeast or sourdough bread dough.
Soft white wheat is lower in protein and creates a softer, more tender texture.
Using the two fresh grains together gives me a crust that has enough structure to stretch and hold toppings while still staying soft and pleasant to eat.
Why Add Vital Wheat Gluten?
Since we’re using a fairly large portion of soft white wheat, I add 2 1/2 tablespoons vital wheat gluten.
Vital wheat gluten is simply the concentrated protein portion of wheat. Adding a little helps strengthen the gluten structure of the dough.
This is especially helpful in a pizza dough because we want the dough to be able to stretch without constantly tearing.
You certainly don’t need to add vital wheat gluten to every freshly milled flour recipe, but for this particular blend of hard and soft wheat, I really like what it does for the final texture.
Why Autolyse Freshly Milled Flour?
One major difference between this recipe and my original potato flake sourdough pizza dough is the 30-minute autolyse.
Autolyse sounds much more complicated than it actually is.
Basically, we’re mixing the flour with the liquid ingredients and allowing it to sit for about 30 minutes before adding the salt.
Freshly milled flour, especially the bran portion, benefits from having a little extra time to absorb the water.
That short rest helps hydrate the flour before we begin building strength in the dough.
After the autolyse, we’ll add the salt and then perform three sets of stretch and folds about 30 minutes apart.
It requires very little hands-on time, but it makes a noticeable difference in the dough.
Why Use a Potato Flake Sourdough Starter?
If you’ve been around Little Tennessee Home very long, you already know how much I love baking with my potato flake sourdough starter.
Unlike a traditional flour-and-water sourdough starter, potato flake starter is fed with water, sugar, and potato flakes.
It creates soft, slightly sweet breads and is very easy to maintain once you get the hang of it.
For this recipe, you’ll want to use an active potato flake sourdough starter that has been recently fed.
I typically like to use my starter within about 14 hours of feeding it.
If you’re completely new to potato flake sourdough, I have a full tutorial on the blog showing you how to make and maintain a potato flake sourdough starter.
Tools You Will Need
This post may contain affiliate links, which means I may make a small commission at no extra cost to you. When you make a purchase through my link, you help me to keep Little Tennessee Home up and running! Thank you for supporting me as an amazon associate! See my full disclosure here.
You don’t need anything complicated to make homemade pizza, but a few tools make the process easier.
- Grain mill
- Large mixing bowl or stand mixer
- Kitchen scale
- Measuring cups and spoons
- Dough scraper or bench scraper
- Parchment paper
- Pizza stone, pizza steel, or cast iron pizza pan
- Pizza cutter
- Large cutting board or pizza peel
I highly recommend using a pizza stone or pizza steel if you have one. It helps give the bottom of the pizza that wonderful crisp texture while keeping the inside of the crust soft and chewy.
Freshly Milled Flour Potato Flake Sourdough Pizza Dough Ingredients
Freshly Milled Flour
You’ll need:
225 grams soft white wheat
and
215 grams hard white wheat
I weigh my wheat berries and then mill them immediately before mixing the dough.
Vital Wheat Gluten
You’ll need 2 1/2 tablespoons.
This gives our freshly milled flour dough some additional gluten strength, which makes it easier to stretch into pizza crust.
Water
You’ll need approximately 1 1/4 cups water.
Freshly milled flour can absorb quite a bit of water, and hydration can vary depending on your wheat, the humidity in your home, and even the time of year.
The dough should be soft and somewhat sticky rather than stiff and dry.
Potato Flake Sourdough Starter
Use 1/2 cup active potato flake sourdough starter.
Use starter that has recently been fed and is active and bubbly.
Olive Oil
You’ll need 2 tablespoons olive oil.
The olive oil adds flavor and helps create a soft crust.
Salt
Use 1 1/4 teaspoons salt.
We are intentionally leaving the salt out during the first 30-minute autolyse and adding it afterward.
How to Make Freshly Milled Flour Potato Flake Sourdough Pizza Dough

Mill the Wheat
Weigh:
- 225 grams soft white wheat berries
- 215 grams hard white wheat berries
Mill the wheat berries into flour.
I like to mill my flour immediately before I’m ready to make the dough.
Mix the Dough
In a large bowl, combine the freshly milled flour, vital wheat gluten, active potato flake sourdough starter, olive oil, and water.

Do not add the salt yet.
Mix until everything is incorporated and there aren’t large areas of dry flour remaining.
The dough may look a little shaggy at this point. That’s completely fine.
We’re going to give that freshly milled flour some time to absorb the water before working with it any further.
Autolyse for 30 Minutes
Cover the bowl and allow the dough to rest for 30 minutes.
During this time, the flour is hydrating and the dough will already begin changing in texture without you doing much of anything to it.
After 30 minutes, add the 1 1/4 teaspoons salt.
Work the salt into the dough until it is evenly incorporated.
Stretch and Fold the Dough
Instead of heavily kneading this dough, we’re going to build strength through a series of stretch and folds.
With slightly damp hands, grab one side of the dough and gently stretch it upward. Fold it back over the center of the dough.

Turn the bowl and repeat.
Continue working your way around the dough until you have stretched and folded all four sides.
Cover the dough and allow it to rest for 30 minutes.
Repeat the stretch-and-fold process.
Rest another 30 minutes.
Perform one final set of stretch and folds for a total of three sets.
You’ll probably notice that the dough becomes smoother, stronger, and stretchier with each round.
That’s exactly what we want.
Allow the Dough to Rise
After the final stretch and fold, cover the bowl and allow the dough to continue fermenting until it has approximately doubled in size.

How quickly this happens will depend on the temperature of your kitchen and how active your starter is.
A warm environment will speed things along considerably. I cover my bowl with plastic wrap to prevent the top of the dough from drying out.
Don’t get too caught up in the clock here. Watch the dough more than the time.
You’re looking for dough that has risen significantly and feels airy when you’re ready to shape it.
Shaping Freshly Milled Flour Pizza Dough
Once the dough has risen, lightly flour your work surface. Turn the dough out of the bowl and divide it into two equal portions. Gently shape into dough balls.
Cover with a tea towel or plastic wrap and allow it to rest at room temperature for about 1-2 hours. Giving the gluten a short rest makes the dough much easier to stretch.
After the rest, preheat your oven to 450°F.
Place your pizza stone or pizza steel inside the oven while it preheats. I place mine on the second rack from the bottom.
Ideally, allow your stone to preheat for at least 30 minutes before baking.
This recipe makes approximately two 12-inch homemade pizzas.
Set one dough ball aside while you begin working with the other.
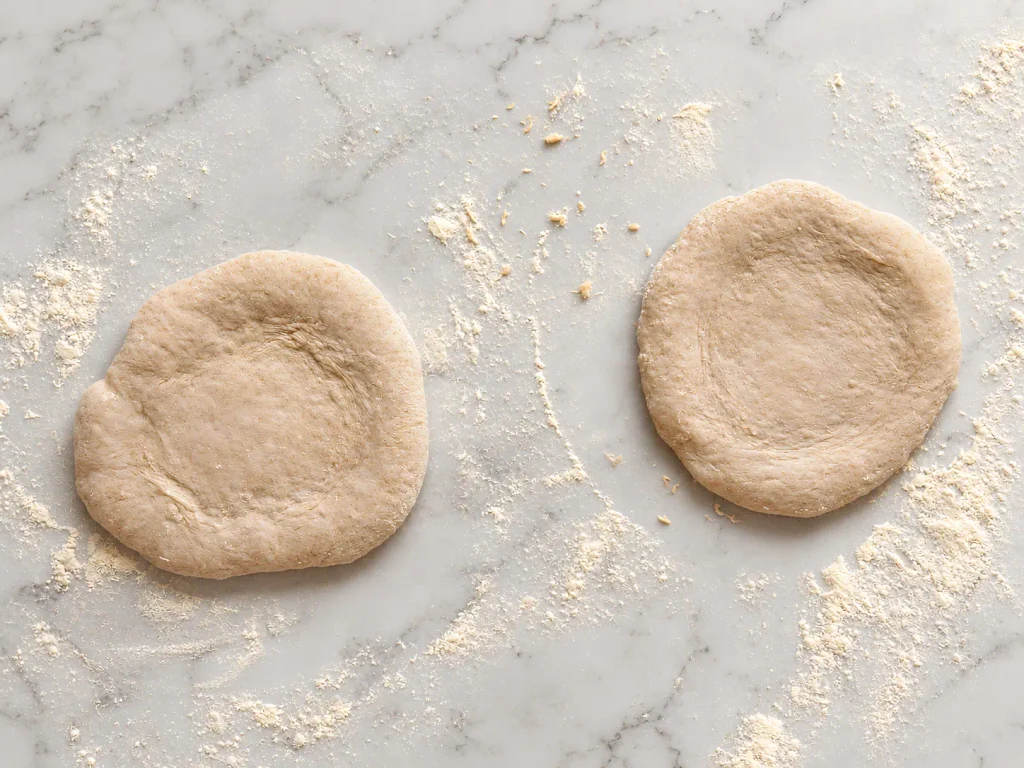
Instead of using a rolling pin, use your fingertips, begin pressing down in the center of the dough and gradually work your way outward.
Leave the outside edge slightly thicker to create the crust.
Press and gently stretch the dough until it is the size you are looking for. Repeat for the second crust.
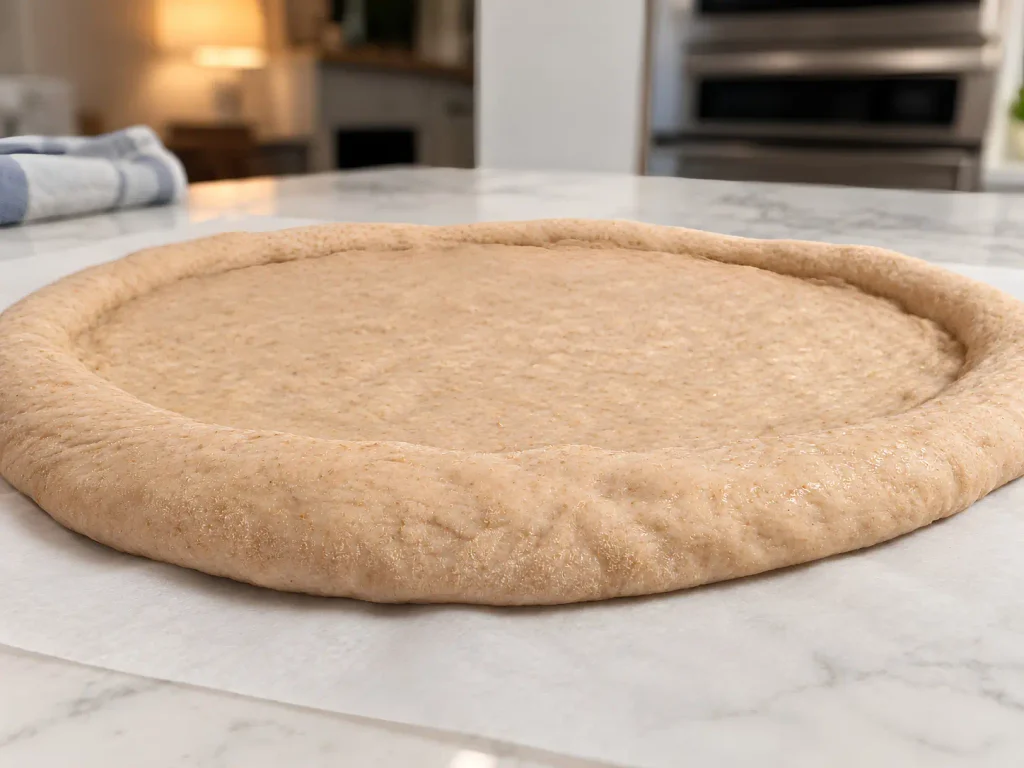
Transfer each crust to a piece of parchment paper.
Once it’s on the parchment, you can gently stretch it a little more if needed.
Dock the Center of the Pizza
Use a fork or pizza docker to poke holes throughout the center portion of the pizza dough.
Avoid poking the thicker outer crust.
This helps keep large air bubbles from developing underneath the center of the pizza while it par-bakes.
Par-Baking the Pizza Crust
Carefully transfer the first pizza dough, parchment paper and all, onto your hot pizza stone.
Par-bake at 450°F for approximately 6 minutes.
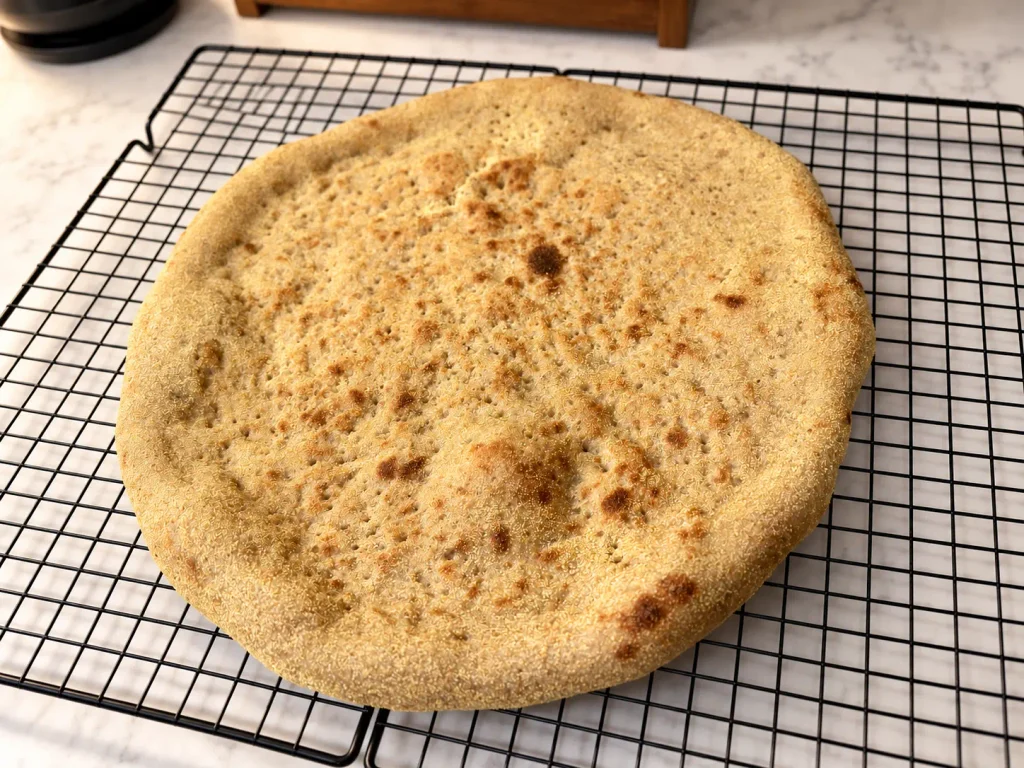
Remove the crust from the oven.
While you add toppings to the first pizza, place the second crust into the oven to par-bake.
Add Your Pizza Toppings
Now comes the fun part.
Add your pizza sauce, mozzarella cheese, and favorite toppings to your delicious pizza crust.
You can absolutely use store-bought sauce, but I also have my Homemade pizza sauce here on the blog that comes together pretty quickly and is made with canned tomato paste.
After adding your toppings, slide the pizza back onto the preheated stone.
At this point, I remove the parchment paper so the bottom of the crust can bake directly against the hot stone and give me a nice crispy crust.

Bake for another 10-12 minutes, or until the cheese is melted and the crust is golden brown.
Repeat with the second pizza.
Slice and enjoy!
Tips for Making Freshly Milled Flour Pizza Dough
Give the flour time to hydrate.
Don’t skip the 30-minute autolyse.
Freshly milled flour needs time to absorb the water, and that short resting period makes the dough easier to work with.
Don’t add the salt until after the autolyse.
Mix your flour, water, starter, olive oil, and vital wheat gluten first.
After the 30-minute rest, add the salt and begin your stretch-and-fold process.
Use damp hands for stretch and folds.
Freshly milled pizza dough can be sticky.
Instead of adding a bunch of extra flour, lightly dampen your hands before handling the dough.
Don’t expect freshly milled dough to feel exactly like white bread-flour dough.
Whole wheat dough naturally has a different texture.
We’re looking for soft, hydrated dough with enough strength to stretch—not necessarily the exact same smooth texture you would get from refined bread flour.
Let the dough rest while shaping.
If your pizza dough keeps shrinking back every time you stretch it, don’t fight it.
Set it down for a few minutes and work on the other pizza.
Once the gluten relaxes, you should be able to stretch it much more easily.
Preheat your pizza stone.
Give your pizza stone or steel plenty of time to get hot.
A hot baking surface helps create a crisp bottom crust instead of a soft or soggy one.
Watch the dough rather than relying entirely on the clock.
Fermentation times can change significantly depending on your starter and kitchen temperature.
Look for a dough that has approximately doubled and appears light and airy.
Can I Make This Pizza Dough Ahead of Time?
You can make the dough earlier in the day and let it ferment until you’re ready to make dinner.
Since potato flake sourdough fermentation times vary depending on temperature and starter activity, I like to plan backward from when we want to eat. On warmer days, the dough may rise much more quickly. During cooler months, it may need considerably more time.
You can also stick your dough in the fridge a multiple stages. you can do a cold ferment right after mixing the dough, but this will take several days to rise fully. You can wait until after the dough has risen and you’ve shaped them into dough balls. Place them in the fridge for several days before using. Pull them out about and hour or so before using to come to room temperature. Bake and top as usual. This is a good way to have dough ready for any night during the week things might get too busy.
You can also par-bake the crust and then stick that crust in the freezer to pull out and whip up a pizza in a flash. I’ve even sauced and topped and put in the freezer and treated it like a frozen pizza, placing directly into the oven to bake, it just takes longer.
What Does Freshly Milled Flour Pizza Crust Taste Like?
Freshly milled wheat gives this pizza crust a little more depth of flavor than pizza made entirely with refined white flour.
But because we’re combining hard white and soft white wheat, the flavor is still mild enough that the toppings really shine.
It’s a great way to incorporate freshly milled whole grains into a meal that the entire family already loves.
And honestly, pizza is a pretty easy sell around here!
What to Serve With Homemade Pizza
Homemade pizza is usually a meal all on its own at our house, but you can easily serve it with:
- A simple garden salad
- Caesar salad
- Roasted vegetables
- Pasta Salad
- Fresh fruit
- Garlic butter for dipping
- Extra pizza sauce for dipping
And, of course, everyone can customize their own pizza with whatever toppings they like.
That’s one of my favorite things about homemade pizza night.

Freshly Milled Flour Potato Flake Sourdough Pizza Dough
Ingredients
- 225 grams soft white wheat berries freshly milled
- 215 grams hard white wheat berries freshly milled
- 2 1/2 tablespoons vital wheat gluten
- 1 1/4 cups water
- 1/2 cup active potato flake sourdough starter
- 2 tablespoons olive oil
- 1 1/4 teaspoons salt after autolyse
Instructions
- Mill the soft white and hard white wheat berries into flour.
- In a large mixing bowl, combine the freshly milled flour, vital wheat gluten, active potato flake sourdough starter, olive oil, and water. **Do not add the salt yet.**
- Mix until everything is incorporated and there are no large areas of dry flour remaining. Cover and allow the dough to rest for **30 minutes**.
- After the 30-minute autolyse, add the salt and work it into the dough until evenly incorporated.
- With slightly damp hands, perform the first set of stretch and folds. Grab one side of the dough, gently stretch it upward, and fold it over the center. Turn the bowl and repeat until you have stretched and folded all four sides.
- Cover and allow the dough to rest for 30 minutes. Perform a second set of stretch and folds. Cover and rest for another 30 minutes.
- Perform the third and final set of stretch and folds. Cover the bowl and allow the dough to continue fermenting until it has approximately doubled in size.
- Lightly flour your work surface and turn out the risen dough. Divide it into two equal portions and gently shape each portion into a dough ball.
- Cover the dough balls with a tea towel or plastic wrap and allow them to rest at room temperature for approximately 1–2 hours.
- Preheat the oven to 450°F with a pizza stone, pizza steel, or cast iron pizza pan inside. For best results, allow the baking surface to preheat for at least 30 minutes.
- Working with one dough ball at a time, use your fingertips to press from the center outward, leaving the outside edge slightly thicker for the crust. Gently press and stretch each dough ball into an approximately 12-inch pizza crust.
- Transfer the shaped crust to parchment paper. Use a fork or pizza docker to poke holes throughout the center of the crust, avoiding the thicker outside edge.
- Transfer the crust, parchment paper and all, onto the preheated pizza stone or baking surface.
- Par-bake for 6 minutes. Remove the crust from the oven, add the second crust to the oven for par-bake while you add pizza sauce, mozzarella cheese, and your favorite toppings to the first..
- After second pizza is dough par-baking return the topped pizza to the hot pizza stone, removing the parchment paper so the crust can bake directly on the stone.
- Bake for an additional 10–12 minutes, or until the crust is golden brown and the cheese is melted.
- Repeat with the second pizza.Slice and enjoy!