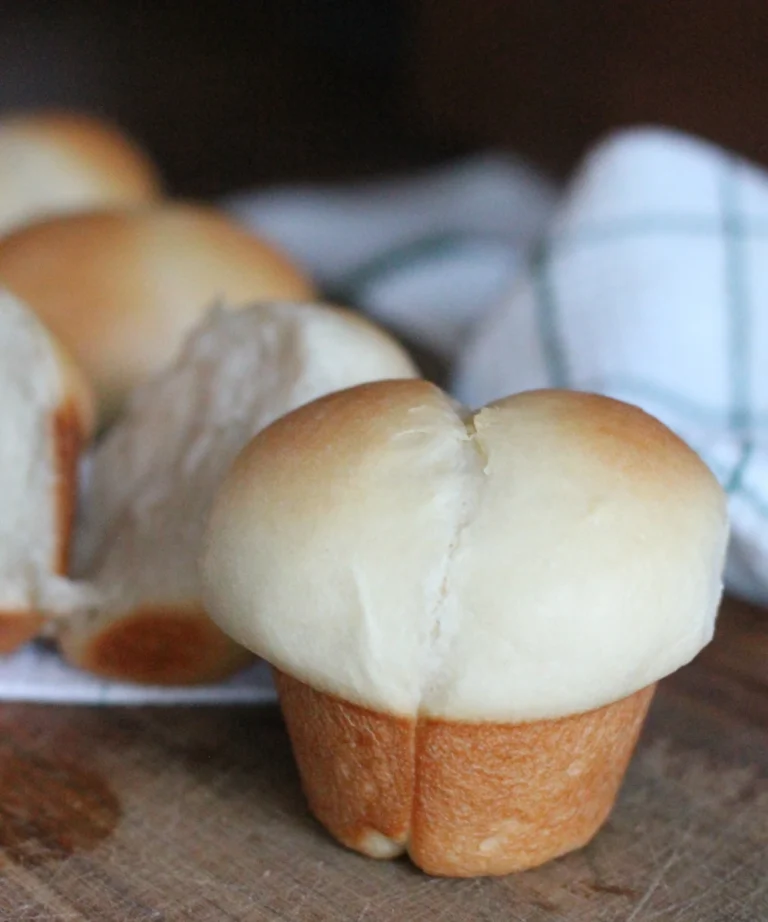
Potato flake sourdough mini loaves are the perfect homemade bread to make for gifts! They’re practical, easy to work with, and perfect for sharing or freezing for later.
These Potato Flake Sourdough Mini Loaves have quickly become one of my favorite ways to use my potato flake sourdough starter for gift giving. Even though they are smaller loaves they still have that same soft texture and sweet taste as a full-size sandwich bread.

This method uses my original Potato Flake Sourdough Soft Bread Loaf recipe and simply divides the dough into smaller portions. It’s the same dough I already make and love, just shaped and baked in smaller loaf pans.
I will also use my potato flake sourdough freshly milled flour loaf recipe and turn them into mini loaves too! Really any bread recipe could be turned into a mini loaf. I just love how adorable they look!
Why Mini Loaves?
Mini loaves work especially well if:
- You want smaller loaves for gifting or sharing
- You don’t go through a full loaf of bread quickly
- You like baking in batches and freezing extra bread
They bake evenly, cool faster on a wire rack, and store beautifully in an airtight container or small bread bag.
The Recipe I Use
I use my Potato Flake Sourdough Soft Bread Loaf – The Original Recipe and simply portion the dough into mini loaves instead of making large loaves.
Mini Loaf Dough Weight
For mini loaves, divide the finished dough into portions weighing 210-240 grams per loaf. This size works well for these disposable mini loaf pans I use and gives a nice rise without overflowing the sides of the pan. I wil get about 7 mini loaves per batch when using my original potato flake sourdough recipe.
Using a kitchen scale helps keep the loaves consistent in size and baking time. The best way to divide your loaves evenly is to weight the total weight of your dough and divide that number by 7 to see how much each loaf should weigh.
Equipment You’ll Need
This post may contain affiliate links, which means I may make a small commission at no extra cost to you. When you make a purchase through my link, you help me to keep Little Tennessee Home up and running! Thank you for your support! See my full disclosure here.
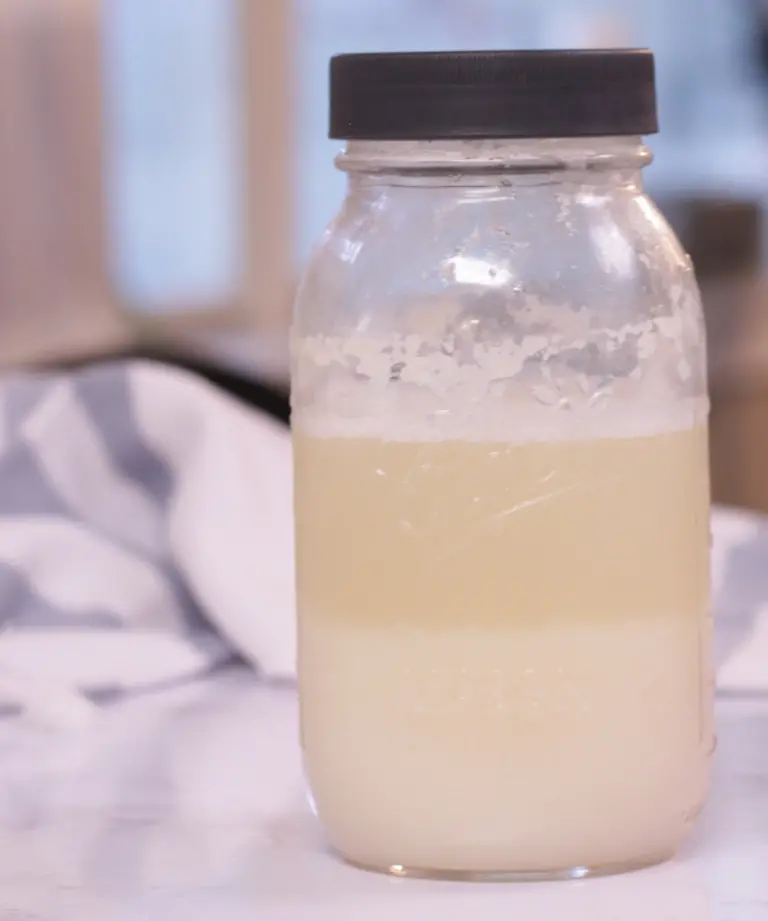
- Active potato flake sourdough starter (bubbly and fed)
- Stand mixer with dough hook or a large bowl and wooden spoon
- Kitchen scale
- Mini loaf pans – 1lb. loaf 6″x3.5″x2″
- Parchment paper (optional but helpful)
- Plastic wrap
- Greased bowl
- Digital or instant-read thermometer (optional)
Making Mini Loaves
Mix the Dough
In a large bowl or the bowl of a stand mixer, combine the ingredients from the original bread recipe. Use warm water (not hot water) to help wake up the wild yeast in your active starter.
Mix on low speed with a dough hook or stir with a wooden spoon until the dough pulls away from the sides of the bowl. You’re looking for a soft dough that isn’t dry and isn’t overly sticky. Avoid adding too much flour; less flour usually makes a softer loaf of bread.
First Rise
Place the dough into a greased bowl, turning once to coat the top of the dough. Cover with plastic wrap or a tea towel and let it rise in a warm place.
The first rise usually takes 8-12 hours depending on room temperature and how active your starter is. The dough should be doubled with visible air bubbles throughout.
Divide and Shape

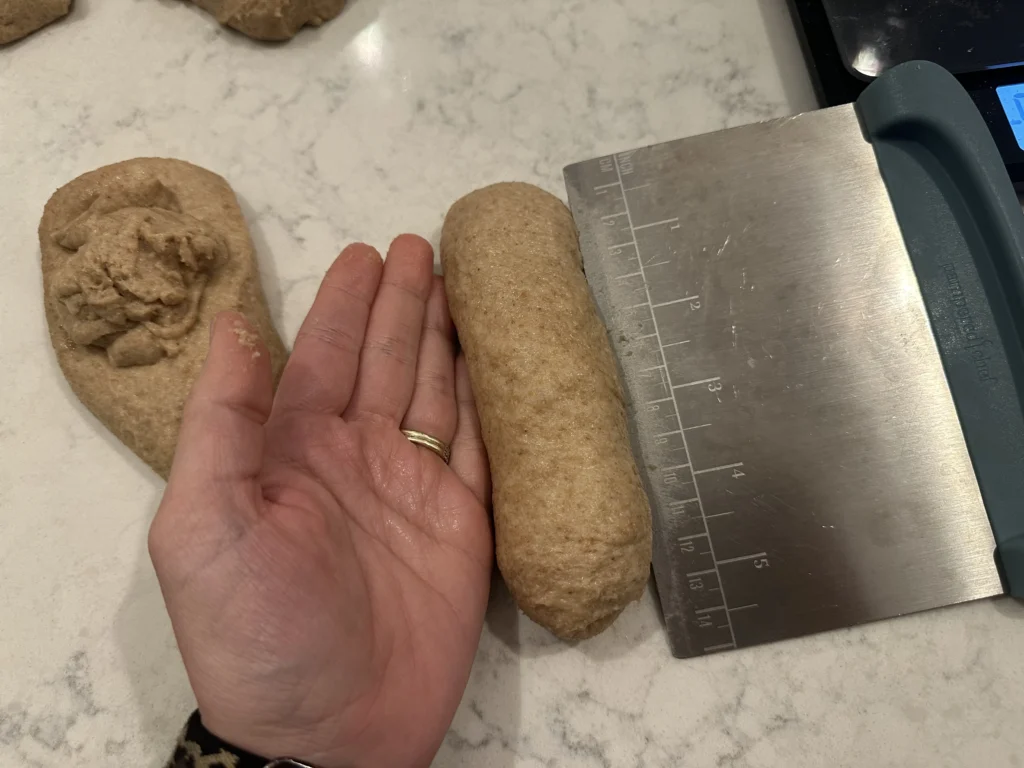
Turn the dough out onto a lightly 2floured surface. Using a bench scraper or knife, divide the dough into about 210-240 gram portions. this will give you 7-8 mini loaves if you are using the original recipe. but you can use any recipe for bread you’d like!
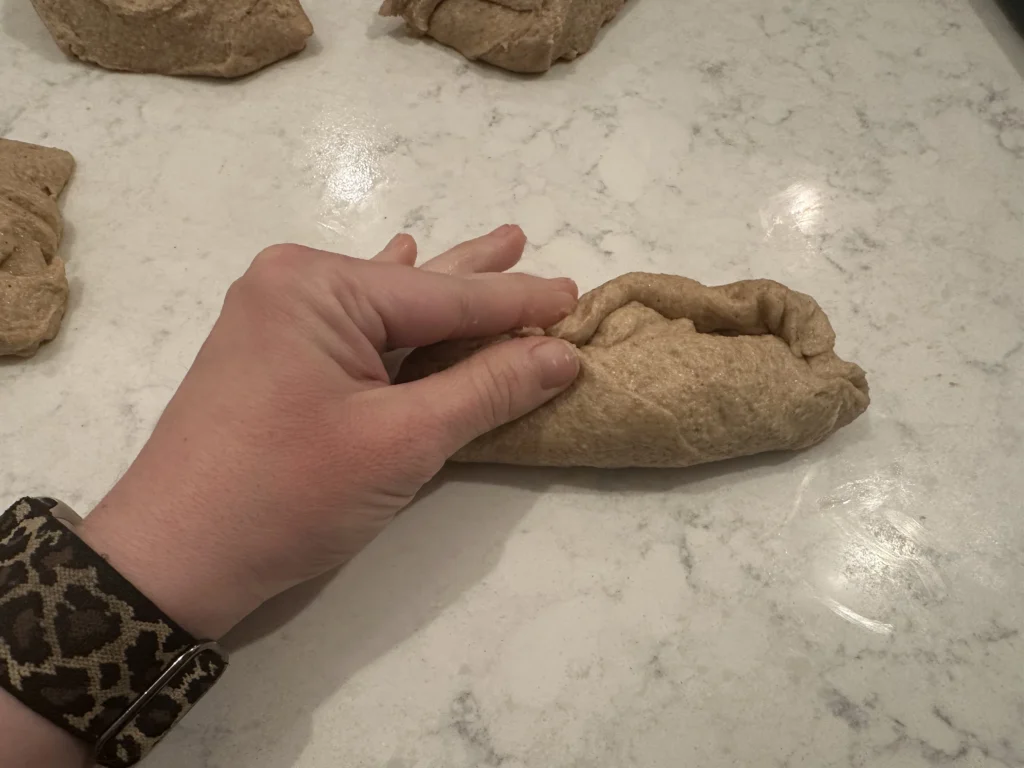
Gently shape each portion into a small loaf, tucking the dough underneath and pulling it towards you on the counter to create surface tension.
Place each loaf into a parchment-lined or lightly greased mini loaf pan.
Second Rise
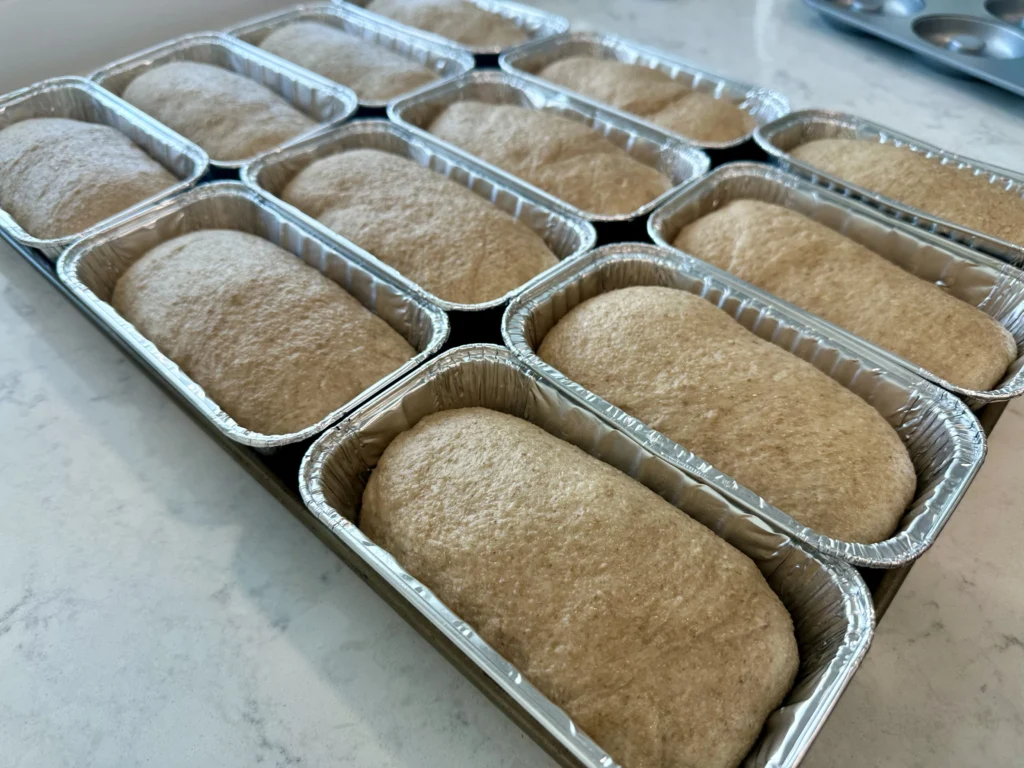
Cover the pans loosely with plastic wrap and allow the dough to rise again at room temperature. This second rise usually takes 6–10 hours. It could be less.
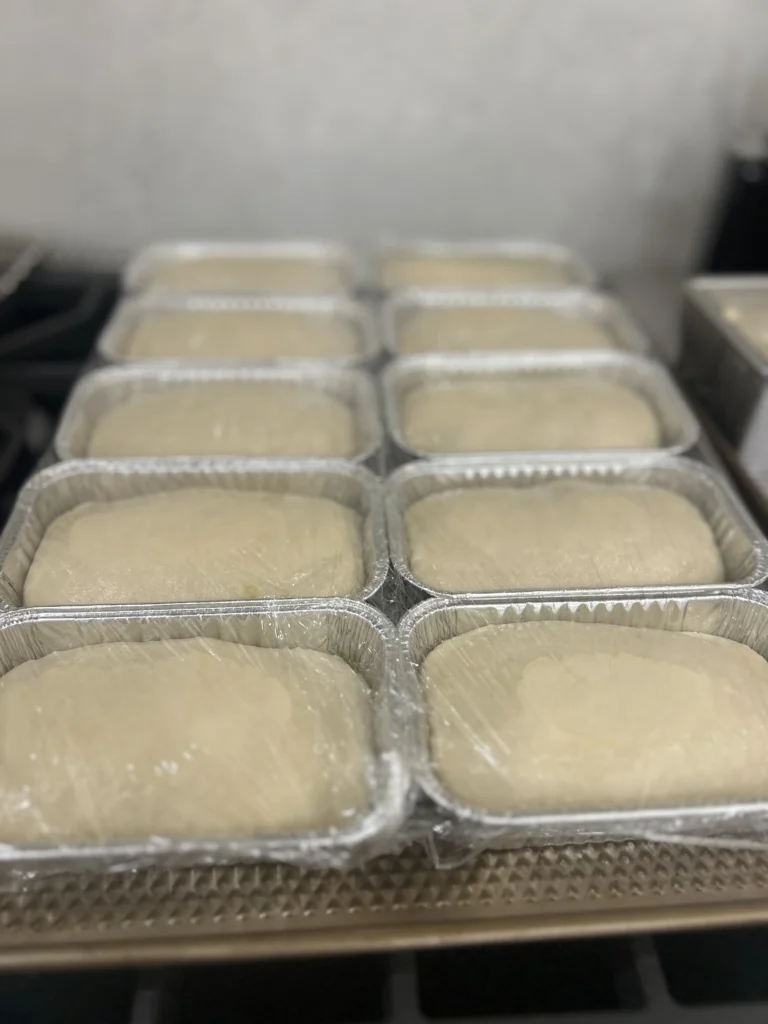
The dough should rise close to the top of the pan and feel light and airy when gently pressed.
Bake
Bake according to the original recipe’s temperature and cooking time, checking a little early since mini loaves bake faster.
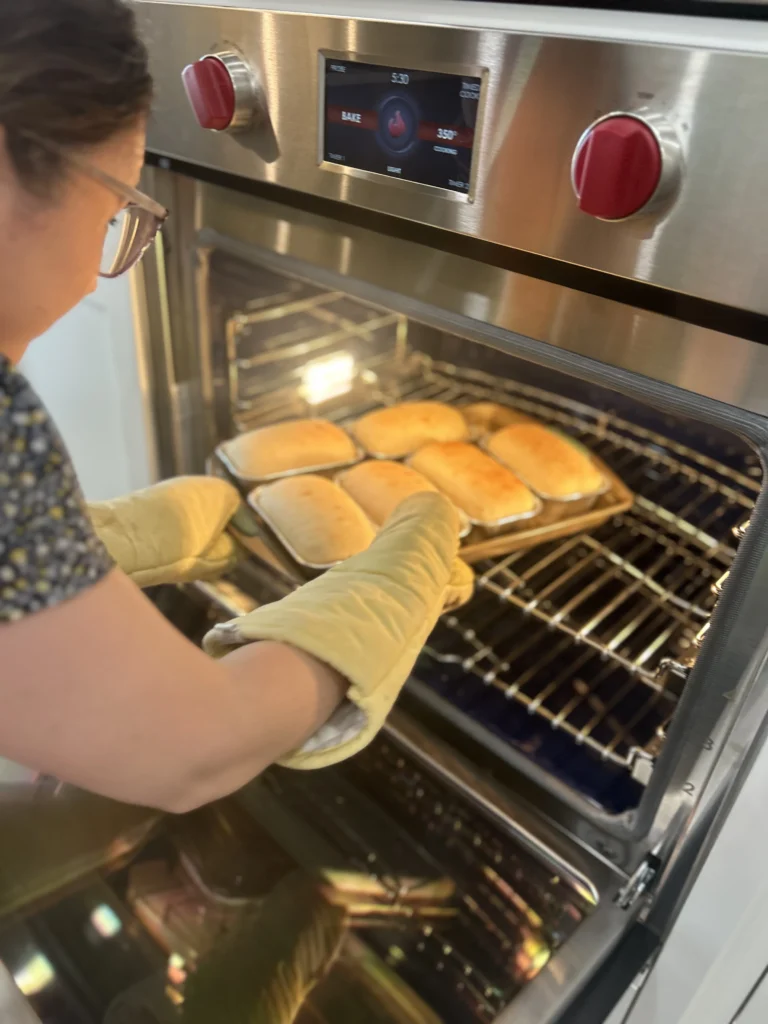
The tops should be golden brown, and the internal temperature should reach about 195–200°F when checked with a digital thermometer.
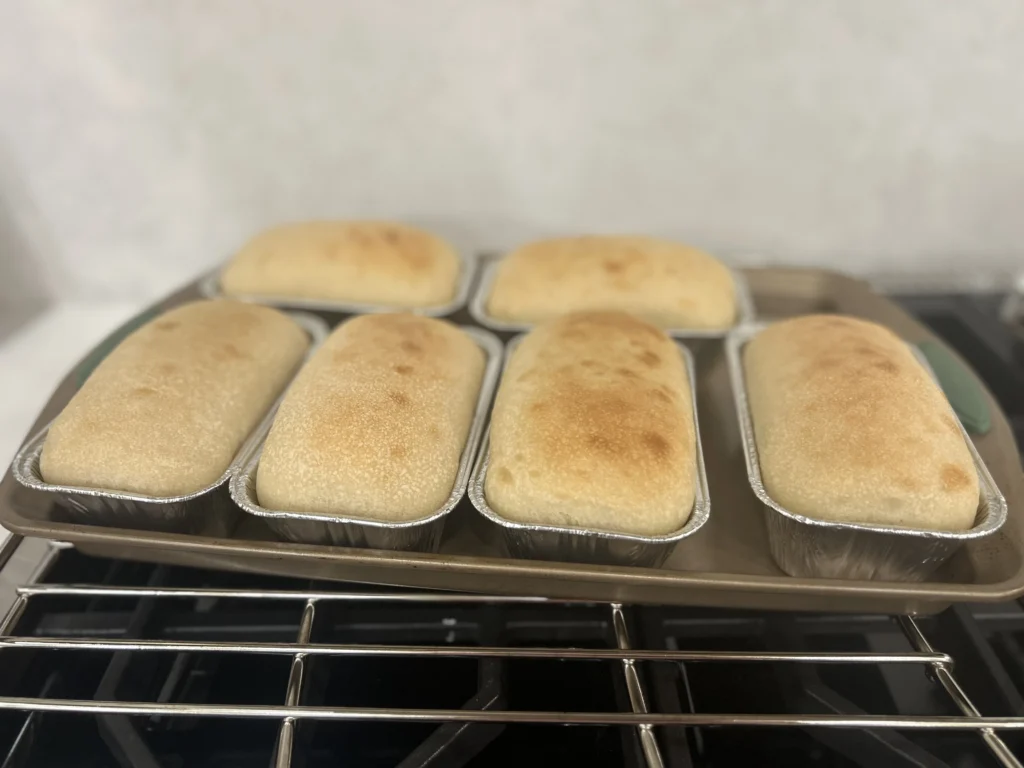
Cool
Remove the baked loaves from the pan and place them on a wire rack. If you let them cool in the pan the bottom will become soggy. Let the bread cool completely before slicing — this helps the crumb set and keeps the bread from becoming gummy.
Tips for Success (Especially Your First Time)
- Make sure your starter is active before beginning
- Don’t rush the dough rise — sourdough takes time
- Avoid adding too much flour
- Use olive oil or vegetable oil to grease pans well
- Let bread cool fully before storing
Don’t overthink it. This is a forgiving bread recipe, especially once you’ve made it a time or two.
Frequently Asked Questions
Can I freeze these mini loaves?
Yes. Mini loaves freeze very well. Let the bread cool completely, then wrap tightly with plastic wrap and store in an airtight container or freezer bag. They can be frozen for several months. Thaw at room temperature or warm gently before serving.
What size pan do you use for mini loaves?
I use standard disposable mini loaf pans. Dividing the dough into 210-240 grams per loaf works well for most mini pans and gives a good rise without overflowing the sides of the pan.
Does the baking time change for mini loaves?
Yes, slightly. Mini loaves usually bake a bit faster than a full loaf, so I start checking them early. They’re done when the tops are golden brown and the internal temperature reaches about 195–200°F. This usually takes about 15-20 minutes at 350°F.
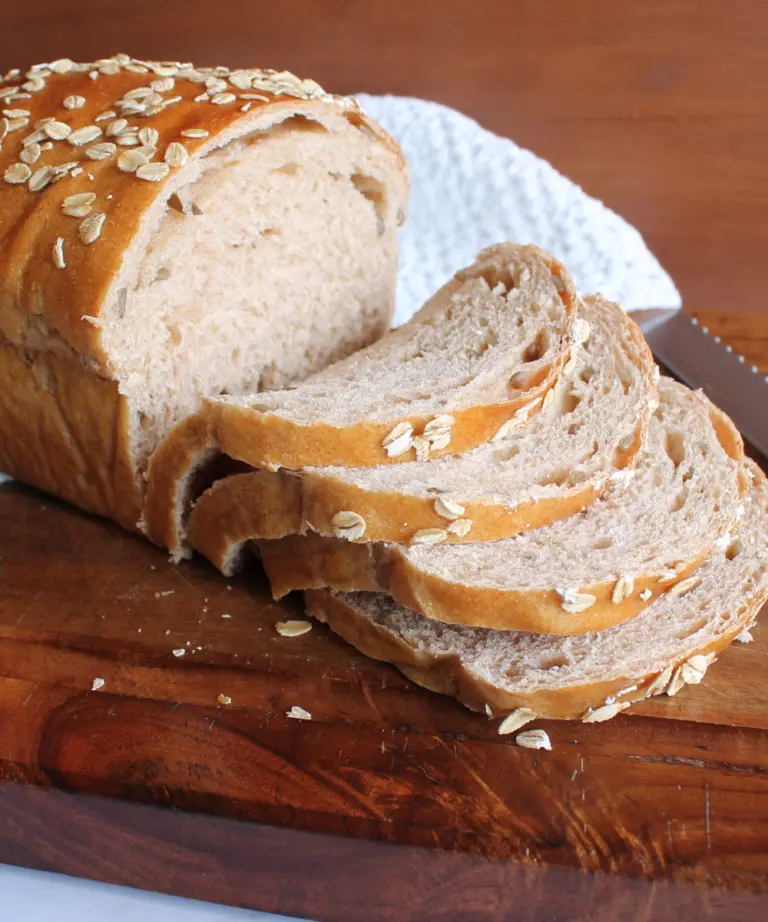
Can I use whole wheat flour?
You can substitute some whole wheat flour, but keep in mind it may affect rise and texture. Start by swapping a portion of the flour rather than all of it, and avoid adding too much extra flour. Try using the potato flake sourdough whole wheat flour recipe or freshly milled flour recipe.
What if my dough is taking longer to rise?
Rising time depends on room temperature and how active your starter is. If it’s cool in your kitchen, the dough may need more time. Focus on how the dough looks and feels rather than the clock.

Gift-Giving & Freezer Baking
Mini loaves are one of my favorite breads for gifting. Their size makes them easy to share, and they feel special without being overwhelming.
- Bake a batch and freeze until needed
- Wrap cooled loaves in parchment paper or plastic wrap
- Add a simple label with reheating instructions
They’re perfect for neighbors, new moms, holidays, or slipping into the freezer so you always have homemade bread ready to go.
Download these free bread gift tags to pair with your mini loaves!
How to Store Mini Loaves
- Store at room temperature in an airtight container for 2–3 days
- Freeze baked loaves once completely cool
- Thaw at room temperature
Mini loaves freeze well and are easy to pull out as needed.
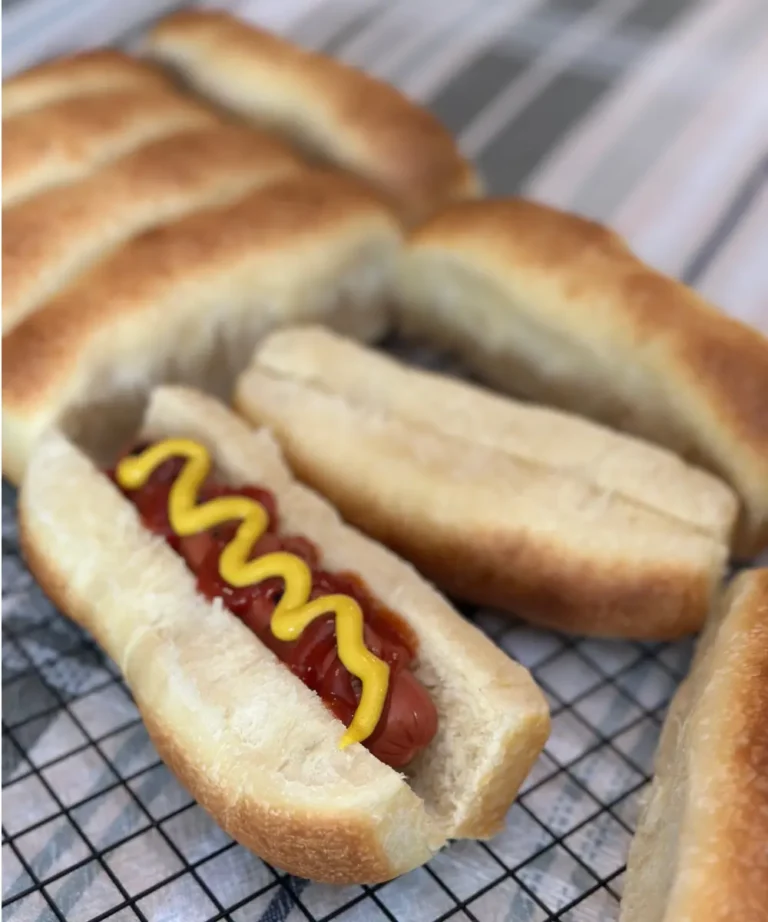
How We Use Mini Loaves
- Sandwich bread
- Toast or French toast
- Garlic bread
- Cinnamon rolls made with leftover dough
- Small gifts for friends or neighbors
- Mini peanut butter and jelly sandwiches
If you’re new to potato flake sourdough, be sure to check out my potato flake starter recipe and other potato flake sourdough recipes here on Little Tennessee Home. Whether you’re working with an existing starter, a new starter, or transitioning from traditional sourdough bread, this method is a simple and delicious way to bake homemade bread your family will love.