
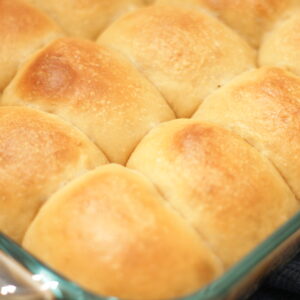
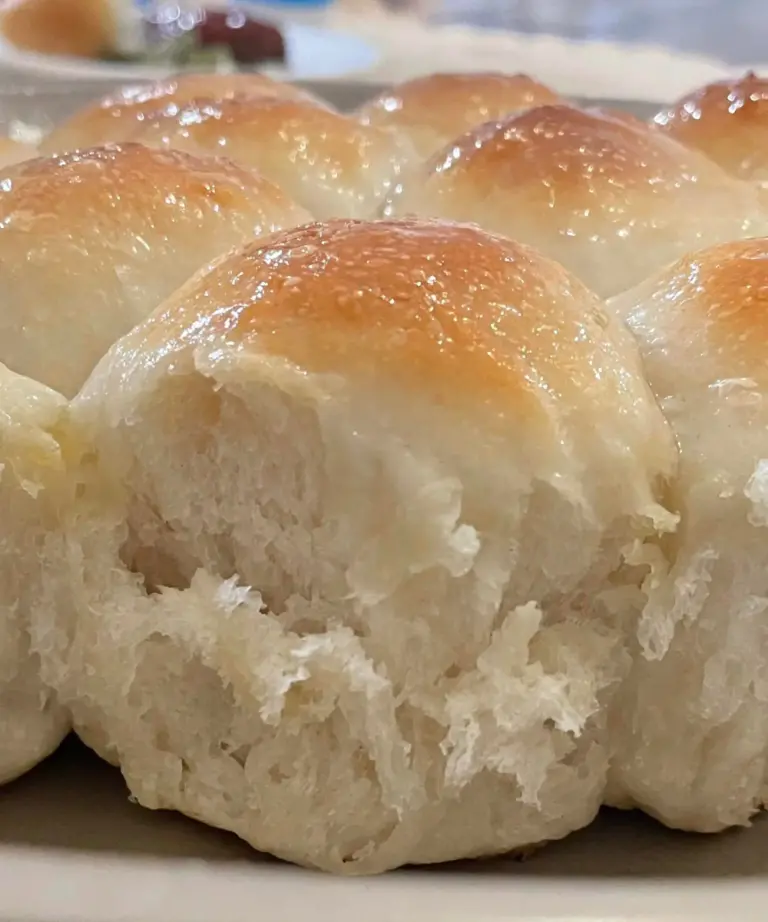
Learn how to make your own light and fluffy Hawaiian rolls, that are healthier and cheaper, using a potato flake sourdough starter. They are perfect for making Hawaiian roll sliders or for enjoying as dinner rolls with a meal.

Hawaiian rolls are a staple at any family gathering, potluck meal, or weeknight dinner. They are the perfect sweet roll that pairs well with almost anything. This recipe gets its unique flavor from pineapple juice, but don’t let that ingredient scare you.
These are some of the most simple rolls to make, and yet one of the most delicious.
What makes Hawaiian bread different?
Hawaiian rolls are much sweeter than a typical roll. This is because of the added sugar and pineapple juice. This recipe also uses vanilla to add a depth of flavor. Pineapple juice and vanilla are definitely two ingredients you don’t typically find in traditional rolls.
Hawaiian rolls also contain eggs, milk and butter. Because of this, they are considered to be an enriched roll. Typical rolls do not have those ingredients.
Are Hawaiian rolls good for sandwiches?
YES!! They are perfect for making sliders and there are numerous recipes for all types of slider variations. Our families favorite? Ham and cheese sliders! It’s an easy make ahead meal that you can just pop in the oven on a busy night.
Some other Hawaiian roll slider ideas:
- Pizza sliders
- Mini cheeseburger sliders
- Philly cheese steak sliders
- Mini BBQ sandwich sliders
- Roast beef sliders
- Meatball sub sliders

Ingredients
- Canned Pineapple Juice
- Milk
- Brown Sugar
- Potato flake Sourdough starter – Be sure it is active
- Softened butter
- Vanilla extract
- Egg
- Salt
- Bread Flour (All purpose will work but it may not be as light and fluffy)
Egg wash
- Egg white
- Water
Tools you may need:
Measuring cups and spoons
9×13 baking dish
Bench Scraper (optional but useful since this dough is sticky)
Scale (also optional, but very helpful in getting uniform sized rolls)
How To Make Potato Flake Sourdough Hawaiian Rolls
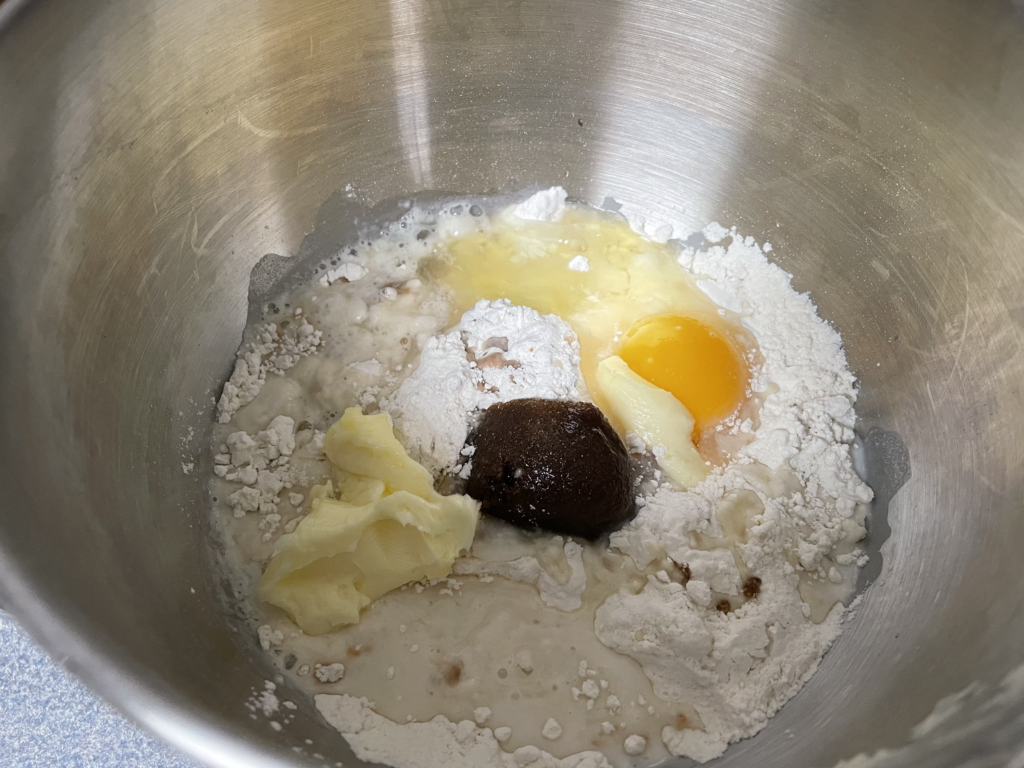
Put all of your ingredients (except the egg wash) into the stand mixer. Using a dough hook knead the dough just until everything is incorporated and the dough pulls from the sides.

You are looking for more of a shaggy dough and it will be a bit sticky.

Place into a greased bowl, cover with plastic wrap and let it ferment (rise) overnight or for about 12 hours depending on the temperature of your home. A warmer home will cause it to ferment quicker, where as a cooler home will cause it to ferment slower.
Forming the dough into Hawaiian rolls
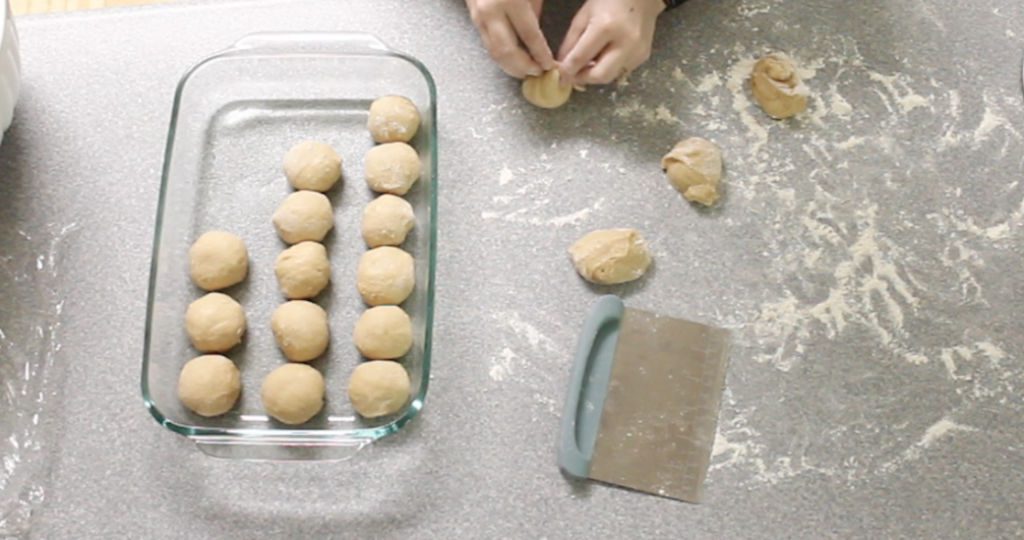
The next day, after your dough has doubled in size, spread a good amount of flour (all purpose if fine) on your work space. Grease your 9×13 pan. Shape the dough into a ball and divide into 15-18 equal pieces. Using a bench scraper and a scale can be very helpful in this step.
I divided mine into 18 but I think 15 would work better.
TIP: Weigh your dough on the scale before dividing. Once you have the total weight divide that number by 15 to get the weight you should make each individual roll.

Having uniform rolls will help the rolls rise more evenly as well as bake and brown more evenly in the oven.
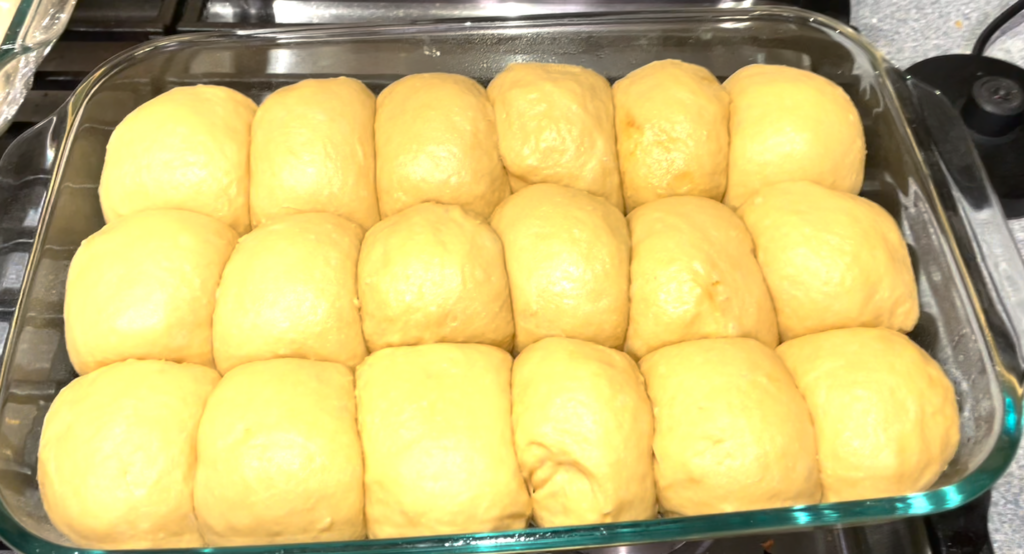
However long it takes for your rolls to double in size, is the correct amount of time. it can vary depending on many different factors. Temperature, humidity, and the strength of the starter can all affect the the rise time of your dough.
It took my rolls nearly 10 hours to double, but this is probably due to my starter being weak because of lack of feedings. I just want you to know that it isn’t unheard of for it to take this amount of time to rise.

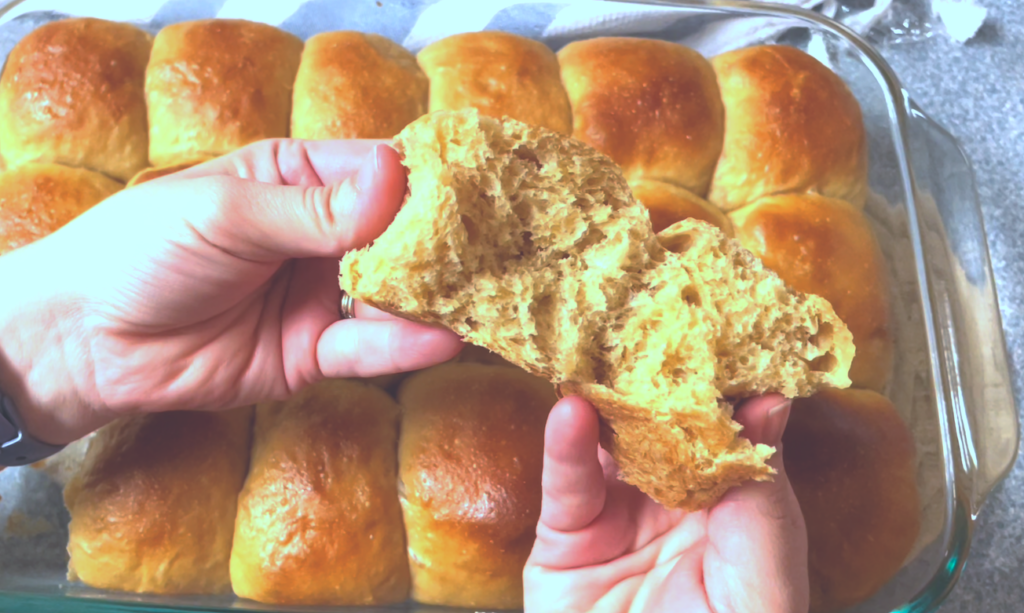
Mix together the egg wash. Using a basting brush spread the mixture on top of all the rolls evenly. This will cause the rolls to brown beautifully on top.

Pop your rolls into the oven and bake them at 350 degrees for 25-30 minutes.

Remove from the oven and allow to cool.
Storage
Store the rolls in an airtight container for 2-3 days at room temperature. To keep them fresh longer place them in the fridge. Doing this can allow them to last up to two weeks.
You could also place them in a large Ziploc bag and store them in the freezer for up to 6 months. If you plan to freeze them and use individual rolls at a future time, first separate your rolls before freezing them to make it easier to remove and thaw. Learn the specifics on how I freeze my rolls so I can have them ready for dinner in under 30 mins!
Should I bake Hawaiian rolls again when making sliders?
Yes, it will be fine to bake the Hawaiian rolls again when making slider. However, if you know ahead of time that you plan to use your rolls to make sliders, you could cut back on the baking time slightly to allow for more of the browning to happen when cooking your sliders.
When baking my sliders, I always cover my rolls with aluminum foil for the first 20 mins or so of baking time to prevent burning. Then remove for the final minutes of baking to allow it to brown.
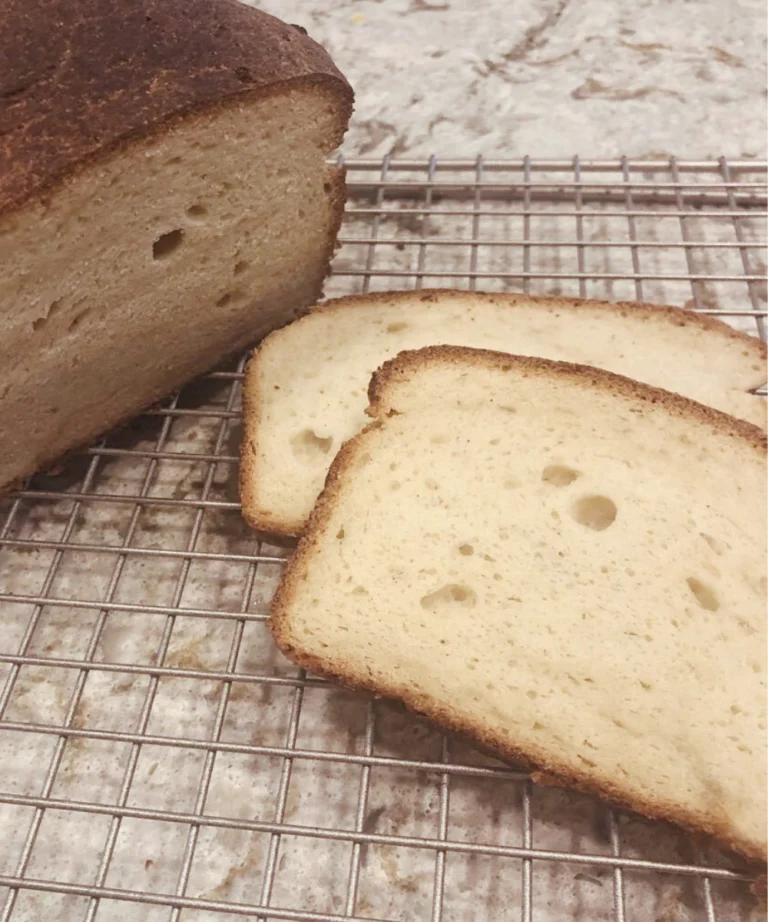
Make bread instead of rolls
You could use this dough to make a loaf of Hawaiian bread instead of rolls. It will be similar to a brioche loaf. This would be a delicious bread to make into french toast for breakfast or a weekend brunch!
How do I make a potato flake sourdough starter?
You are going to mix together sugar, water, yeast and potato flakes in a glass jar. You’ll let it sit out for 5 days, giving it a stir each day. On the fifth day you’ll feed your starter, let it sit out another 8 hours or overnight. Then you can use it to make your bread!
Read here for detailed instructions on how to make a potato flake sourdough starter from start to finish.
Other Potato Flake starter recipes you might like:
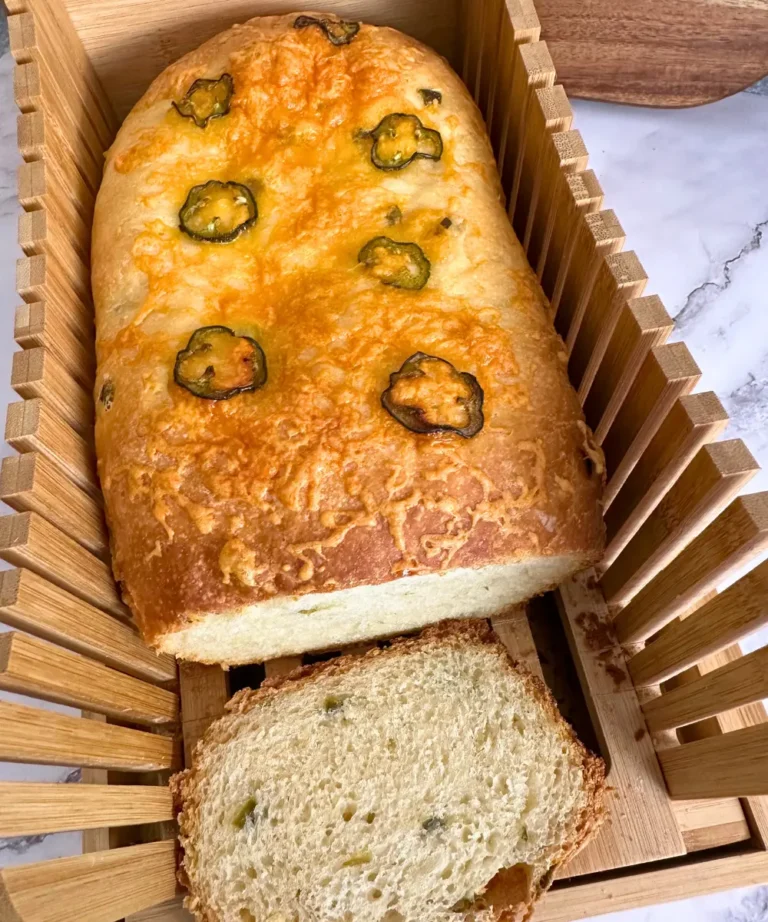
Simple Potato Flake Hoagie Buns
Pin for later
Potato Flake Sourdough Hawaiian Rolls
Equipment
- Stand Mixer
- measuring cups and spoons
- 9×13 baking dish
- Basting brush
- Bench Scraper (optional but useful since this dough is sticky)
- Scale (also optional, but very helpful in getting uniform sized rolls)
Ingredients
Ingredients
- 1/2 cup Pineapple Juice canned or bottled works best
- 2 Tablespoon milk
- 1/4 cup packed brown sugar
- 1/2 cup Potato flake Sourdough starter – Be sure it is active
- 2 Tablespoon Softened butter if it isn't soft it won't incorporate into the dough
- 1 teaspoon vanilla extract
- 1 Egg
- 1 teaspoon Salt
- 3 cups Bread Flour (if dough is extremely too sticky only add up to 1/2 cup more flour) All purpose will work but it may not be as light and fluffy
Egg wash
- 1 Egg white
- 1 Tablespoon Water
Instructions
- Put all of your ingredients (except the egg wash) into the stand mixer. Using a dough hook knead the dough just until everything is incorporated and the dough pulls from the sides.
- Place into a greased bowl, cover with plastic wrap and let it ferment (rise) overnight or for about 12 hours depending on the temperature of your home.
- The next day, after your dough has doubled in size, spread a good amount of flour (all purpose if fine) on your work space. Grease your 9×13 pan. Shape the dough into a ball and divide into 15-18 equal pieces.
- Cover with plastic wrap and allow them to rise until doubled. Usually about 8-10 hours but can be longer or shorter depending on the temperature of your home and the strength of your starter.
- Mix together the egg wash. Using a basting brush spread the mixture on top of all the rolls evenly. This will cause the rolls to brown beautifully on top.
- Pop your rolls into the oven and bake them at 350 degrees for 25-30 minutes.
- Remove from the oven and allow to cool.
I’m looking forward to making these. I noticed the recipe section does not say to let rolls rise the 2nd time (after placing in 9×13 pan). I’m glad I read thru the entire post before attempting to make them.
Thank you so much for pointing out that mistake! I will fix that right away! Hope you enjoy your rolls!
Magen, these were so light and fluffy! The recipe was super easy. I will be making them again for Easter dinner with our family! Thanks for posting, have a blessed day!
Yay! Love this! So glad you enjoyed these! We also had these for Easter today!
Thank you for posting this recipe. It is easy to follow and they taste wonderful. I’ve made them many times!
So glad to hear this! Thank you for coming back to comment 🙂
So is there any kneading you have to do after the first rise, before you shape the individual rolls? Or is the shaping process somehow doing the kneading for you? I’m used to making potato flake sourdough bread where after the first rise I have to do a good bit of kneading for each loaf, so I was just wondering! Thanks for this recipe by the way!
You’re welcome! I don’t really knead this dough, it gets a little bit of kneading when mixed initially. When it is done with the first rise, I will shape the dough into a ball and then divide it into 15 equal pieces. When I shape them into the balls, I place them in the dish and let them do the second rise.
My husband said these “taste like the ones from the store”. Consider that high praise
I definitely do! Thank you so much!!
These are so good. I have made 5 double batches of them. Thank you