Christmas song wall art puts one of the best parts of Christmas on display, the songs! This Christmas song wall art is so easy to make! Take your favorite Christmas carols and make them into your very own Christmas home decor!

This song art will add the perfect flare to your Christmas decorations. Make multiple and display them in different rooms.
Share with a friend as an early Christmas gift.
Make it for a Christmas decoration gift exchange.
If you aren’t already, you’ll definitely find your self singing and humming Christmas songs all season long. That’s not a bad thing, if you ask me!
Using PowerPoint for creating Christmas song art
The first time I heard about using powerpoint to create something other than a presentation, my mind was blown. Now, it’s all I ever use to make printables.
The reason it is so much better than Microsoft Word is because of how use friendly it is for moving content around any where on the slide. You have the ability to layer images easily, add text boxes, rotate images and text, and position them anywhere you would like. You can even export the whole presentation or just particular parts of it and you can do this in multiple formats, such as pdf, jpeg, png, mp4, mov, etc.
SUPPLIES YOU NEED:
Free Christmas Wreath Clip art Option 1 and Option 2
PowerPoint
How to Make your own Christmas wall art
Find the song for your Christmas decor
First, look through the free printable files and find the song you want to use.
Download the free wreath clipart and choose which wreath clipart you like.
Open Powerpoint
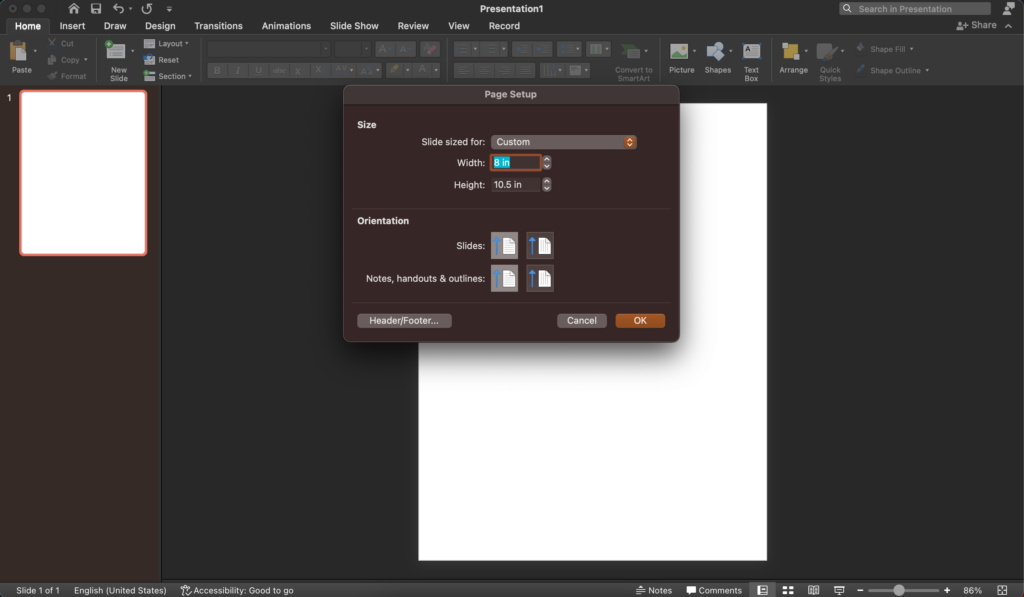
In the file drop down menu, select page set up. Change the size of the slides to custom. Make the width 8″ and the height 10.5″. These measurements have worked well for me, but feel free to make adjustments to fit your needs better!
Change the orientation to vertical. Press okay.

Insert the sheet music
Drag and drop the sheet music file that you chose to use for your wall art.
Adjust the size of the image to 10″ by 7.48″
However, if you want to make it a smaller size for a different size frame, this is where you will do so. For example, if you want to make this for a 4×6 frame or 5×7 frame, you will want to make the size just slightly smaller than those measurements.
If you decide to use an different size, do a few black and white test prints until you get it just the right size for your frame.

Add a Christmas decor wreath
Add the wreath you picked out and adjust the sizing to fit to your liking. It can be as big or as small as you want.
I like to make mine mostly centered and allow some room on the left and right edges of the paper because I don’t want any of the art accidentally getting covered up by part of the frame.

Add the text
Pick what type of font you like best. I like a simple but pretty script font. I downloaded a free font called amalya, you can download it here for free to use for personal use. Amalya is the font that I use on this project.
Decide what part of the song you want to display in your text. You can choose any part of the song. It doesn’t have to be the title. It can be a portion that is your favorite or is meaningful to you in some way. This is why I love making my own art. It is customizable and makes the decoration have meaning behind it.
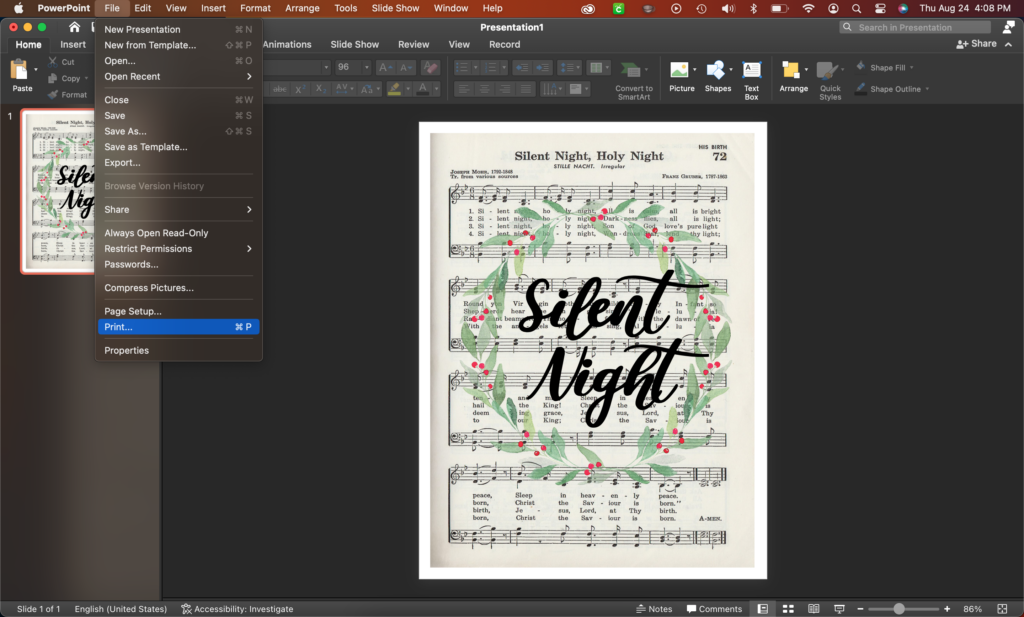
Time to print
Send the file to the printer. Making sure to select color instead of black and white for your final product. You can print on a special paper like card stock or a vintage style paper.
Personally, if I plan to frame it, I print it one regular printer paper. Once it is in the frame, no one will notice. However, if you plan to hang these using clothes pins or some other creative display, it might be better to use a more sturdy or durable paper.
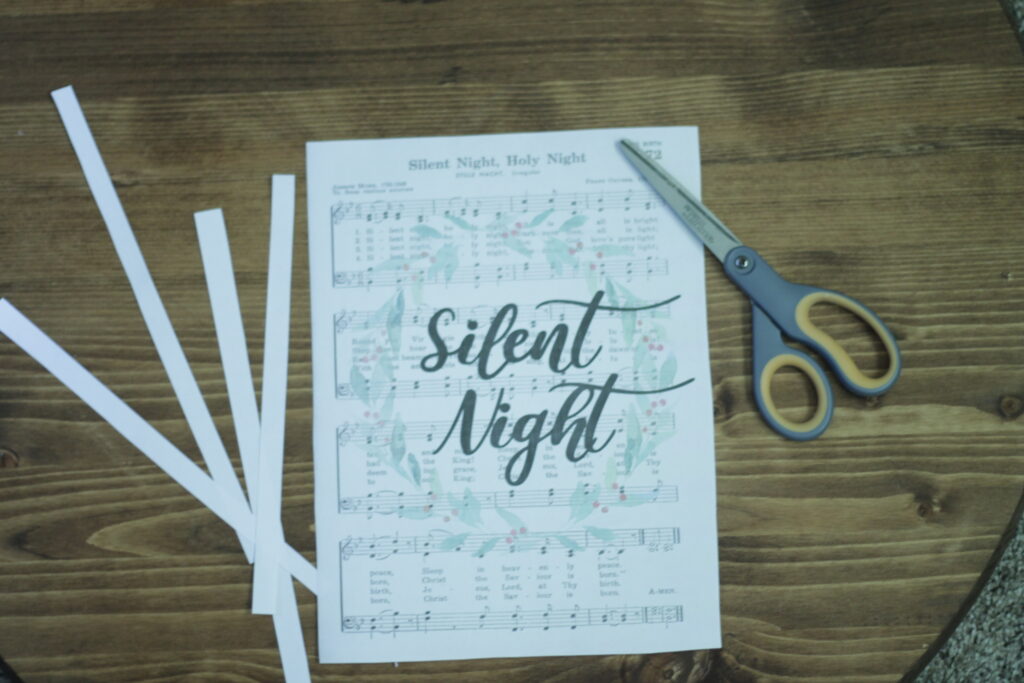
Trim the edges
After it is done printing, use scissors to trim the edges to make it the correct size to fit into your frame. You could also use a paper trimmer like one of these. Unless I’m cutting multiple items, I find that scissors are easier.
My husband, on the other hand, would disagree. He prefers a paper cutter for any type of straight cuts.

Line it up in your frame
Place the art in the frame and make sure that it fits well and is adjusted correctly. If one edge is a little shorter, than the size of the frame, it might be necessary to place a small amount of tape to hold it into place.

Now it’s time to find the perfect place to put your new Christmas decor.
Place it on the living room bookshelf, fire place mantle, or bedroom dresser, the possibilities are endless!
Now get ready, because you are sure to have people asking you where you bought your newest Christmas decoration.
Don’t forget to share this post with your friend so that they can decorate for this Christmas season too!
If you make your own Christmas song decor, I’d love to see! Comment below to let me know what song you chose or tag me over on instagram @littletennesseehome with your Christmas art!
If you enjoyed this post, you might also enjoy making my church hymn wall art. It’s a perfect gift to give to someone at Christmas or anytime of the year!
Pin it for later

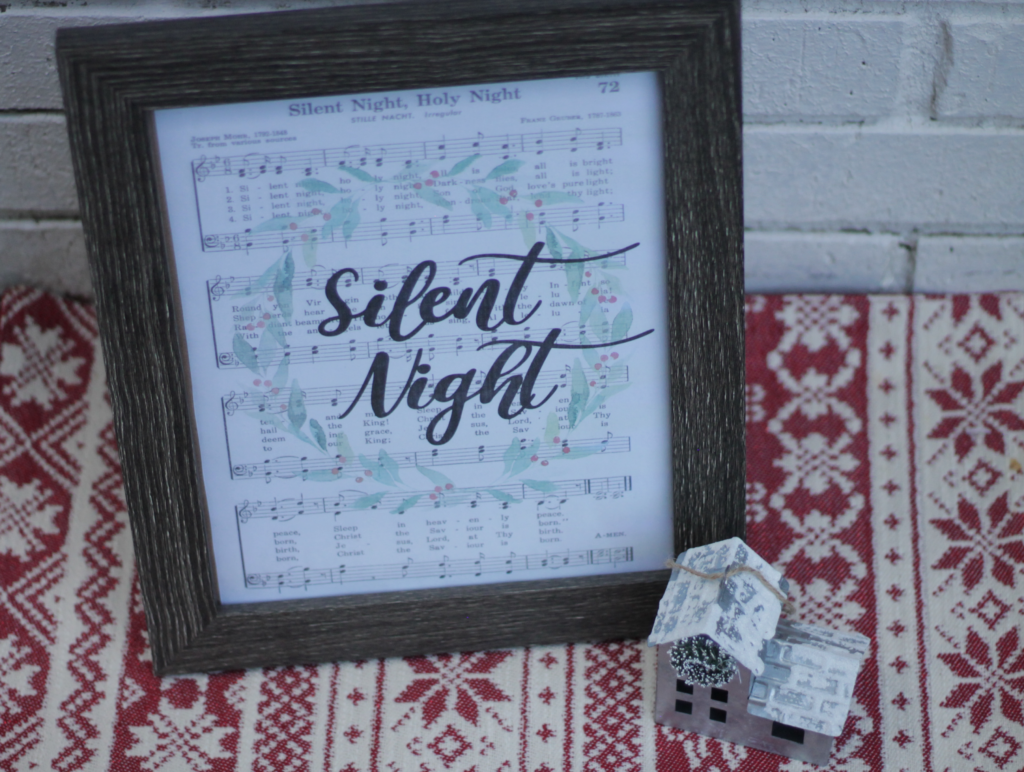
Want to download my design of Silent Night Christmas decor?
Sometimes we just need a really quick craft without all the leg work. Maybe you just really like my design. Either way, I’m going to share with you my creation for free! It’s a design for an 8×10 frame so make sure you have one of those on hand!